Background on Grain Size Analysis in Metals and Alloys
In the metallographic laboratory, analyzing grains in metallic and alloy samples, such as aluminum or steel, is important for quality control. Most metals are crystalline in nature and contain internal boundaries, commonly known as grain boundaries. When a metal or alloy is processed, the atoms within each growing grain are lined up in a specific pattern, depending on the crystal structure of the sample. With growth, each grain will eventually impact others and form an interface where the atomic orientations differ. It has been established that the mechanical properties of the sample improve as the grain size decreases. Therefore, alloy composition and processing must be carefully controlled to obtain the desired grain size.
After metallographic sample preparation, grains in a specific alloy are often analyzed using microscopy, where the size and distribution of these metal grain structures can demonstrate the integrity and quality of the sample. This inspection is paramount for product safety in many industries. For example, because human life may be at stake, automotive manufacturers study the size and distribution of grains in a particular alloy to determine if a newly designed automotive component will hold up under extreme circumstances. Likewise, aerospace component manufacturers need to pay strict attention to the grain characteristics of aluminum components used in the landing gear of a commercial aircraft. In addition to analyzing metal grain structure trends, the inspectors may be required by strict internal quality control procedures to thoroughly document the results and archive them for future reference. |
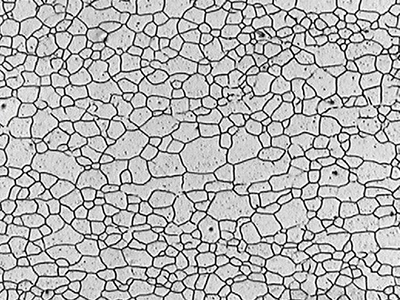
Microscope image of metal grain structure in steel at 100X magnification |
Challenges of Analyzing Alloy and Metal Grain Structures
Some of the commonly used international standards for grain size analysis are ASTM E112 (US), ISO 643 (global), JIS G 0551 (Japan), JIS G 0552 (Japan), GOST 5639 (Russia), GB/T 6394 (China), DIN 50601 (Germany), and ASTM E1382 (US).
Although a wide variety of international standards exist, ASTM E112 (standard test methods for determining average grain size) is the dominant standard that grains are analyzed under in North and South America. Quality control laboratories used, and continue to use, the ASTM chart comparison method to analyze grains. With this method, operators perform a visual estimation of the grain size by comparing a live image under an optical microscope to a micrograph chart, often posted on the wall near the microscope.
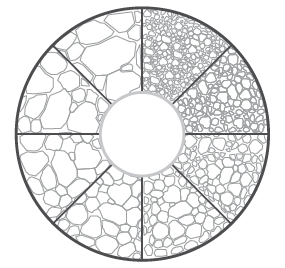
Alternatively, instead of comparing to a micrograph poster, the operator inserts an eyepiece reticle containing images of predefined grain size patterns directly into the microscope’s optical path. This way, the comparison is performed directly in the microscope, where the operator can see both the sample in question as well as the “golden” image simultaneously. Since the grain size is estimated by the operator, these methods can produce inaccurate and unrepeatable results, often not reproducible by different operators. Further, quality control technicians are required to manually enter their results into a computer-based spreadsheet or report, providing an additional opportunity for errors. These challenges raise the following questions: How can a metallurgical quality control laboratory implement a turnkey, fully automated grain analysis solution, helping eliminate potential inaccuracies and subjectivity introduced by operators while complying with ASTM E112 or other international standards? Additionally, how can data be automatically archived and reports be automatically generated, all while saving valuable time and reducing costs? |
Metal grain structure analysis using the eyepiece reticle containing predefined grain size patterns |
Methods to Analyze Grains in Compliance with ASTM E112 and Other Standards
Enter the modern digital metallurgical quality-control (QC) laboratory. Thanks to advancements in materials science software for metallurgical microscopes, operators can leverage image analysis to analyze grains in compliance with ASTM E112 as well as a wide variety of international standards.
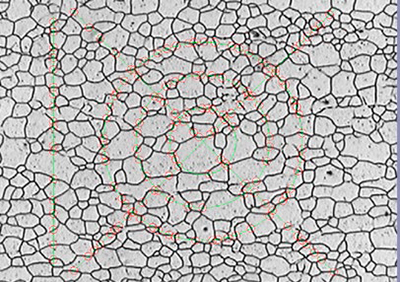
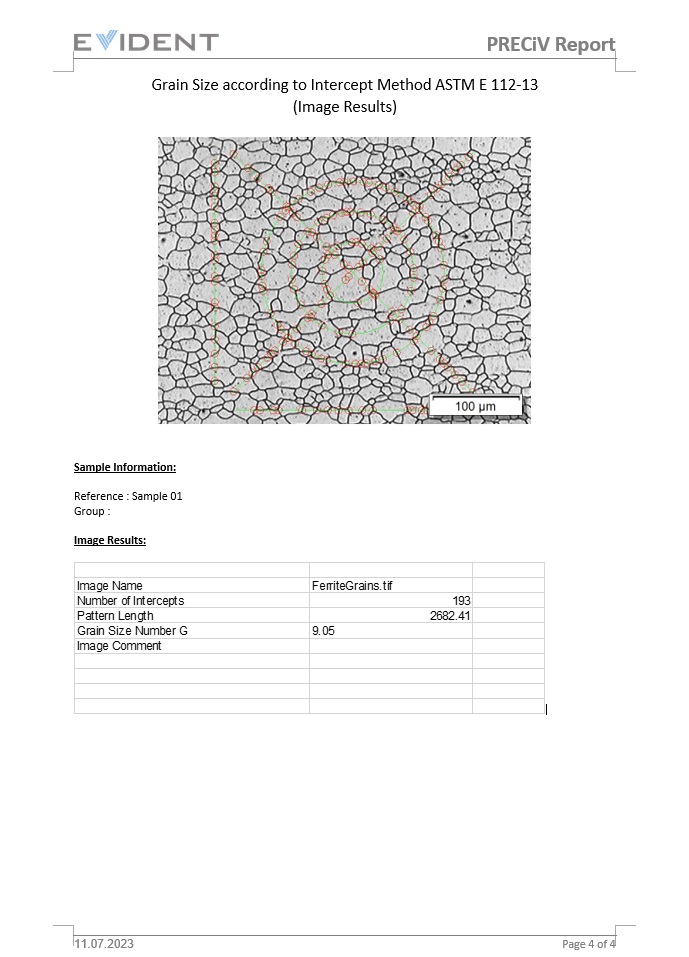
One popular digital solution used to accomplish grain size analysis is known as the intercept method. Here, a pattern (circles, cross-and-circles, lines, etc.) is overlaid on the digital image (live or captured). Each time the overlaid pattern intercepts with a grain boundary, an intercept is drawn on the image and recorded (see an example of the markings in the image on the right).Taking the system calibration into consideration, the image-analysis software automatically calculates the ASTM G, or grain size, number and mean intercept length as a function of the intercept count and pattern length. |
Grain analysis using the intercept method |
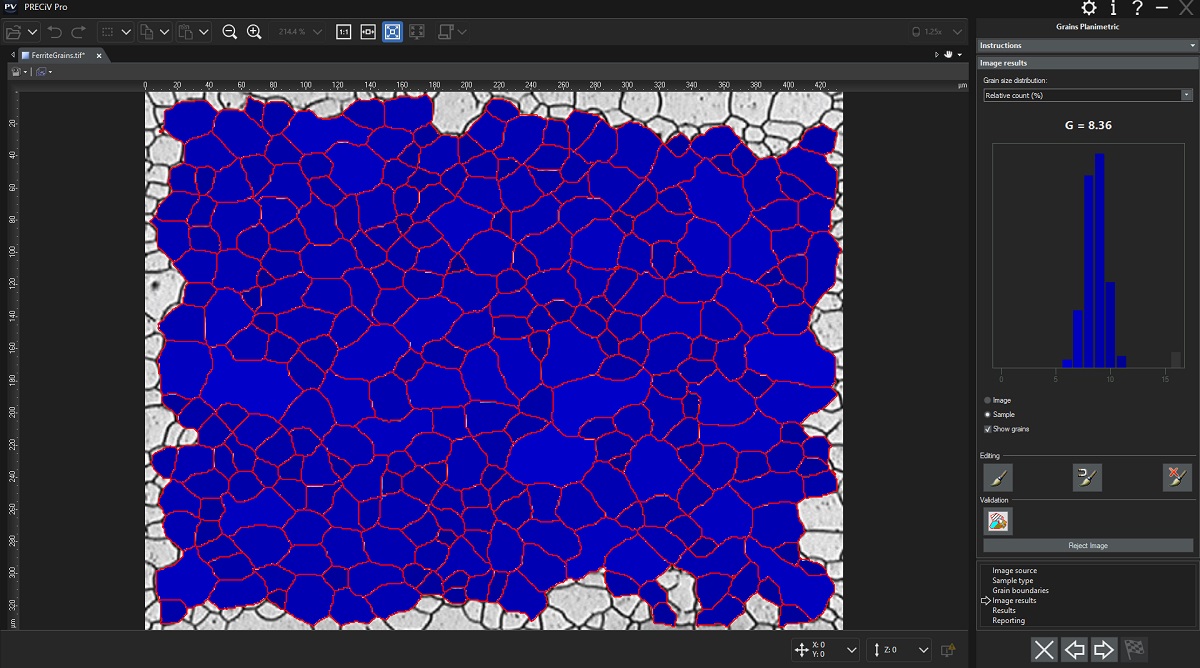
Another popular method for calculating grain size in the digital metallurgical laboratory is known as the planimetric method. Unlike the intercept method, the planimetric method determines the grain size on an image (live or captured) by calculating the number of grains per unit area. |
Grain analysis using the planimetric method |
Since the results are calculated internally within the image analysis software, the guesswork attributed to the operator is removed. In many instances, overall accuracy and repeatability, as well as reproducibility improve. Further, the image analysis software of some metallurgical microscopes can be configured to archive the grain results automatically into a spreadsheet or optional integrated database. Reports containing relevant analysis data and associated images can also be generated with the push of a button, all with minimal training. |
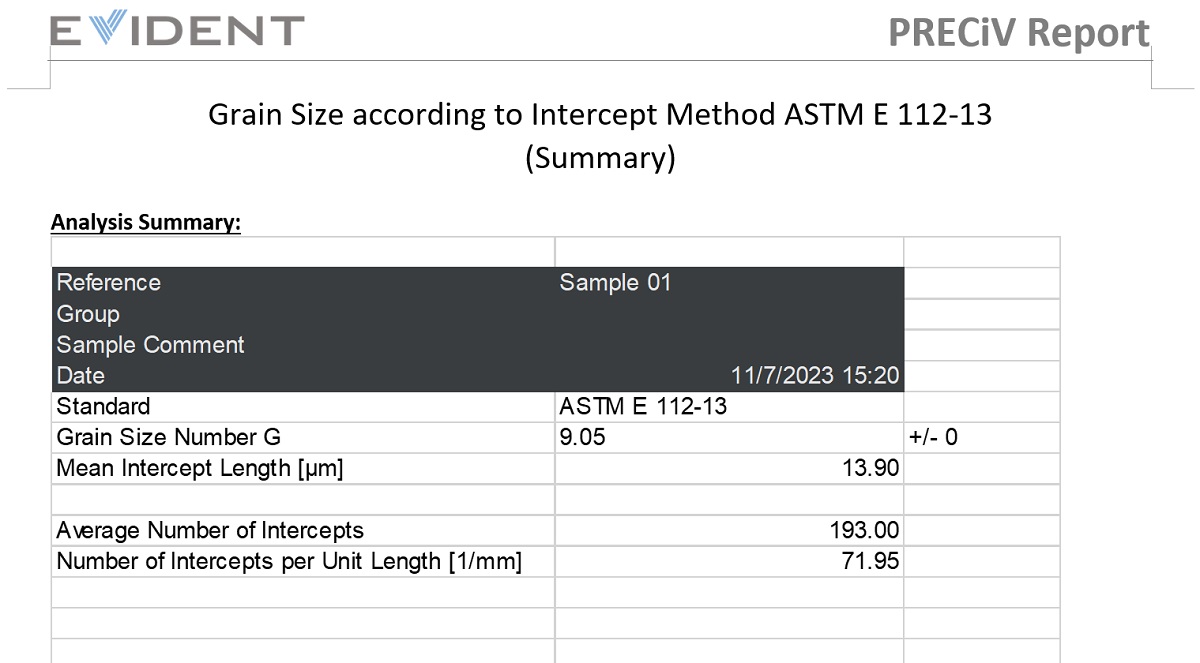
Results of an ASTM E112 analysis |
Recommended Equipment for Analyzing Alloy and Metal Grain Structures
A typical equipment configuration for analyzing alloy and metal grain structures through digital image analysis consists of the following components:
1. Inverted Metallurgical Microscope:
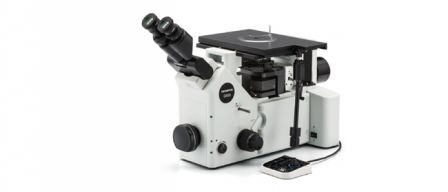
An inverted microscope is typically preferred over an upright model because the flat, polished sample lays flat on the mechanical stage. This helps ensure consistent focus as the user maneuvers the scanning stage.
2. Metallurgical-Specific Image Analysis Software
Image analysis software for materials science applications often offers optional add-on modules for specific metallurgical workflows. These workflows enable users to analyze grain structure in compliance with ASTM E112, as well as various international standards. At the time of purchase, the user should determine if the intercept or planimetric method is more appropriate.
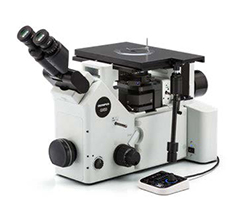 | 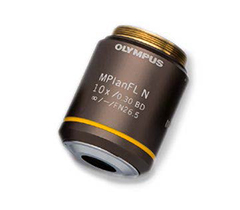 | 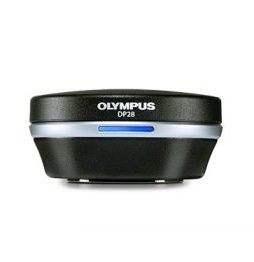 |
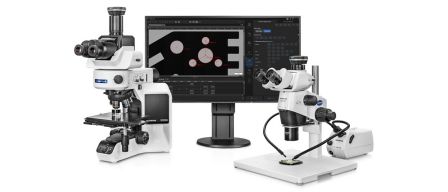
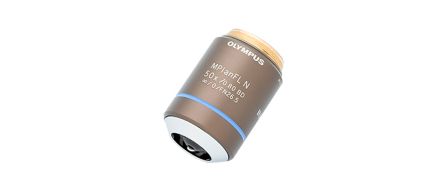
Typical equipment configuration: inverted metallurgical microscope, 10X objective lens, and a high-resolution digital microscope camera
3. 10X Metallurgical Objective Lens
This is the required objective magnification for alloy and metal grain structure analysis.
4. High-Resolution CCD or CMOS Digital Microscope Camera
When considering a digital camera for alloy and metal grain structure analysis, you should prioritize digital resolution over the pixel size, or resulting pixel density. To make sure that there are enough pixels to sample and digitally reconstruct the smallest detail, many microscopists follow the Nyquist Theorem, which states that 2 to 3 pixels are required to sample the smallest detail, or optical resolution. Considering that grain analysis is performed with a 10X objective lens (coupled with 10X eyepieces = equals a total magnification of 100X), the optical resolution of a typical mid-grade objective lens would be approximately 1.1 μm. This means that the actual calibrated pixel size must be smaller than 366 nm (providing the required 3 pixels per smallest distinguishable feature).
For example, a 8.9-megapixel camera with a 3.45 μm pixel size yields a calibrated pixel size of 345 nm (dividing the actual pixel size by the 10X objective lens, using a 1X camera adapter). Dividing the lens resolution (1.1 μm) by the calibrated pixel size (345 nm) equals 3.2. In this example, 3.2 pixels are present to sample the smallest distinguishable feature, meeting the Nyquist criteria of 2 to 3 pixels per distinguishable feature. In general, microscope cameras for materials science with a 3-megapixel or greater rating (considering the pixel size of most common CCD and CMOS sensors) are recommended for alloy and metal grain structure analysis
Because grain size analysis can be performed reliably in grayscale mode (where setting the threshold parameters is simpler than when in color mode), the chosen camera should have the grayscale mode option. Also, choosing a camera that can achieve a fast refresh rate in live mode will prove to be advantageous when you are focusing or positioning the sample.
A coded manual or motorized revolving objective nosepiece is recommended. The chosen image analysis software should be capable of automatically reading the objective lens magnification at all times. This helps ensure the highest level of measurement accuracy, as automatic recognition helps eliminate the risk of manually entering the incorrect lens magnification in the software.
A manual or motorized XY scanning stage is required to manipulate the sample and position the area of interest for observation and analysis.
The PC that you choose should meet the minimum system requirements of the camera and image analysis software. A high-resolution monitor is also required.
Procedure to Analyze Alloy and Metal Grain StructuresUsing the recommended metallurgical microscope equipment, here is the typical procedure to perform the grain analysis:
|  |
Other Ways to Streamline the Grain Analysis Process
Unlike manual techniques where operators perform a visual estimate of the grain size, or G number, by eye, modern image analysis software for materials science applications enables the grain size to be calculated accurately and repeatedly, as operator intervention is minimized.
Many software packages are designed to comply with ASTM E112 and a wide range of international standards, and they can be implemented with minimal effort. Going beyond the scope of the metal grain structure analysis, many software programs offer convenient connectivity, reporting, and data management capabilities to save time. Software with automatic report generation, data archiving and sharing, and quick searches of images and related data can make your team more efficient.
When considering a turnkey solution for automatic grain analysis, working directly with an experienced microscope manufacturer is highly important, as they can assist you in every step of this process, from equipment selection to deployment.
References
Carmo Pelliciari, Dr. Eng., Metallurgical Consultant
American Society for Testing and Materials (ASTM) E112-13 Standard
ASTM International, 100 Barr Harbor Drive, PO Box C700,
West Conshohocken, PA, 19428-2959 USA
“Committee E-4 and Grain Size Measurements: 75 years of progress.”
ASTM Standardization News, May, 1991, George Vander Voort
