Magna-Mike 8600
Overview
Magna-Mike 8600
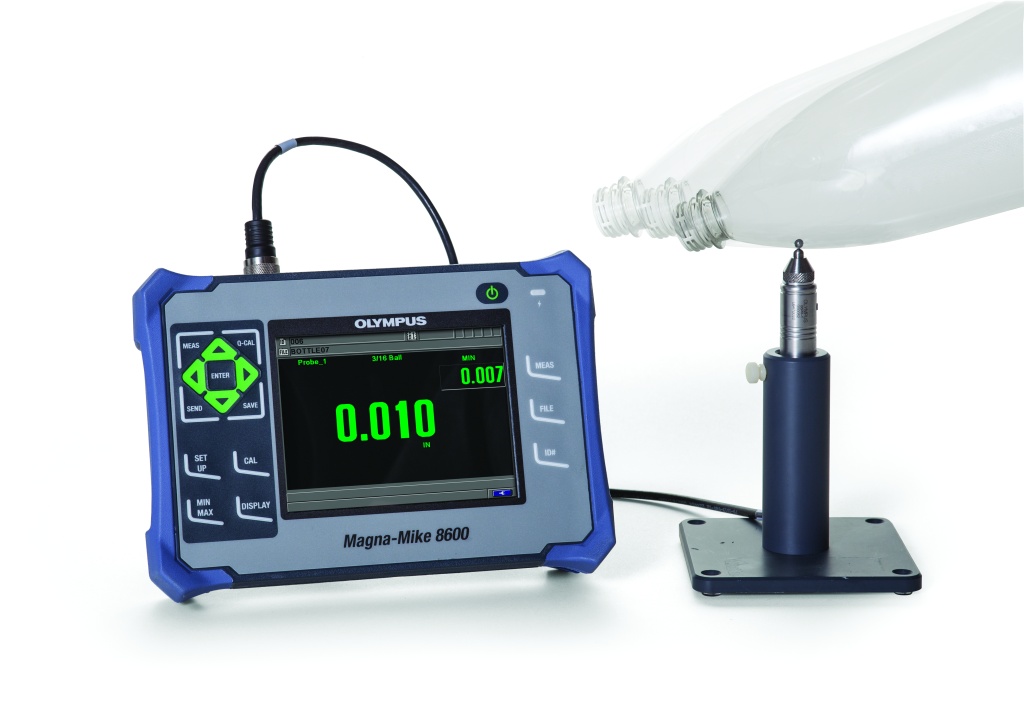
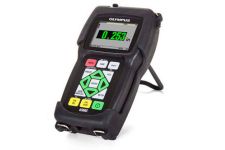
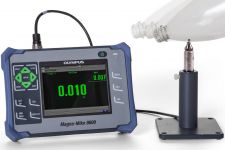
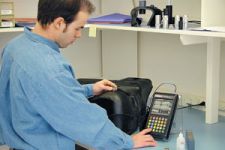
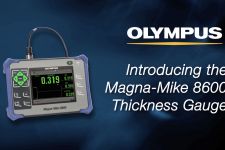
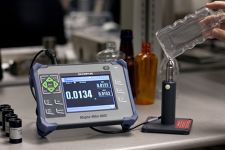
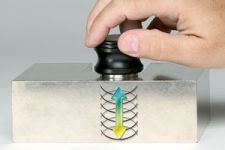
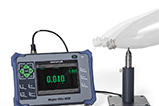
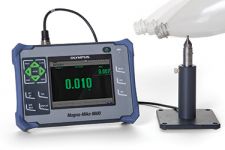
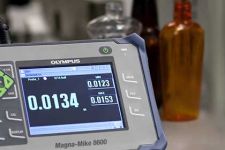
The Magna-Mike® 8600 is a portable thickness gauge that uses a simple magnetic method to make reliable and repeatable measurements on nonferrous materials. Operation of the Magna-Mike is very simple. Measurements are made when its magnetic probe is held or scanned on one side of the test material and a small target ball (or disk or wire) is placed on the opposite side or dropped inside a container. The probe's Hall Effect sensor measures the distance between the probe tip and target ball. The measurements are instantly displayed on the large color thickness display as an easy-to-read digital thickness reading.
New Features
|
|
Three New Probe Designs
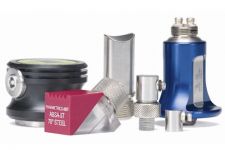
The Magna-Mike is available with straight, right angle, and low-profile articulating magnetic probes. The 86PR-1 and 86PR-2 feature replacable wear cap to extend the probe's durability and reduce replacement costs.
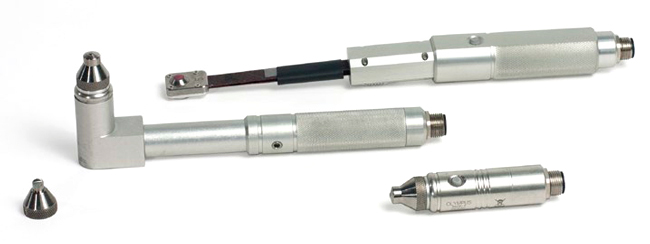 |
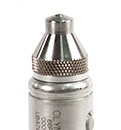 Removable Standard Wear Cap 86PR1-WC | 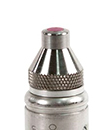 Removable Extended Wear Cap 86PR1-EWC | 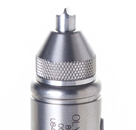 Removable Chisel Tip Wear Cap 86PR1-CWC | 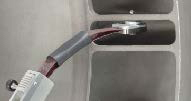 86PR-3 Low-profile Articulating Probe |
Measures from 0.001 mm (0.0001 in.) to 25.4mm (1 in.)
The Magna-Mike offers an expanded list of target options greatly extend its measurement capability.
| Targets | Min Thickness | Max Thickness | Accuracy | |
| Basic Calibration | Multipoint | |||
| 86PR-1 and 86PR-2 | ||||
| 1/16 in. (1.58 mm) ball (80TB1) | 0.0001 in. (0.001 mm) | 0.080 in. (2.03 mm) | 4% | 3% |
| 1/8 in. (3.17 mm) ball (80TB2) | 0.0001 in. (0.001 mm) | 0.240 in. (6.1 mm) | 4% | 2% |
| 3/16 in. (4.76 mm) ball (80TB3) | 0.0001 in. (0.001 mm) | 0.360 in. (9.1 mm) | 3% | 1% |
| 1/4 in. (6.35 mm) ball (80TB4) | 0.0001 in. (0.001 mm) | 0.360 in. (9.1 mm) | 3% | 1% |
| 3/16 in. (4.76 mm) magnetic ball (86TBM3) | 0.160 in. (4.06 mm) | 0.750 in. (19.05 mm) | 3% | 1% |
| 1/4 in. (6.35 mm) magnetic ball (86TBM4) | 0.160 in. (4.06 mm) | 1.00 in. (25.4 mm) | 3% | 1% |
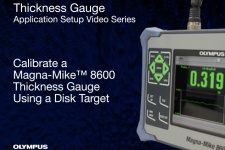
| 0.500 in. (12.7 mm) flat disk (80TD1) | 0.0001 in. (0.001 mm) | 0.360 in. (9.1 mm) | 3% | 2% |
| 0.250 in. (6.35 mm) V-edge disk (80TD2) | 0.0001 in. (0.001 mm) | 0.240 in. (6.0 mm) | 3% | 2% |
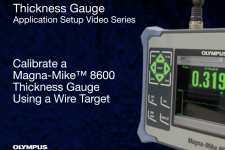
| 0.045 in. (1.14 mm) dia. wire (86TW1) | 0.0001 in. (0.001 mm) | 0.500 in. (12.7 mm) | 3% | 2% |
| 0.026 in. (0.66 mm) dia. wire (86TW2) | 0.0001 in. (0.001 mm) | 0.240 in. (6.1 mm) | ||
| New 86PR-3 Low-profile Articulating Probe | ||||
| 1/16 in. (1.58 mm) ball (80TB1) | 0.0001 in. (0.001 mm) | 0.080 in. (2.0 mm) | 4% | 3% |
| 1/8 in. (3.17 mm) ball (80TB2) | 0.0001 in. (0.001 mm) | 0.160 in. (4.1 mm) | 4% | 2% |
| 0.026 in. (0.66 mm) dia. wire (86TW2) | 0.0001 in. (0.001 mm) | 0.160 in. (4.1 mm) | 3% | 2% |
Note: For 86PR-1 and 86PR-2 probes the Measurement Tolerance = [(accuracy x thickness) +0.0001 in. or 0.003 mm)], for 86PR-3 the Measurement Tolerance = [(accuracy x thickness) + (0.001 in. or 0.025 mm)]
Internal Alphanumeric Data Logger
The Magna-Mike® has an extensive file-based alphanumeric data logger that is designed to easily store and transfer thickness readings.
You have the ability to store thickness readings in one of four standard file formats: Incremental, Sequential, Sequential with Custom Point and 2-D Grid.
- Single Send or File Send directly to an Excel spread sheet using WINXL
- Send data to other SPC program
- Both USB and RS-232 outputs
- Export files to a removable MicroSD card in .txt and CSV formats
- Generate on-board reports
Direct Interface to Excel Spread SheetsThe Magna-Mike 8600 has RS-232 and USB outputs that enable the instrument to directly send data to an Excel spread sheet. The included WINXL interface program enables you to single send or file send thickness readings. | 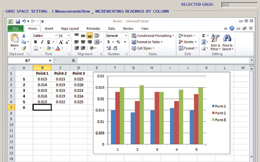 WINXL interface program |
Specifications
| General > Overall dimension |
236 mm x 167 mm x 70 mm
(9.3 in. x 6.57 in. x 2.76 in.) |
|---|---|
| General > Weight | 1.68 kg (3.72 lb), including lithium-ion battery |
| General > Keypad | English, Japanese, Chinese, International |
| General > Languages | English, Spanish, French, German, Japanese, Chinese, Portuguese, Swedish, Norwegian, Dutch, Polish, Russian, Hungarian, Czech, Italian |
| General > Data storage | Onboard and removable 2 GB MicroSD card |
| General > Battery life (Optional) | 16 h (lithium-ion) |
| General > Power requirements | AC Mains: 100 VAC to120 VAC, 200 VAC to 240 VAC |
| General > Display type | Full VGA (640 x 480 pixels) transflective color LCD |
| General > Display dimensions (W x H, Diag.) |
117 mm x 89 mm, 146 mm
(4.62 in. x 3.49 in., 5.76 in.) |
| General > Min/Max capture mode | Captured at 60 Hz measurement rate |
| General > Display update rate | 4, 8, 16 and 20 Hz |
| General > Alarm | High and Low alarms |
| General > Resolution | 0.1 mm (0.01 in.), 0.01 mm (0.001 in.), 0.001 mm (0.0001 in.) (depending on thickness range) |
| General > Data logger | Internal file-based alphanumeric data logger |
| Probes > 86PR-1 | Standard straight probe 82.30 mm (3.24 in) long and 18.62 mm (0.733 in.) dia. |
| Probes > 86PR-2 | Right angle probe head 58.84 mm x 18.62 mm, length 178.57 mm (2.32 in. x 0.733 in. dia.,length 7.030 in.) |
| Probes > 86PR-3 | Low-profile articulating probe 241.3 mm (9.5 in.) long |
| Environmental Testing > Vibration | MIL-STD-810G, Method 514.6, Procedure I |
| Environmental Testing > Drop | MIL-STD-810G, Method 516.6, Procedure IV |
| Environmental Testing > Shock | MIL-STD-810G, Method 516.6 |
| Environmental Testing > Designed for IP67 | Yes |
| Inputs/Outputs > USB | USB 2.0 peripheral port |
| Inputs/Outputs > RS-232 | Yes |
| Inputs/Outputs > Memory card | Maximum capacity: 2 GB removable MicroSD memory card |
| Inputs/Outputs > Video output | VGA output standard |
| Inputs/Outputs > Foot switch (optional) | Programmable (Save, Send, Meas or Q-Cal) |
| Inputs/Outputs > Operation temperature | -10 °C to 50 °C (14 °F to 122 °F) |
Standard Inclusions
Select probe and stand (straight, right angle, or low-profile):
- 86PR-1 (U8470020): Standard probe includes
86PRS1 (U8771043): Two part probe stand - 86PR-2 (U8470028): Right angle probe includes
86PRS (U8771044): Two-part right angle probe stand - 86PR-3s (Q7800004): Low-profile probe includes
86PRS3 (Q7800006) and tow part low-profile probe stand - 86PC (U8801410): Probe cable for 86PR-1 and 86PR-2
- WinXL (U8774010): Interface program to Excel
Select one from:
- 86ACC-KIT (U8771068): Standard calibration kit,
86ACC-ER-KIT (U8771069) Extended range calibration kit or
86ACC-PR3-KIT (Q7800005) Low-profile calibration kit. - EP-MCA: External power supply with charger
- 8600-MAN-CD (U8778535): CD with manual (all languages)
- 600-TC (U8780294): Plastic carry case
- Select one from:
- 600-C-RS232-5 (U8780299): RS-232 cable
- EPLTC-C-USB-A-6 (U8840031): USB cable
Standard inclusions may vary depending on your location. Contact your local distributor.
Optional Accessories
- 86PR-3 (Q7800004): Low-profile articulting probe
- 600-C-VGA-5 (U8780298): VGA output cable
- 600-BAT-L-3 (U8051431): Rechargeable lithium-ion battery
- 85FSW (U8780127): Remote footswitch
- 86PR-2 (U8470028): Right angle probe
- 86PRS2 (U8771044): Two-part probe stand for 86PR-2
- 86PCC (U8780323): Coiled cable for 86PR-1 and 86PR-2
- 86PR1-WC (U8780324): Replaceable wear cap for 86PR-1 and 86PR-2 probes
- 86PR1-CWC (U8780326): Chisel tip wear cap for 86PR-1 and 86PR-2 probes
- 86PR1-EWC (U8780344): Extended wear cap for 86PR-1 and 86PR-2 probes
- 80TB1 (U8771030): Target balls 1.58 mm (1/16 in.)
- 80TB2 (U8771031): Target balls 3.17 mm (1/8 in.)
- 80TB3 (U8771032): Target balls 4.76 mm (3/16 in.)
- 80TB4 (U8771033): Target balls 6.35 mm (1/4 in.)
- 80TD1 (U8771034): Target disk Flat edge
- 80TD2 (U8771035): Target disk V-edge
- 86TBM3 (U8771039): Magnetic target balls 4.76 mm (3/16 in.)
- 86TBM4 (U8771040): Magnetic target balls 6.35 mm (1/4 in.)
- 86TW1 (U8771041): Wire target 1.14 mm (0.045 in.)
- 86ACC-ER-KIT (U8771069): Extended calibration kit
- 86ACC-W-KIT (U8771070): Wire target calibration kit
- 86ACC-D-KIT (U8771071): Target disk calibration kit
- 86ACC-PR3-KIT (Q7800005): Low-profile probe calibration kit
- 80CAL-NIS (U8771011): NIST-traced calibration standards (set of six)
*All specifications are subject to change without notice.
Applications
Hall-Effect Thickness Gauging for Nonferrous Materials
The Magna-Mike™ 8600 Hall-effect thickness gauge uses a simple magnetic method to make reliable and repeatable measurements on plastic bottles, packaging, and other nonferrous materials.
Packaging and Plastic/Glass Bottles
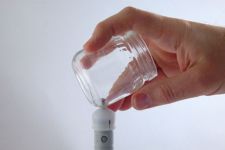
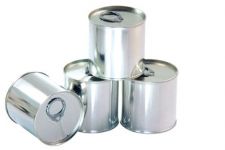
The Magna-Mike 8600 gauge measures the thickness of packaging and plastic/glass containers for applications in various industries. Simply drop the small target ball inside the container. The magnetic probe held on the outside of the container attracts the target ball. When scanning the probe along the surface or critical corners, the small steel target ball will follow. In the Minimum Mode feature, the gauge continually displays both the actual thickness and the lowest thickness reading.
Related Content:
Thickness Measurement of Glass
Wall Thickness Measurements for Metal Cans, Containers, and Enclosures
Wall Thickness Gauging in the Blow Molding Industry
Automotive
The standard probe with one of the two target disks and a replaceable chisel wear cap makes the Magna-Mike 8600 gauge ideally suited for most automotive tear seam applications where measurements need to be made in a thin channel or groove.
Related Content:
Thickness Measurement of Automotive Air Bag Cover Tear Seams
Aerospace
The Magna-Mike 8600 gauge has been successfully integrated into quality control programs to measure aerospace parts made of composites and nonferrous materials. The wire targets can be inserted into cooling holes in turbine blades, while the larger magnetic target balls can be used to measure jet engine parts up to 25.4 mm (1 in.) thick.
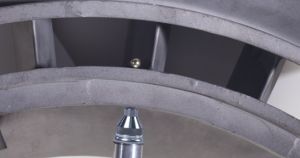 Measurement of a 24.1 mm (0.950 in.) aerospace casting | 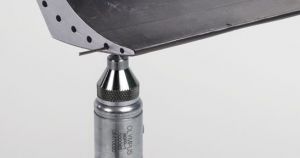 Measurement of a turbine blade using the wire target |
Related Content
Thickness Measurement of Aerospace Composites
Other Applications
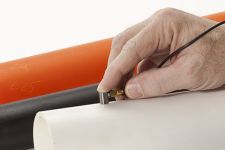
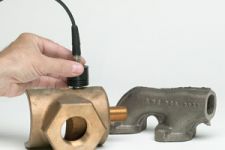
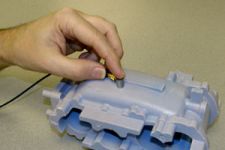
The Magna-Mike 8600 gauge can measure the thickness of plastic containers and other nonferrous materials in various other applications, including plastic pipes, rubber hoses, rubber sheets, wax molds, and nonferrous castings.
Related Content
Wall Thickness of Plastic Pipes
Ultrasonic Testing of Aluminum and Nonferrous Castings
Thickness Measurement of Wax Molds for Precision Castings


