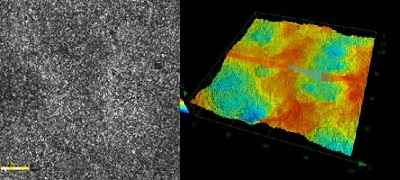
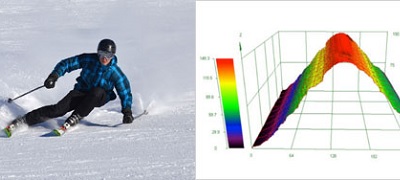
About Surface Roughness
How to Define Surface Roughness
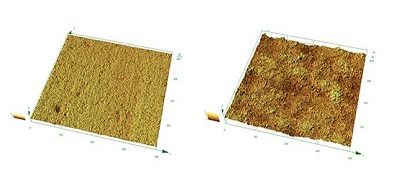
Surface roughness indicates the condition of processed surfaces. Surface conditions are determined by visual appearance and tactile feel. Consider the following examples:
- A surface prepared by rubbing a coarse abrasive against it might be described as a rough surface texture
- One prepared by computer numerical control (CNC) machining might be described as a matte and smooth surface
- One prepared by using a lapping machine might be described as a mirror surface finish
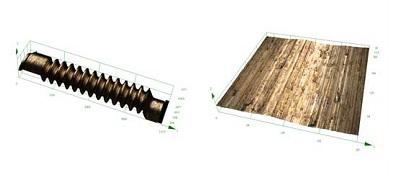
The difference in both appearance and texture are derived from the topographical variation, or irregularities, on the surface of the object. It is an increasingly important characteristic to track and quantify for quality assurance purposes.
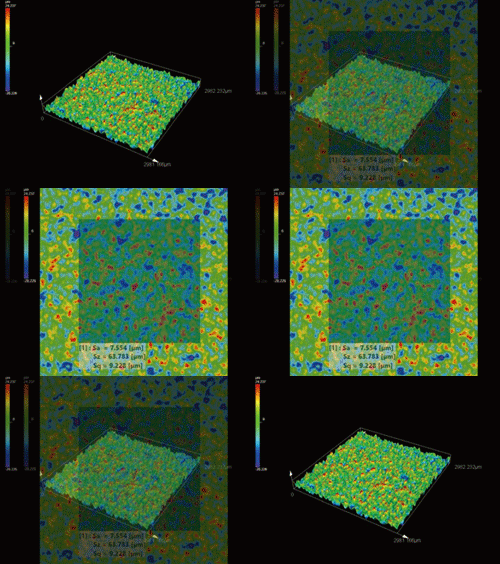
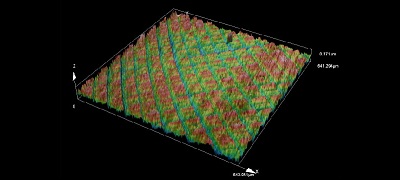
These irregularities are what determines the roughness of a surface. Surface roughness is a numerical scale of the surface condition that does not depend on visual or tactile sensation. By taking several measurements of the surface, such as the peak heights and the valley depths, individual surface roughness values (such as Sa, Sq, and Sz) and their relationships can be determined and a quantitative definition for a surface quality can be produced.
- > To learn more about surface roughness parameters, visit our resources on profile parameters and areal parameters.
Facial irregularities on components and materials are either created intentionally or produced by various factors including the vibration of cutting tools, the bite of the edge used, or the physical properties of the material. Irregularities have diverse sizes and shapes and overlap in numerous layers; the concavities/convexities affect the quality and functionality of the object's surface.
Consequently, the irregularity impacts the performance of the resulting product. In the case of assembly components, the surface feature affects the characteristics of the final product, including friction, durability, operating noise, energy consumption, and air tightness. The surface features also influence the product’s quality, such as a paper product’s ability to hold ink/pigment or varnish.
Why Does Surface Roughness Need to be Measured?
The size and configuration of features have a significant influence on the quality and functionality of processed surfaces and the performance of the final products. Consequently, measuring surface roughness is important to meet high performance standards for end products.
How to Measure Surface RoughnessSurface irregularities are measured by classifying the height/depth and intervals of surface features to evaluate their concavity/convexity. The results are then analyzed in accordance with predetermined methods, subject to a calculation based on industrial quantification. The favorable or adverse influence of surface roughness is determined by the size and shape of the irregularities and the use of the product. The level of roughness must be managed based on the desired quality and performance of the surface. The measurement of the roughness of surfaces and the evaluation of surface roughness is an old concept with numerous established parameters indicating various roughness criteria. The progress of processing technology and the introduction of advanced measurement instruments enable the evaluation of diverse aspects of surface roughness. | 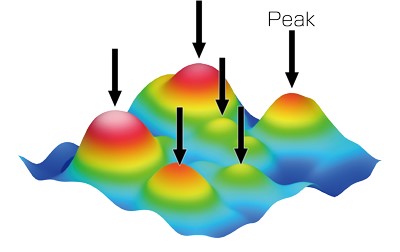 |
- > To learn more about roughness standardization, visit our resource on international standardization.
Methods to Measure Surface Roughness
Measuring the surface roughness of components and industrial products and the qualitative management of the resulting data are increasing with the evolution of nanotechnology and the higher performance demands and smaller size of electronic devices. Conventional stylus roughness gauges are designed to acquire height information through mechanical contact with the surface finish being measured. These devices can broadly measure surface height, features, and the superficial condition of the surface finish.
However, the ever-increasing improvements to manufacturing processes have resulted in a growing number of soft samples, such as films, and surface features that are smaller than the tip of the stylus probe. These material advancements have led to the demand for noncontact and nondestructive measurement techniques, from linear measurement to precise area measurement.
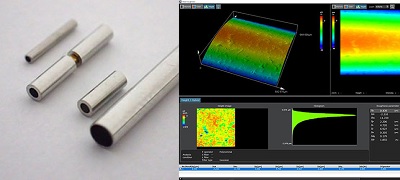
To meet these nano-level surface roughness measurement demands, laser microscopes have been developed as surface roughness measuring instruments capable of providing an accurate, noncontact 3D surface roughness measurement of the surface features of a sample under ambient conditions.
- > For more information on these techniques, visit our resource on methods of measuring surface roughness.
Surface Roughness Technical Terminology
Primary profile curve: the profile curve obtained by applying a low-pass filter with a cutoff value of λs to the primary profile measured.
Roughness profile: the profile curve derived from the primary profile by suppressing the longest wavelength components using a high-pass filter with a cutoff value of λc.
Waviness profile: the profile curve obtained by sequential application of profile filters with cutoff values of λf and λc to the primary profile.
Sampling length: the length in the direction of the measured axis used for the determination of profile characteristics.
Evaluation length: the length in the direction of the measured axis used for assessing the profile under evaluation.
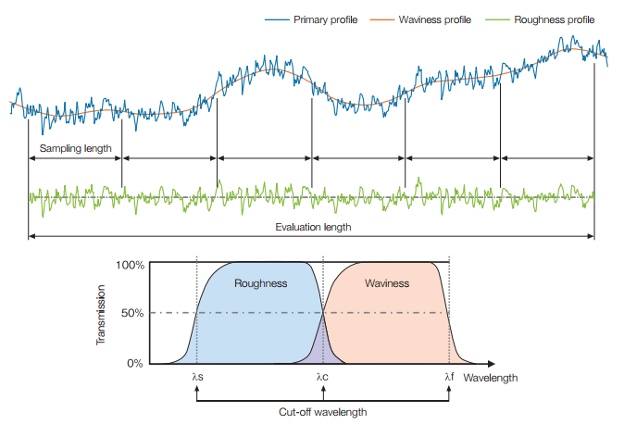
Conceptual drawing of the profile method
- > To learn more about measuring surface roughness, visit our resource on the essentials of surface roughness evaluation.
Learn More about Surface Roughness Measurement> Profile method (line roughness) parameters> Areal method (areal roughness) parameters> Evaluating roughness parameters> Methods of measuring surface roughness> International standarization> Technical terminology glossaries> Essentials of surface roughness evaluation using laser microscopy | Download the Roughness Measurement Guidebook
|
| 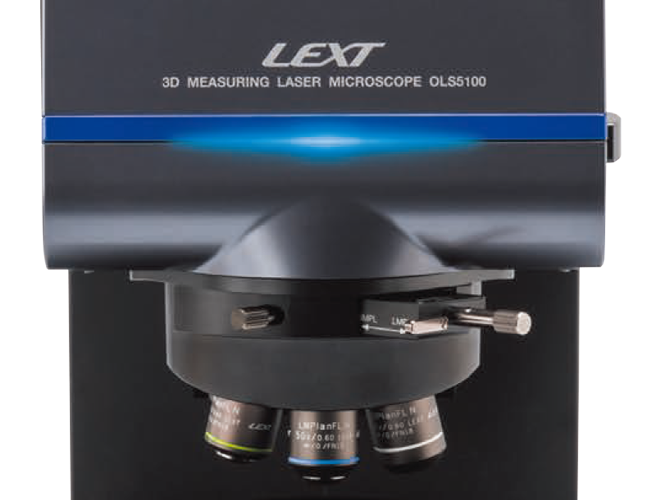 |
Advantages of the OLS5100 Microscope for Surface Roughness Measurement |
|
|
|
ApplicationsSurface Roughness Measurement Application Solutions |
View more application notes |
