Краткий обзор
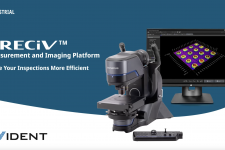
Программное обеспечение PRECiV™ для измерений и визуализации 2D
Программное обеспечение для измерений и визуализации 2D помогает контролировать рабочие процессы
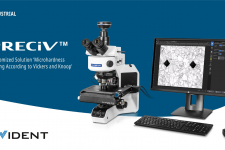
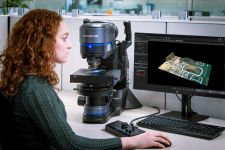
Простое в использовании программное обеспечение PRECiV™ позволяет полностью управлять микроскопом и выполнять воспроизводимые 2D измерения в ходе производства, контроля качества и процедур контроля.
- Получение результатов, соответствующих актуальным промышленным стандартам
- Создание профессиональных отчетов, которые можно легко экспортировать в корпоративную информационную сеть
- Быстрый и эффективный рабочий процесс благодаря интеллектуальным функциям обмена данными и обеспечения безопасности
Простые в использовании инструменты визуализации и измерений
Интуитивно-понятное управление и широкие возможности для сотрудничества
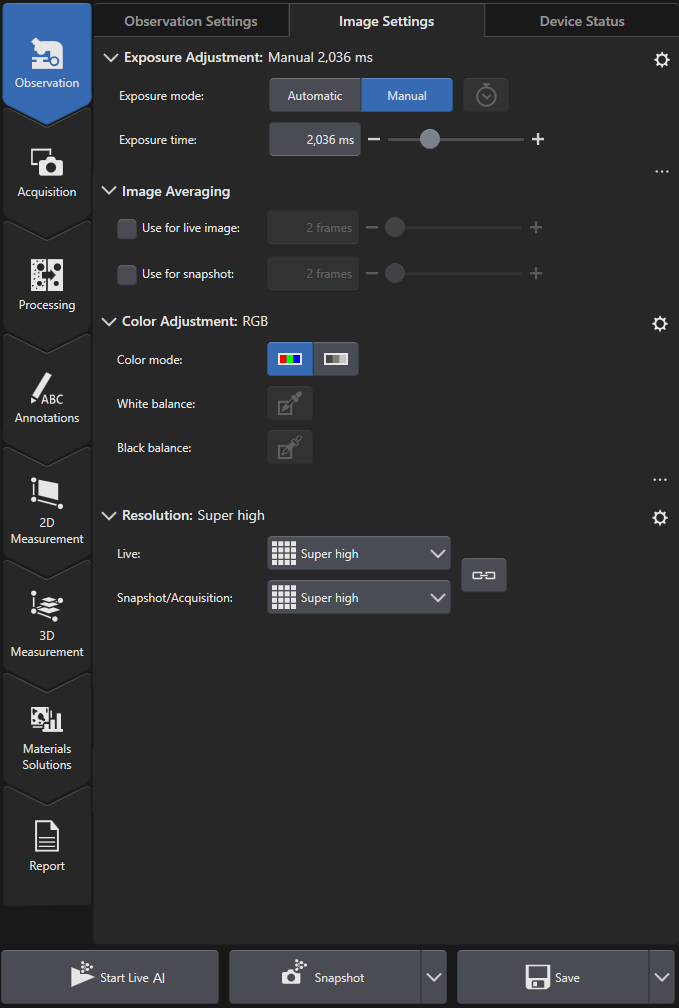
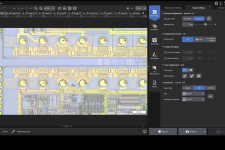
Благодаря интуитивно понятному пользовательскому интерфейсу вы сможете использовать полную функциональность интеллектуальных инструментов программного обеспечения, пройдя минимальное обучение. Через вкладку навигации оператор быстро получает доступ к программным функциям (наблюдение, получение изображений, измерения), а крупные кнопки с четким обозначением их назначения позволяют сразу приступить к выполнению достоверных 2D-измерений на динамических и статичных изображениях.
Использование программного обеспечения после минимального обучения
По умолчанию расширенные функции скрыты, так что для пользователей-новичков интерфейс будет выглядеть максимально лаконично. Опытным же пользователям достаточно нажать кнопку «Развернуть», чтобы раскрыть меню со всеми функциями и инструментами. Главный экран можно индивидуально настроить для облегчения доступа к часто используемым функциям.
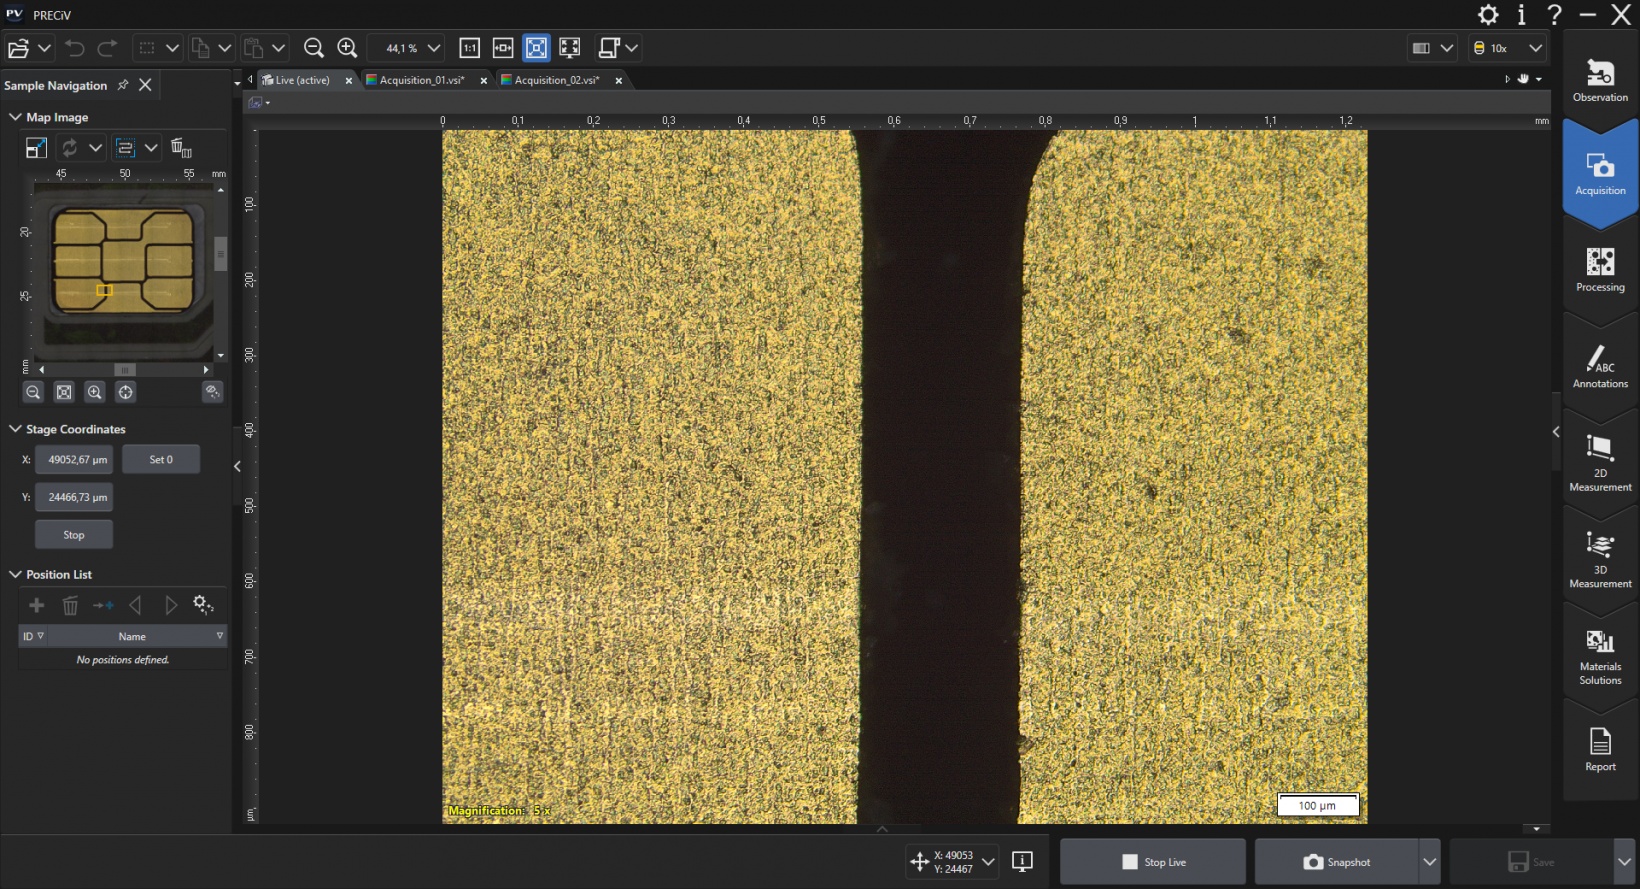
При запуске программного обеспечения изображение в реальном времени отображается автоматически, так что вы можете без промедления приступить к работе.
Модульное и универсальное программное обеспечение для получения изображений и выполнения измерений на микроскопе
Расширьте возможности своего микроскопа
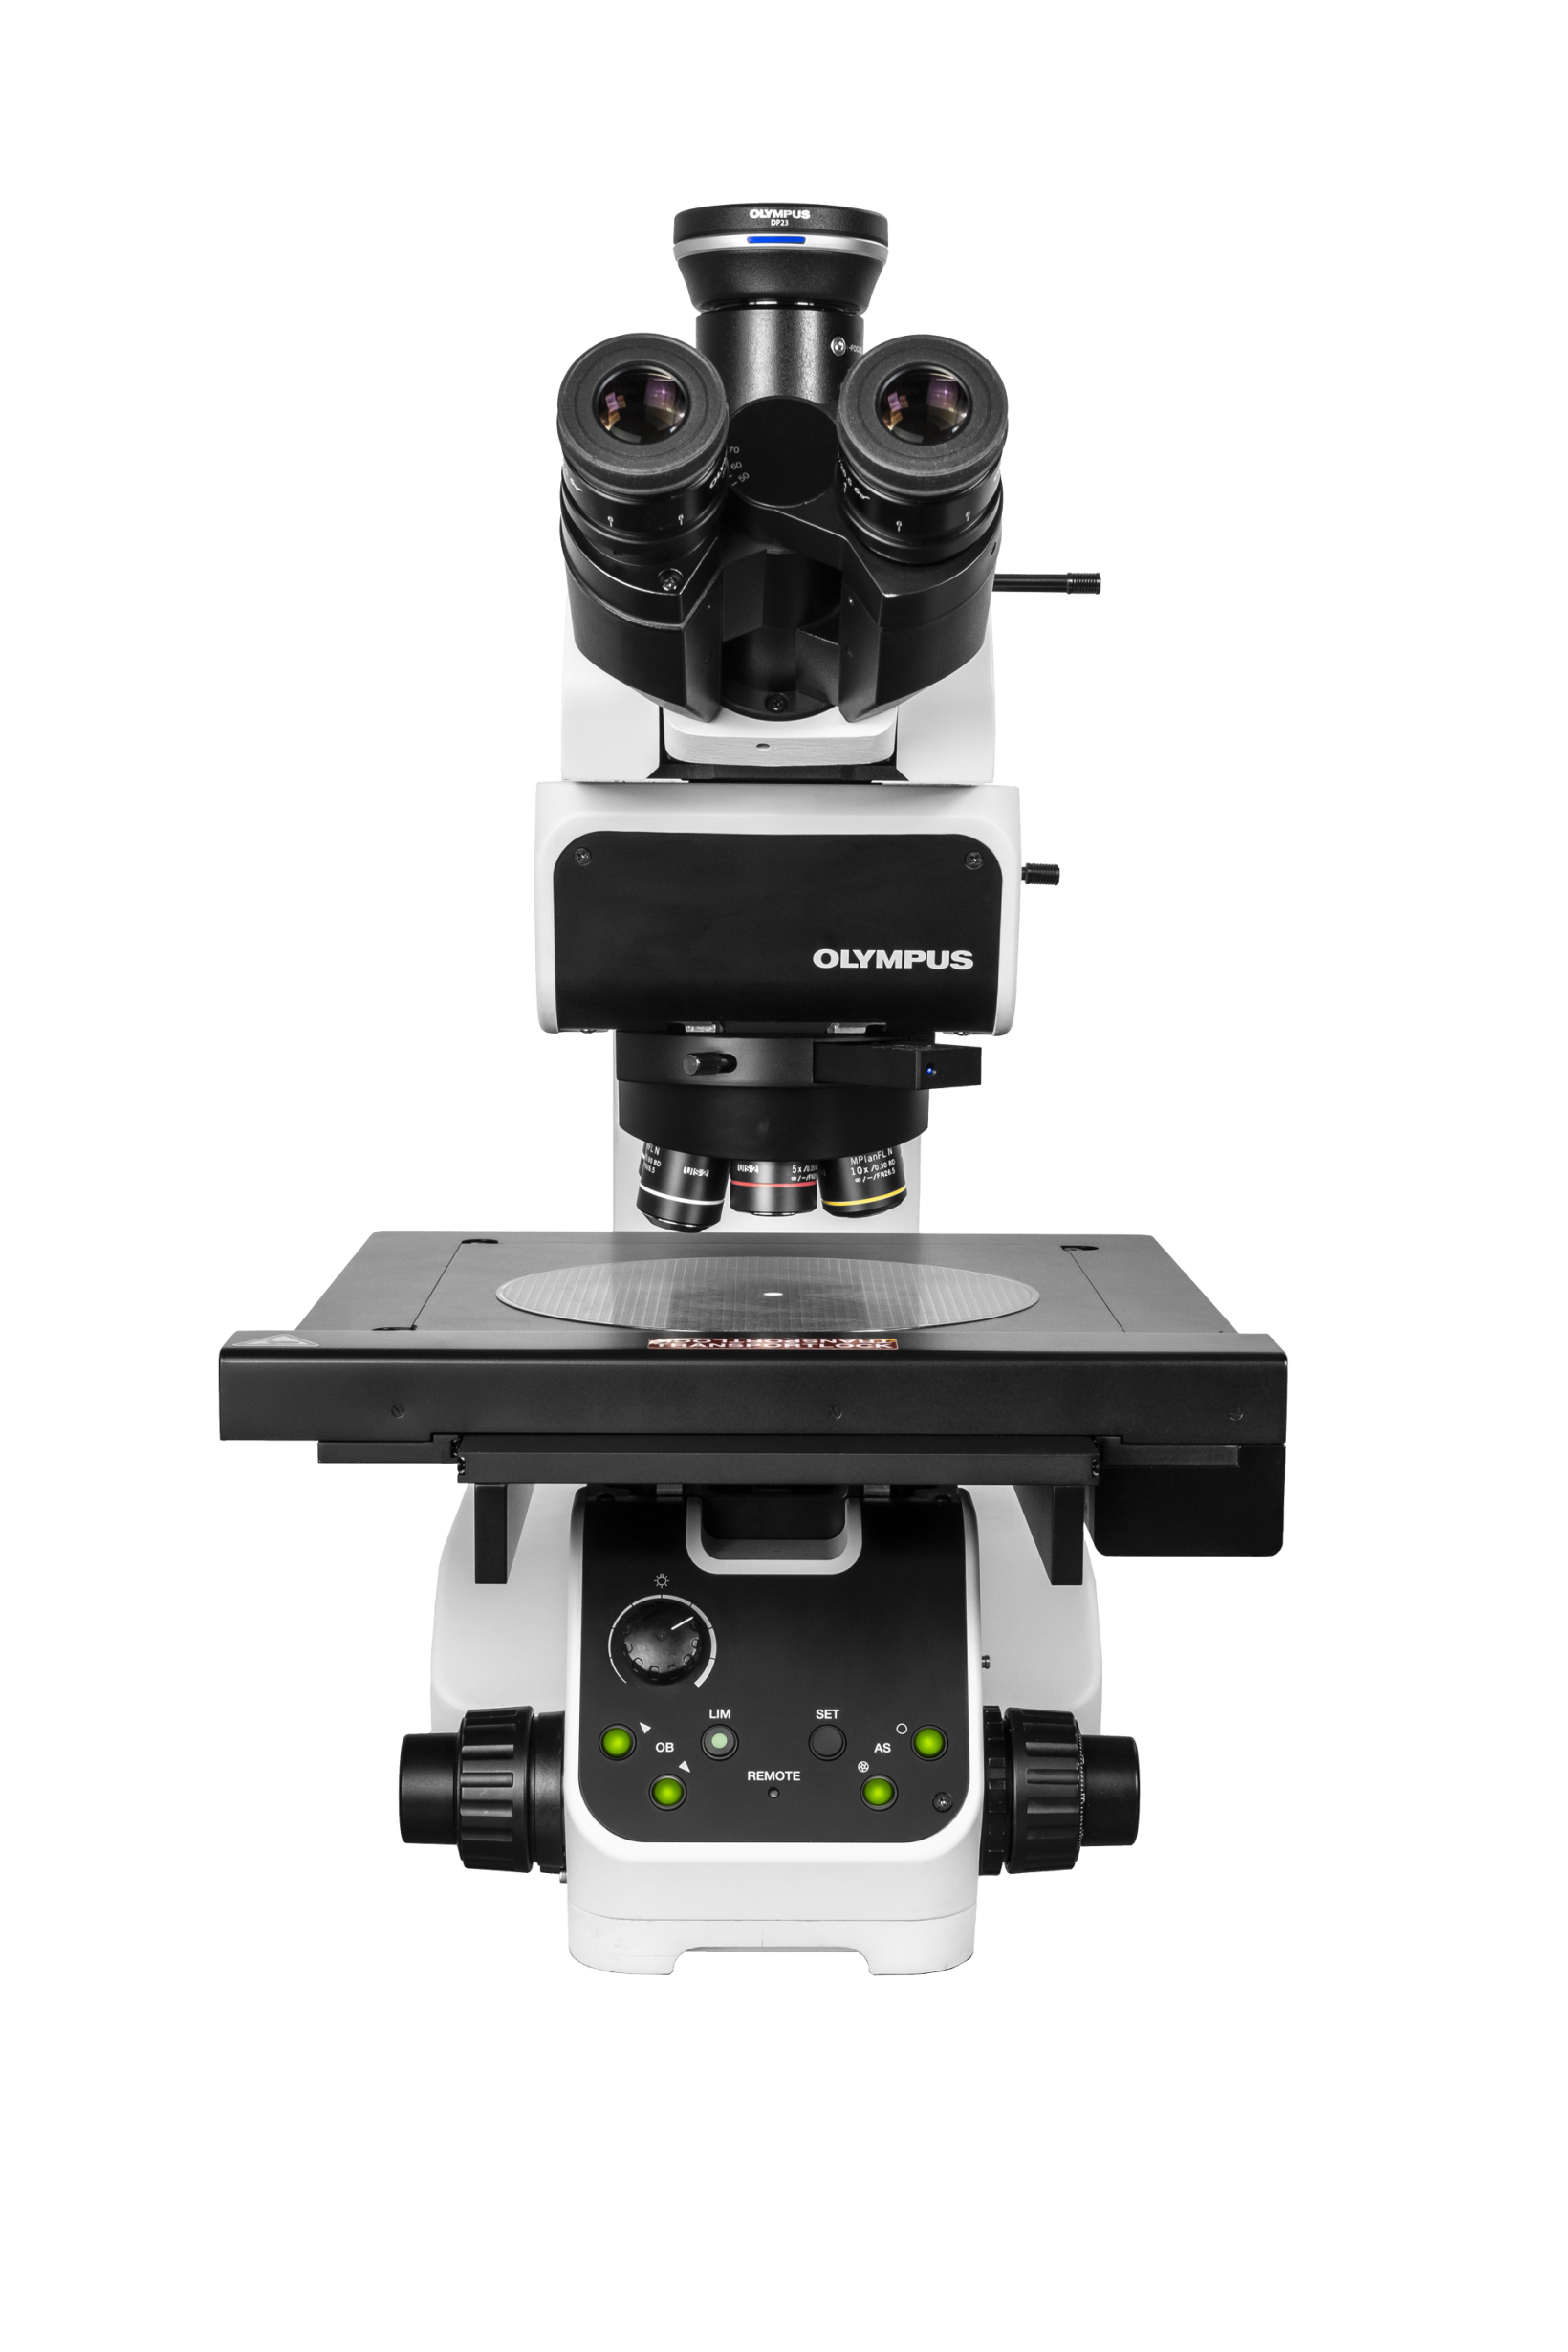
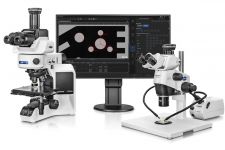
Наше программное обеспечение — это комплексное решение для обработки изображений и измерений, которое совместимо с любыми микроскопами, вне зависимости от их бренда или срока эксплуатации. Программное обеспечение PRECiV позволяет управлять всеми моделями стандартных промышленных микроскопов Olympus, их программируемыми функциями, моторизованными револьверными головками Olympus, а также цифровыми камерами Olympus.
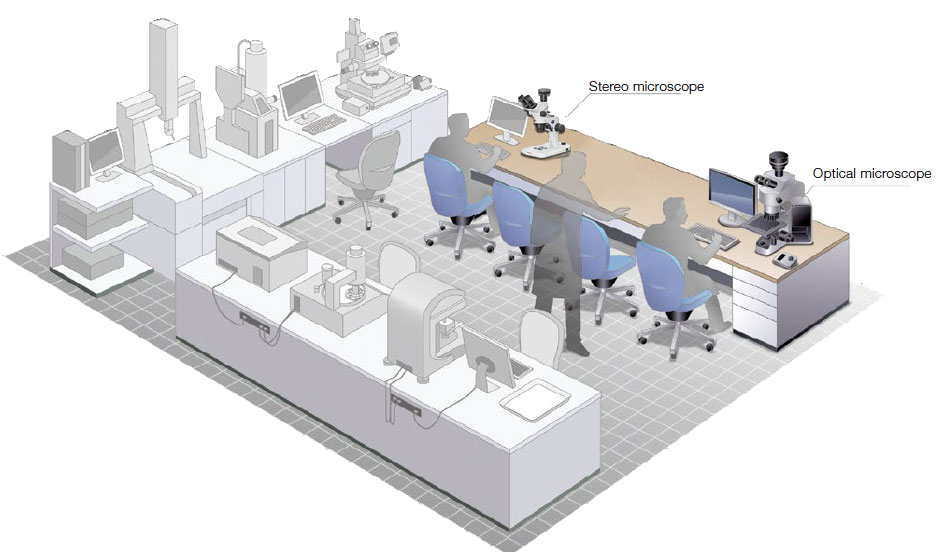
Простая настройка
Программное обеспечение позволяет беспрепятственно комбинировать микроскоп, камеру Olympus и дополнительные компоненты. При установке ПО PRECiV все необходимые драйверы устанавливаются автоматически, так что вы можете легко подключать разные модели камер Olympus и дополнительных компонентов.
PRECiV Capture
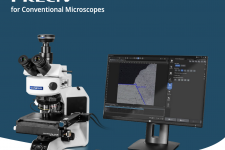
PRECiV™ CaptureEntry-Level Package with Core FeaturesPRECiV™ Capture is our entry-level package for customers who want to acquire digital images and make basic 2D measurements, transforming their existing microscopes into digital workstations for applications like incoming goods inspection. | 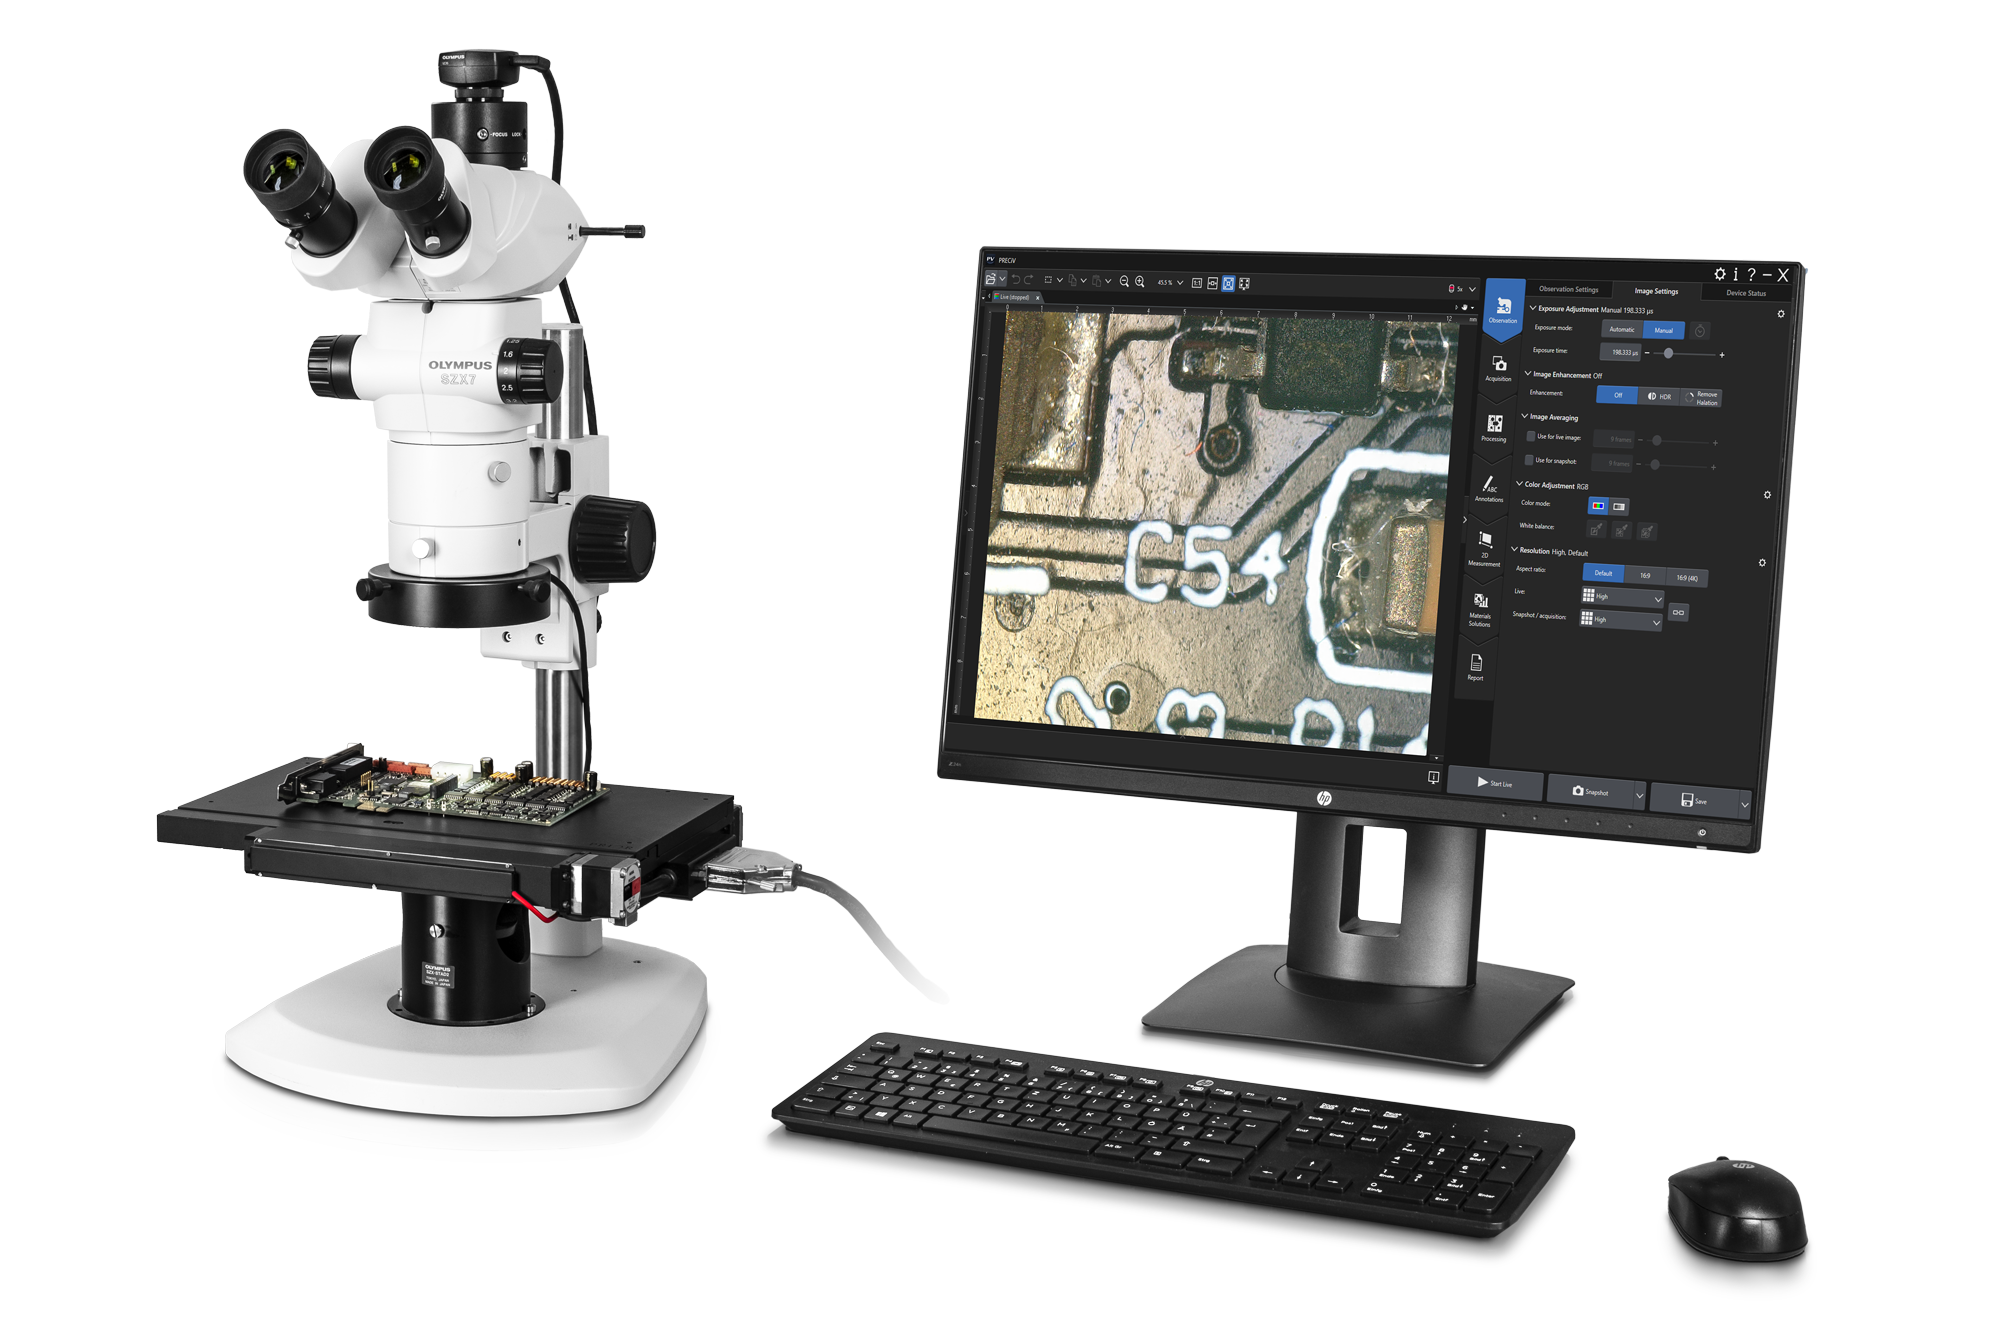 |
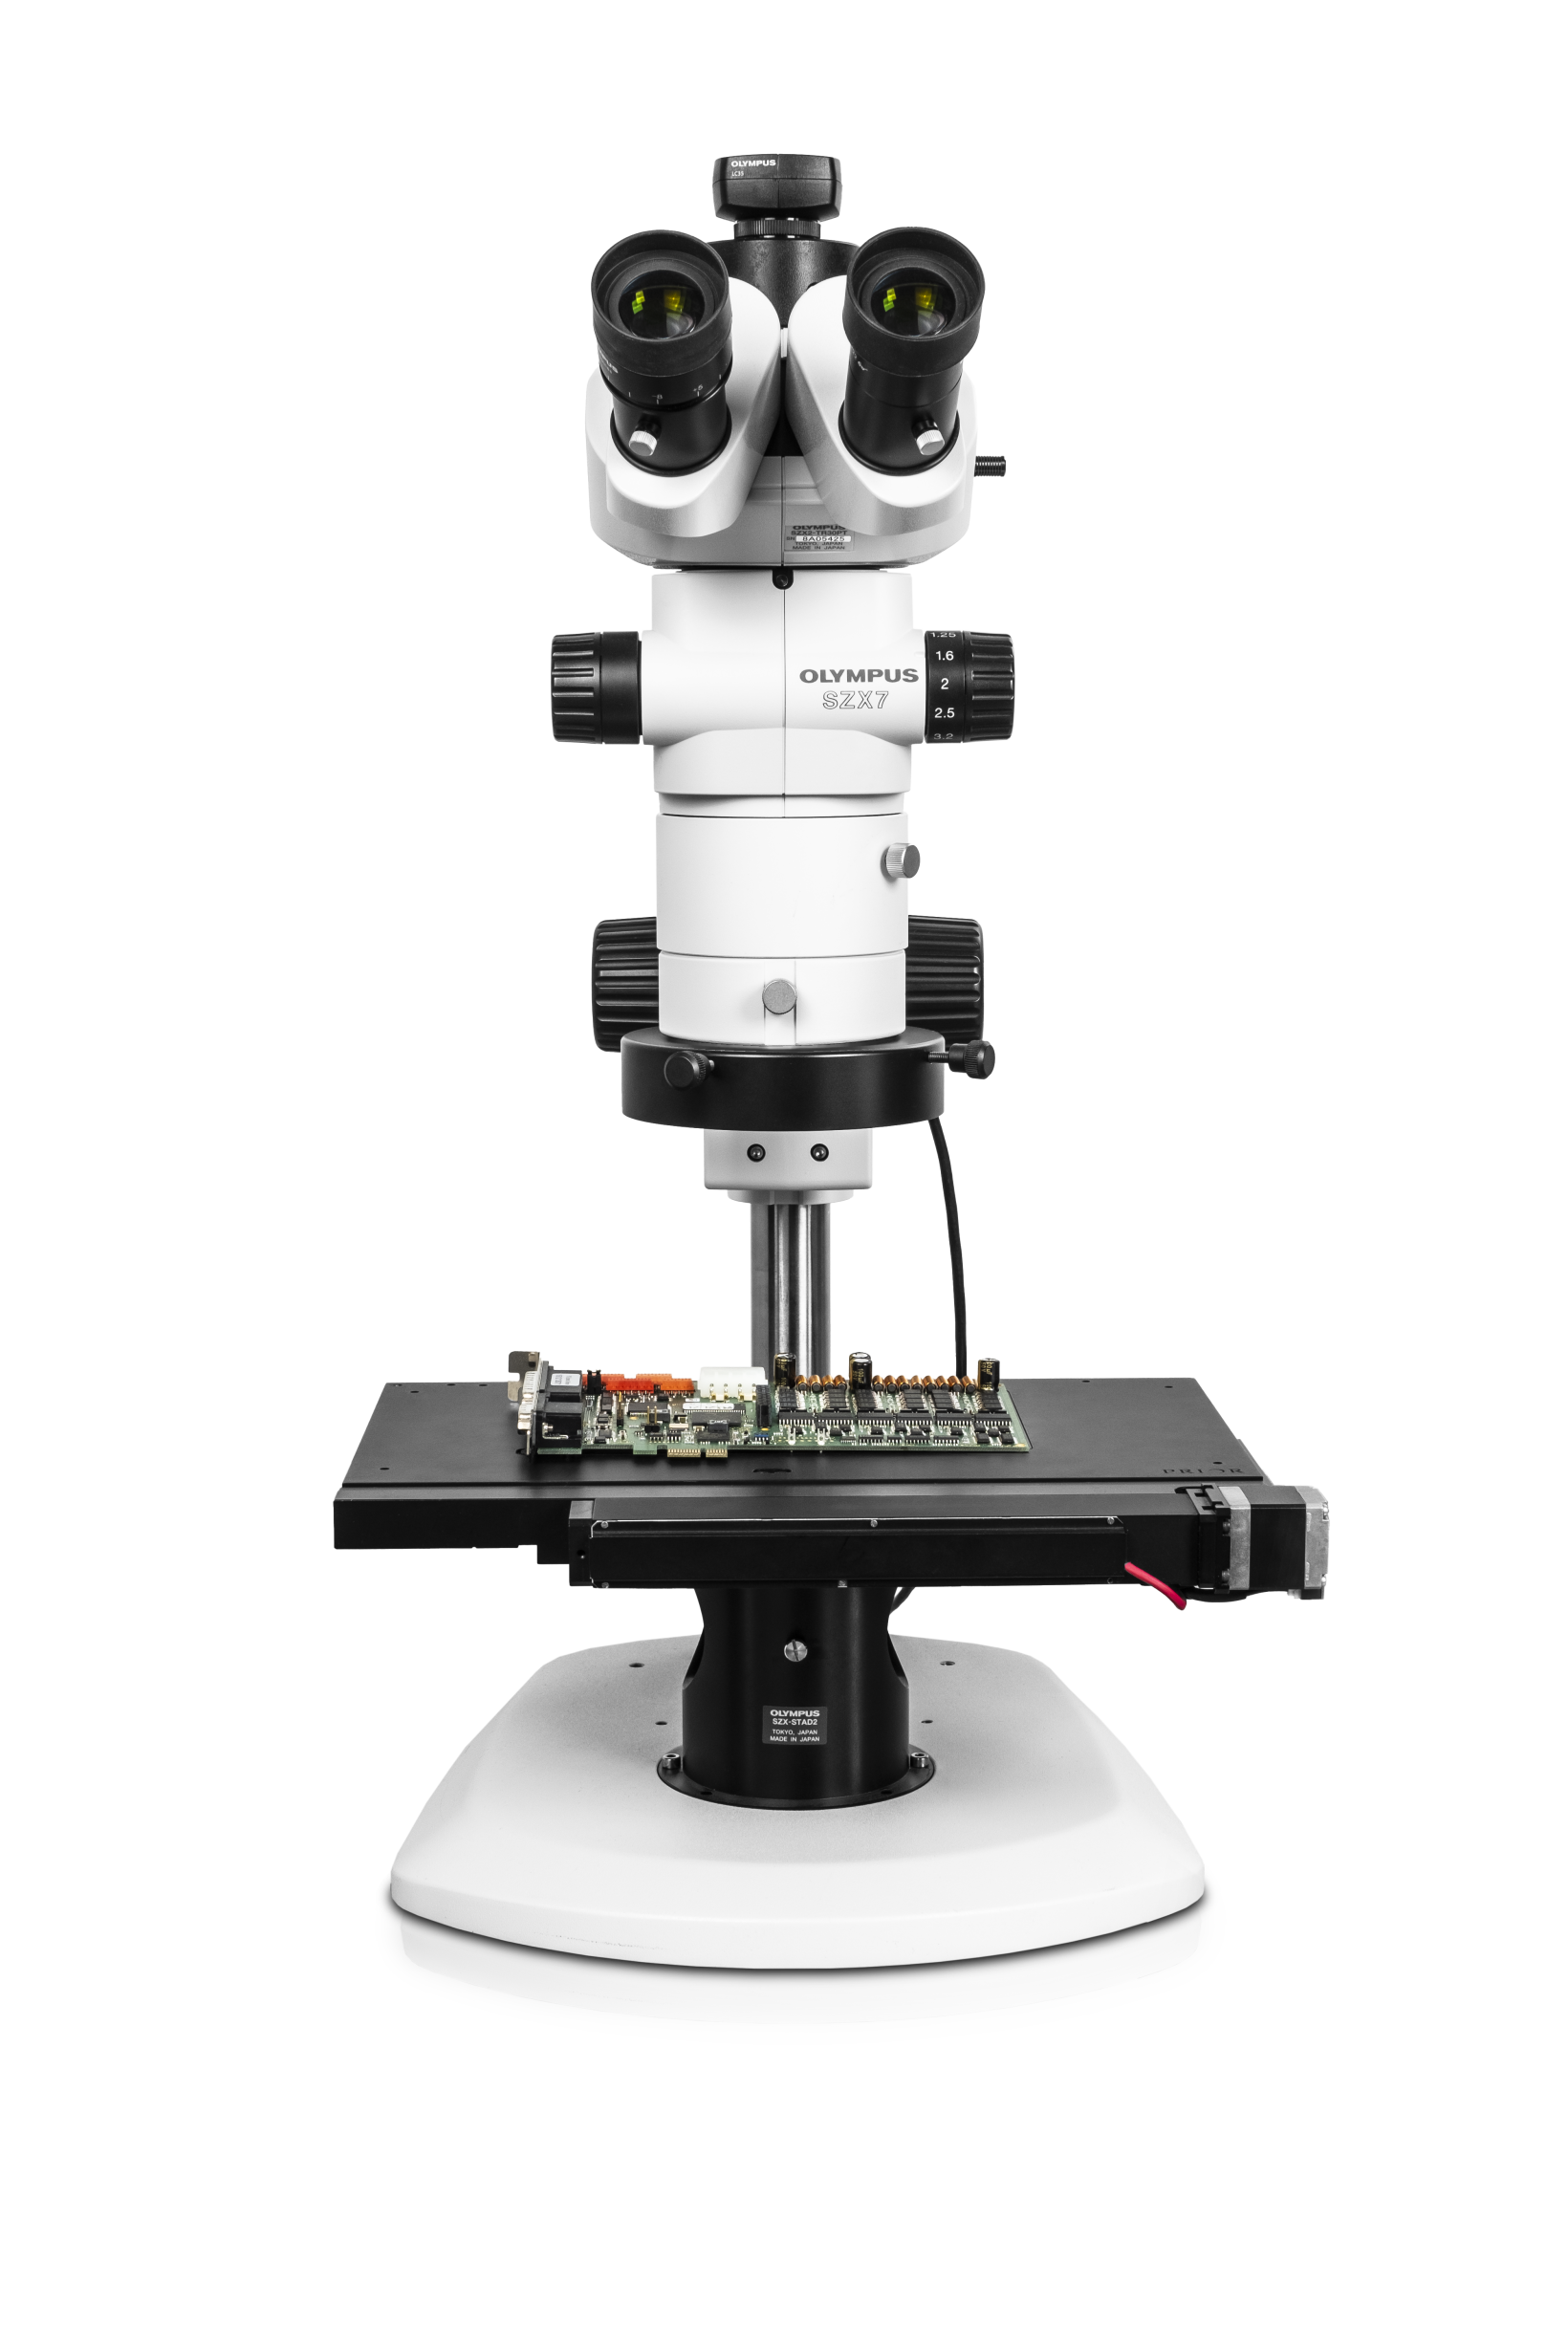
Designed for Conventional MicroscopyPRECiV Capture is used with our manual and semi-motorized microscope systems and microscope cameras as well as accessories that enable a range of imaging conditions, including brightfield, darkfield, polarization, and anti-halation. When you install PRECiV Capture all the necessary drivers are also installed, making it easy to change which products you’re using. Supported Microscope Frames
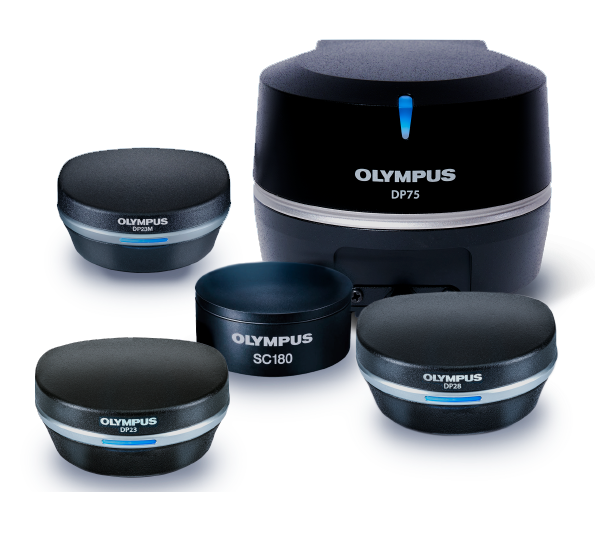
Supported Cameras
| |||||||||||||||||||||||||||||||||||||||||||||||||||||||||||||||||||||||||||||||||||||||||||||||||||||||||||||||||||||||||||||||||||||||||||
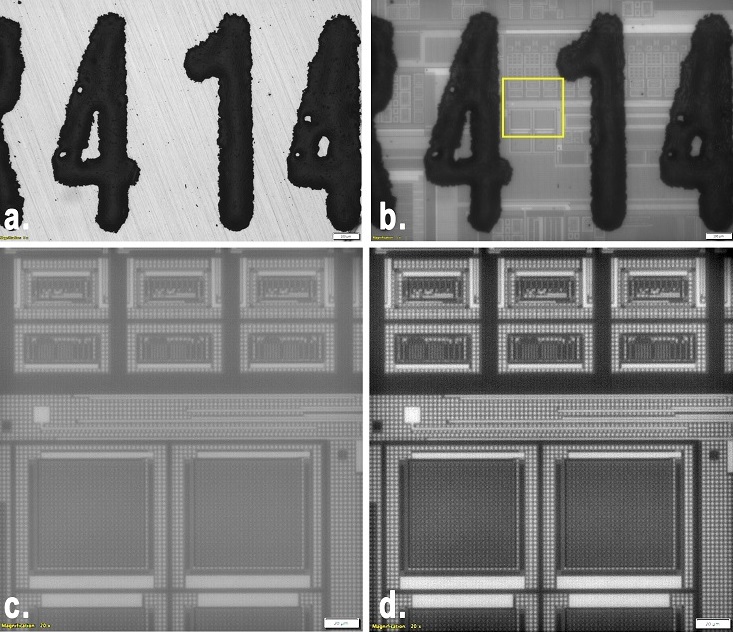
Reveal More with Infrared (IR)IR imaging is a fundamental tool for quality control and in R&D laboratories. IR mode enables nondestructive inspection through silicon layers of packaged products during the back-end stage of fabrication. PRECiV Capture has a dedicated shading correction mode for the monochrome cameras used in IR imaging. |
|
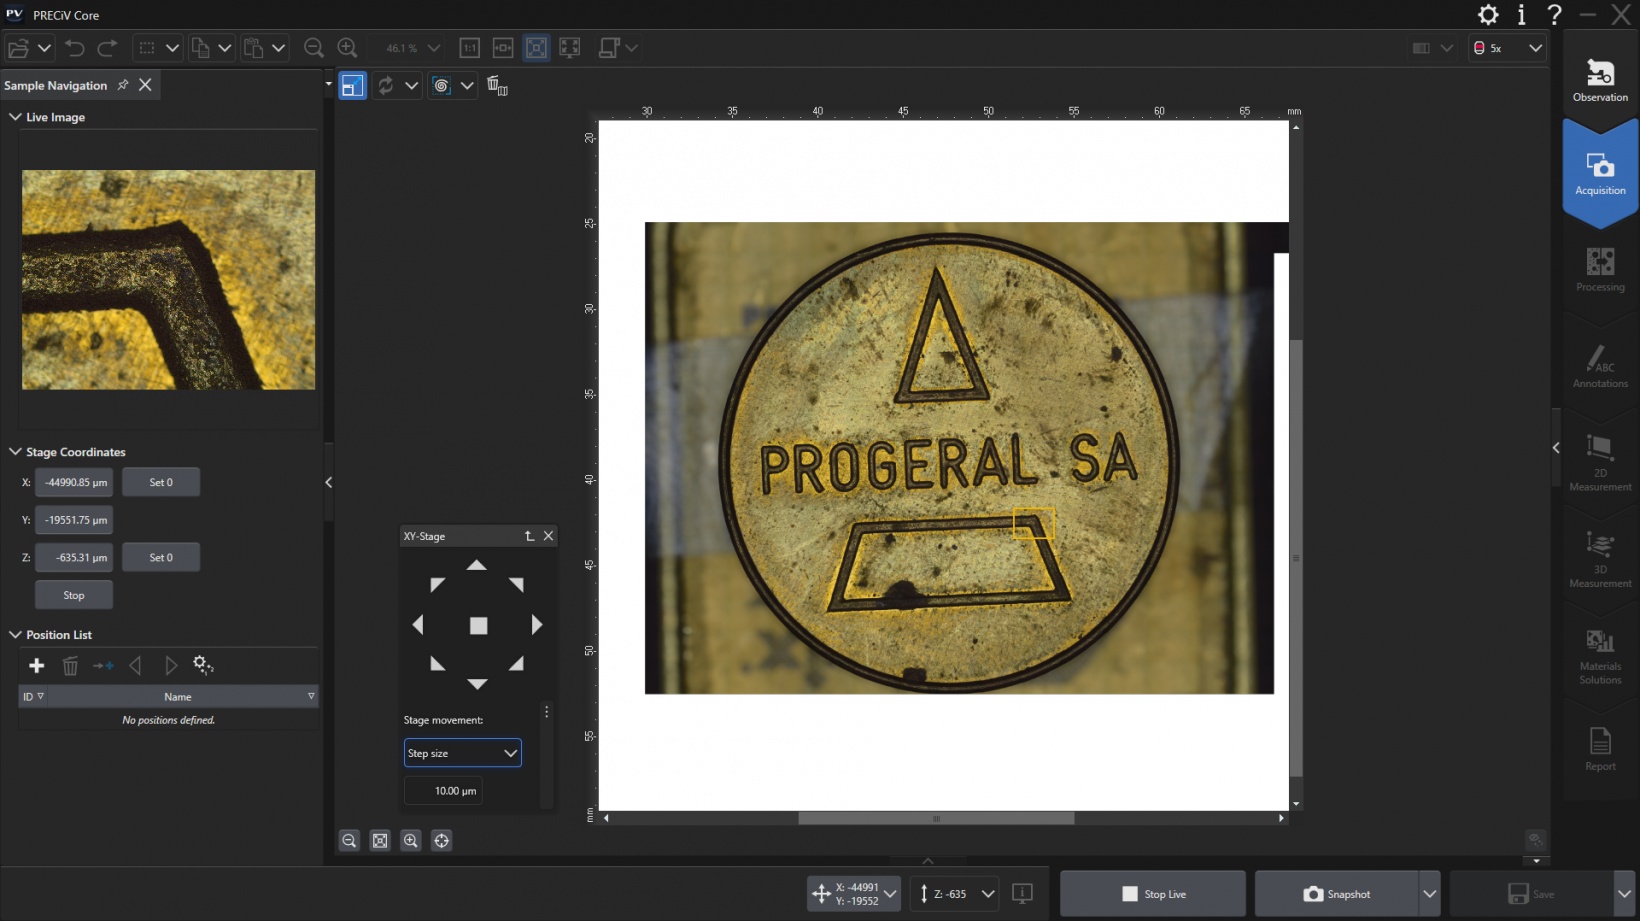
| Real-Time Image AcquisitionAll PRECiV packages come with digital live processing technology that enable you to, for example, zoom in on a live image to proof details or make interactive measurements. Acquiring high-quality images is easy as the software’s automatic exposure control, live histogram display, and over-exposure indicator helps ensure that the entire dynamic range of the camera is used while minimizing blooming or glare artifacts. The focus indicator enables you to select a region of interest and bring it into focus. The digital zoom—operated with the mouse wheel—enables you to quickly check the live image window to be sure the camera has captured the desired details—all before you actually acquire and save the image. As a result, images are produced with maximum fidelity and reproducibility, independent of the user. |
Live Image FunctionsPRECiV Capture software’s live image functions, like live overlay and live zoom, enable you to interact with the automatically calibrated live image and perform various annotations. |
Powerful Imaging ToolsDuring live observation or post-acquisition image analysis, PRECiV Capture offers several image-enhancing tools that advance your inspection capabilities and increase your probability of detection. PRECV Capture supports:
Robust color rendering and resolution provide the high-quality images required for industrial applications. PRECiV Capture also has convenient tools that enable you to optimize the live image, including live high dynamic range (HDR), anti-glare, a digital reticle, and a focus aid. | |
Enhanced ContrastHigh dynamic range (HDR) imaging improves image contrast in difficult conditions (very bright areas together with very dark areas in the same image). All cameras supported by PRECiV Capture can be used in this mode, and dedicated cameras have an available live mode. |
Basic MeasurementsPRECiV Capture software enables precise, repetitive two-dimensional interactive measurements on a live or recorded image through a combination of a simple user interface and powerful functions. Supported measurements include distance, angles, rectangles, circles, ellipses, polygons, circle-to-circle distance, angle ruler, and line ruler. Measurement results can be easily compiled in a workbook. |
PRECiV Core
PRECiV™ CoreFocused on Image QualityPRECiV™ Core is ideal for customers in QA labs and inspection rooms with a strong focus on images. PRECiV Core balances cost and features, adding extended focus images and measurement export capabilities for an excellent value. |  |
Designed for Conventional MicroscopyPRECiV Core works with our manual and semi-motorized microscope systems, microscope cameras, and accessories that enable a range of imaging conditions, including brightfield, darkfield, polarization, and anti-halation. When you install PRECiV Core and any optional modules, all the necessary drivers are also installed, making it easy to change which products you’re using. Supported Microscope FramesPRECiV Core supports:
Supported Cameras
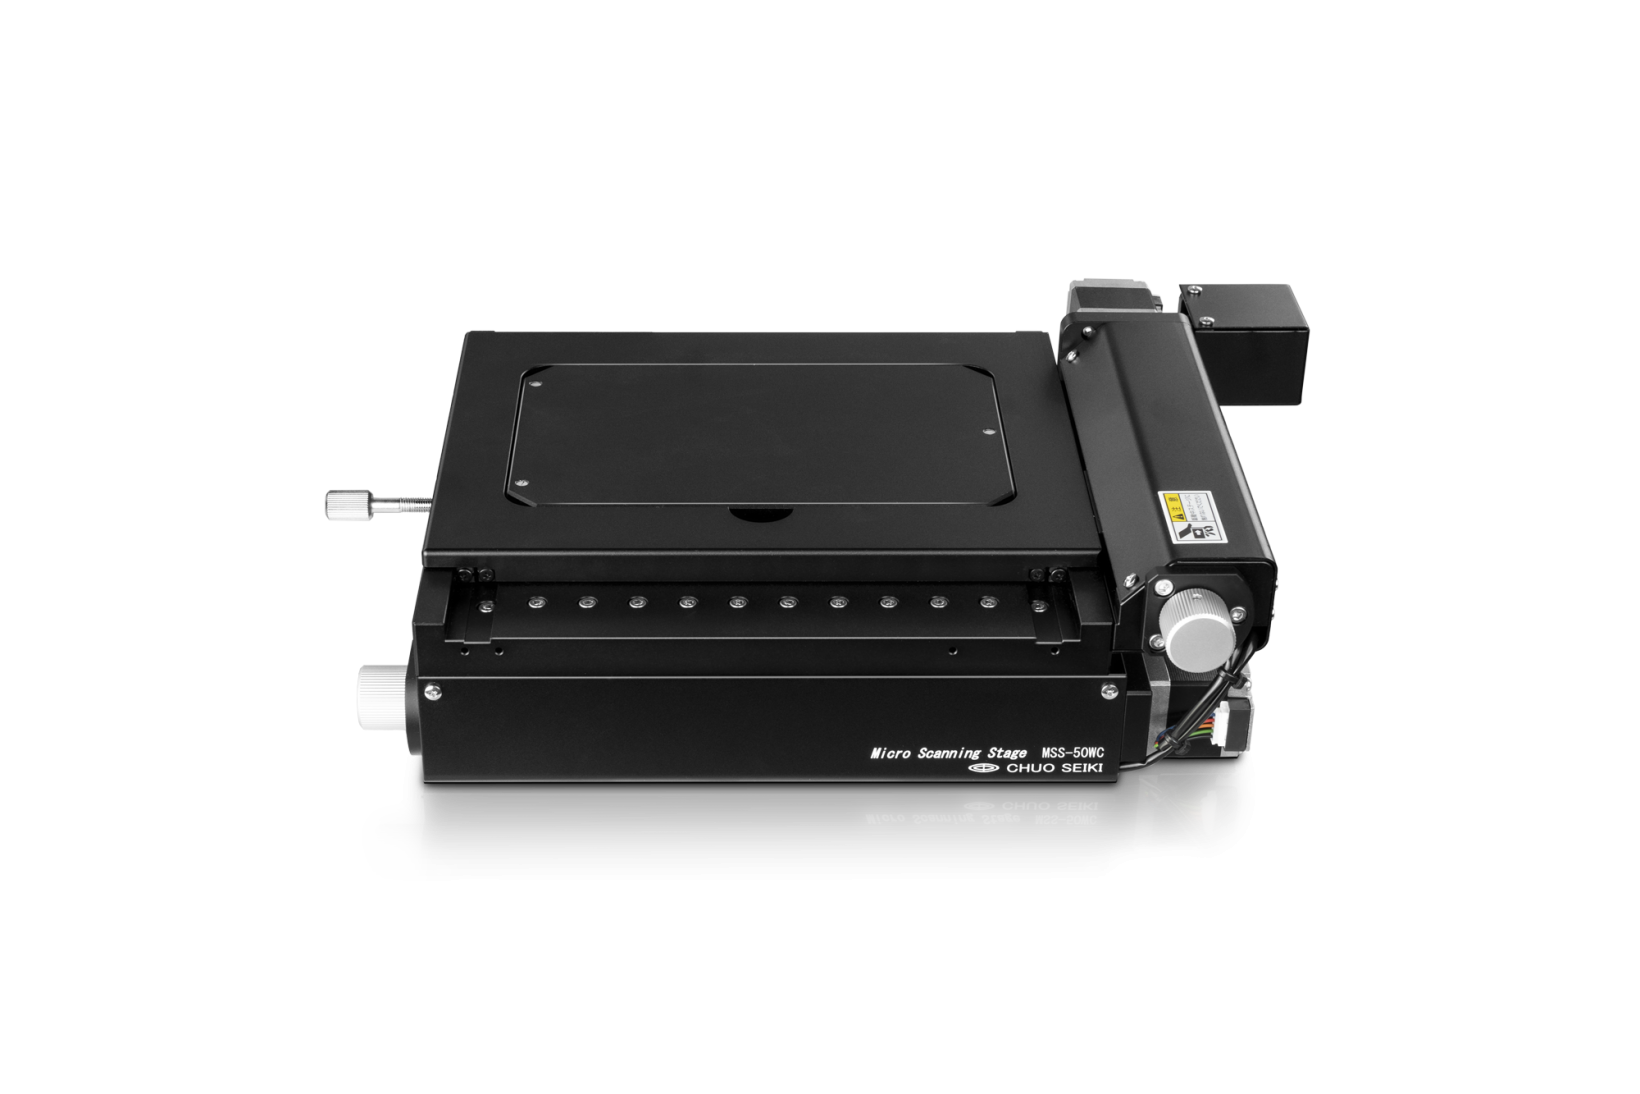
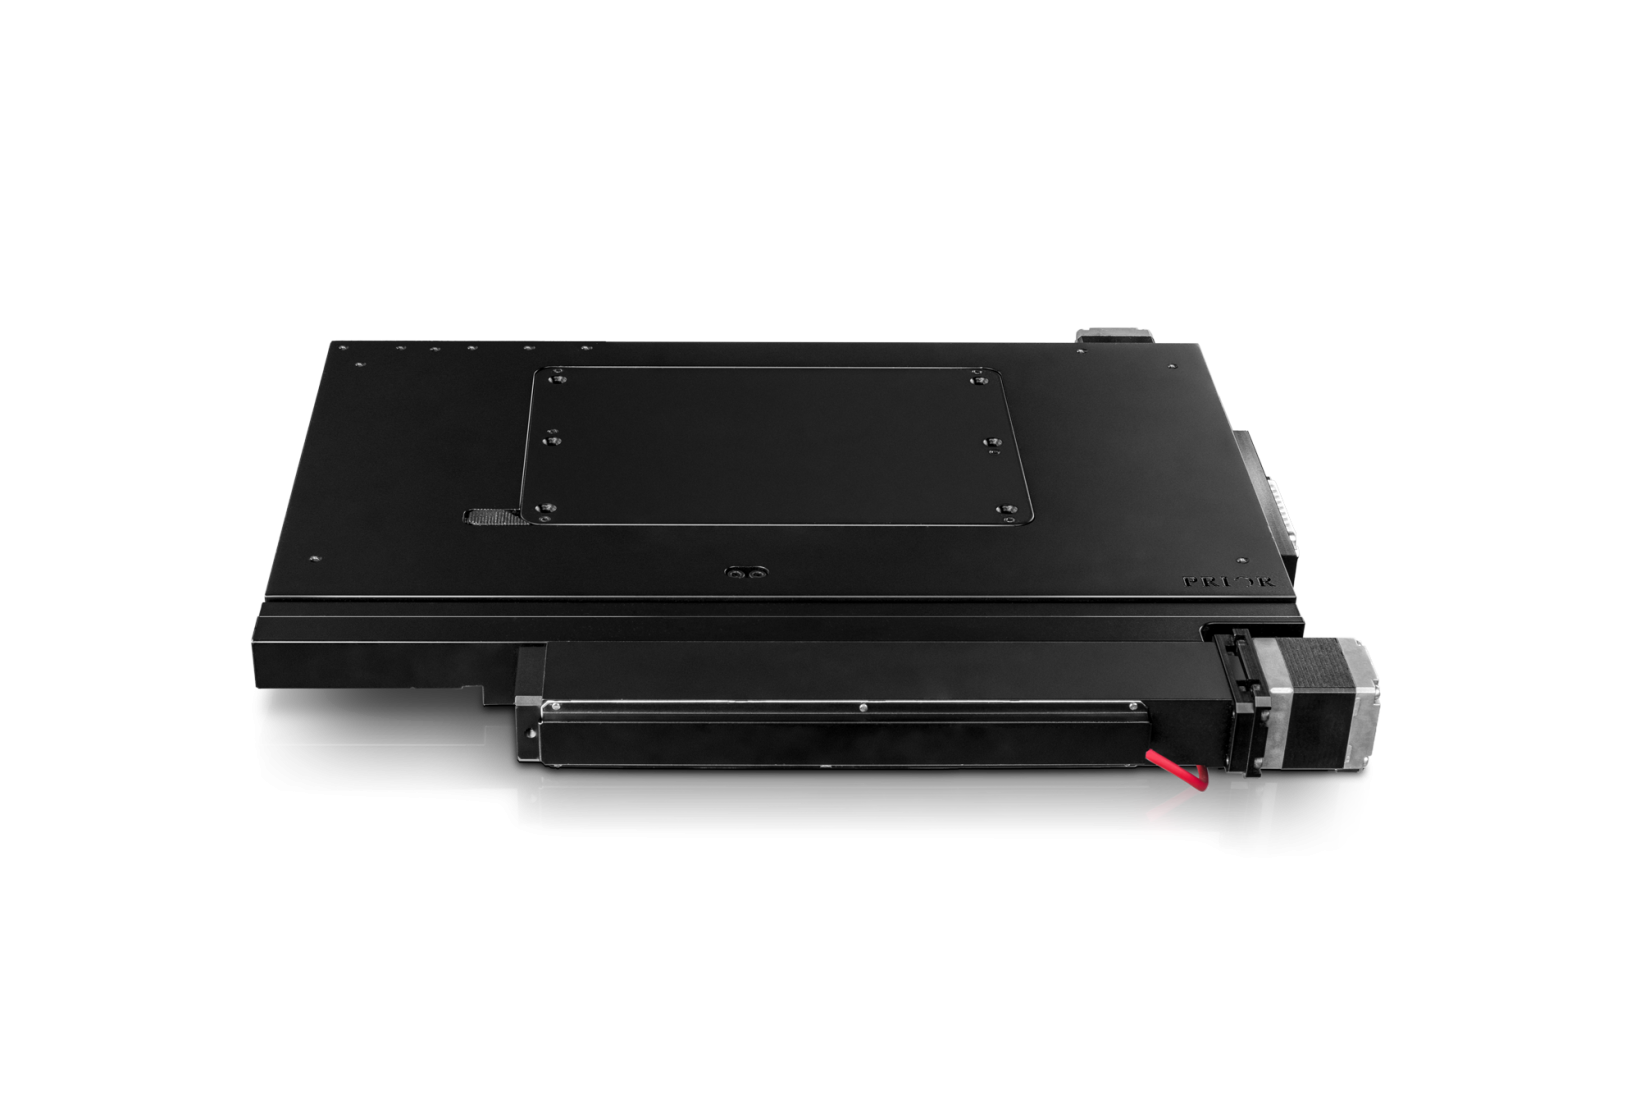
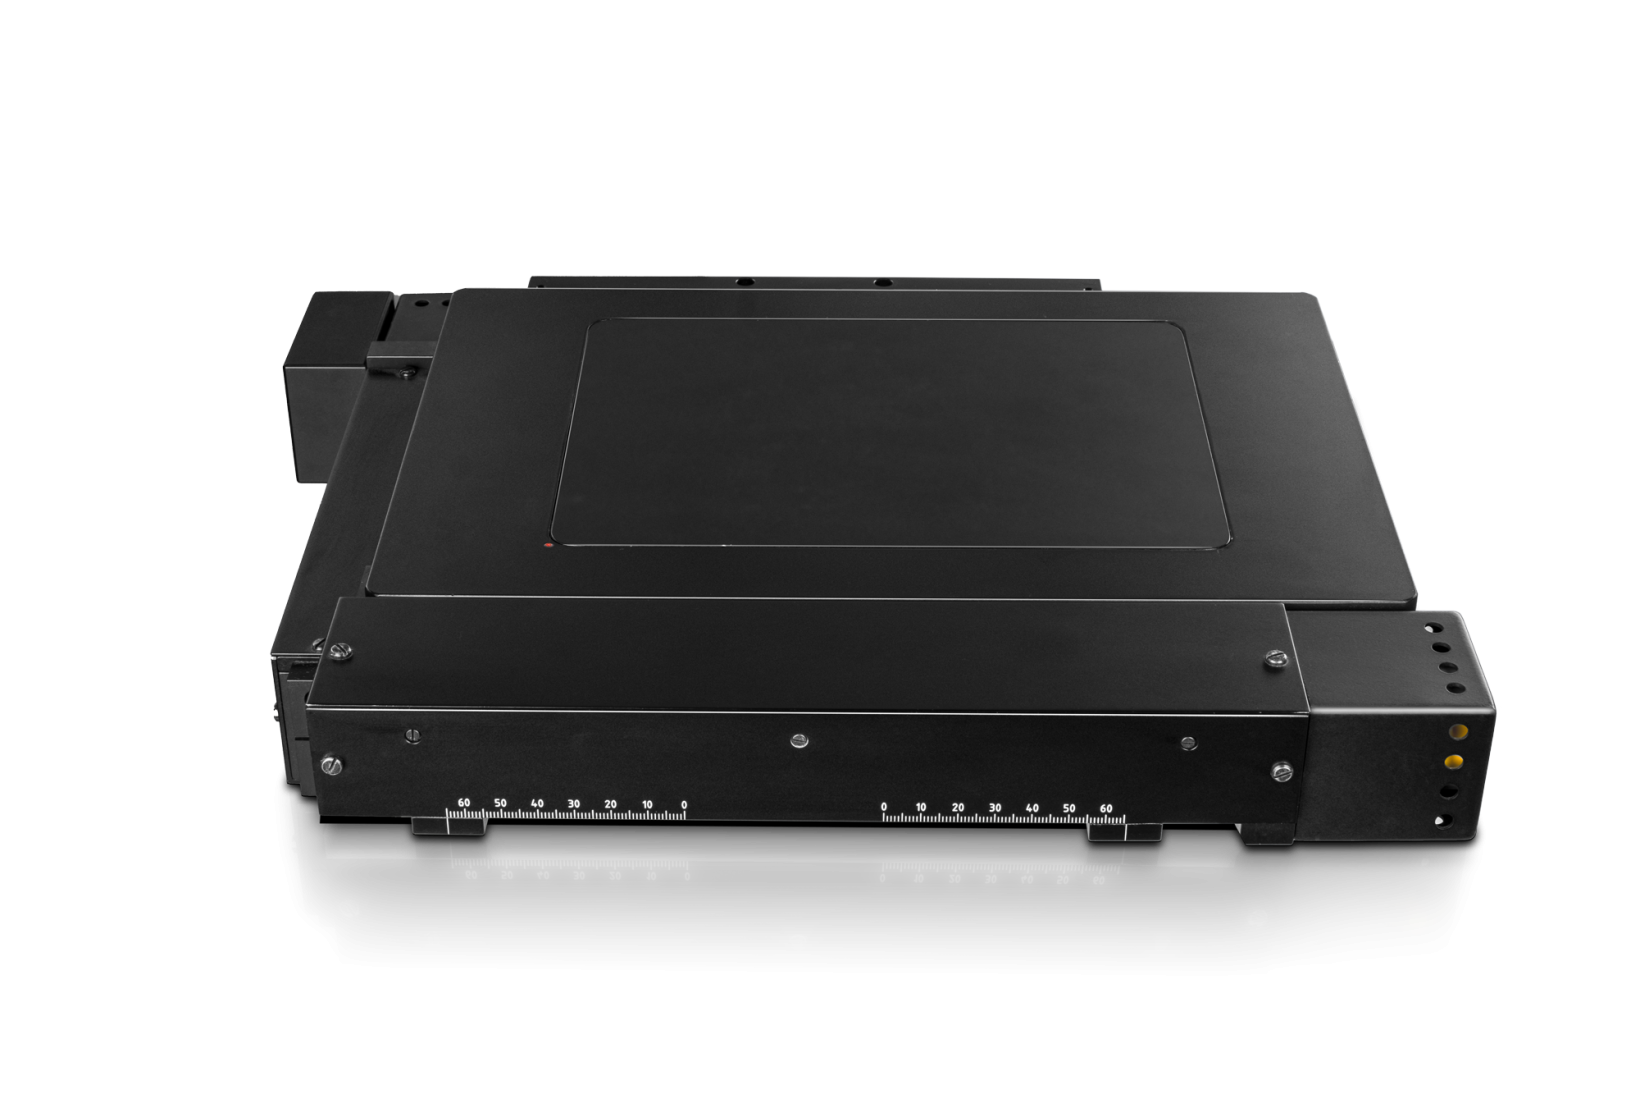
Supported Motorized Stages
*Virtual COM port (driver needs to be installed, supplied on the PRECiV setup disk) Customized Software Solutions for X, Y, Z Motorized StagesSpecially developed customized software solutions expand the X, Y, Z motorization.
| |||||||||||||||||||||||||||||||||||||||||||||||||||||||||||||||||||||||||||||||||||||||||||||||||||||||||||||||||||||||||||||||||||||||||||||||||||||||||||||||||||||||||||||||||||||||||||||||||
| Real-Time Image AcquisitionAcquiring high-quality images is easy as the software’s automatic exposure control, live histogram display, and the over-exposure indicator helps ensure that the entire dynamic range of the camera is used while minimizing blooming or glare artifacts. The focus indicator enables you to select a region of interest and bring it into focus. The digital zoom—operated with the mouse wheel—enables you to quickly check the live image window to be sure the camera has captured the desired details—all before you actually acquire and save the image. As a result, images are produced with maximum fidelity and reproducibility, independent of the user. |
Powerful Imaging ToolsDuring live observation or post-acquisition image analysis, PRECiV Core offers several image-enhancing tools that advance your inspection capabilities and increase your probability of detection. PRECiV Core supports:
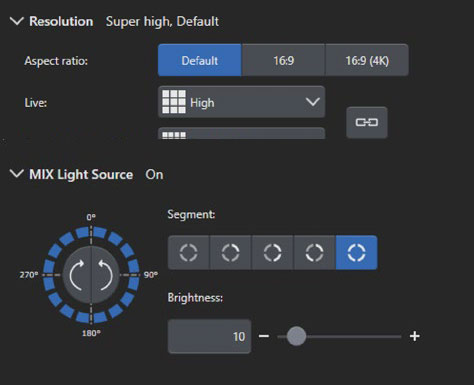
Robust color rendering and resolution provide the high-quality images required for industrial applications. PRECiV Core also has convenient tools that enable you to optimize the live image, including live high dynamic range (HDR), anti-glare, a digital reticle, and a focus aid. Enhanced ContrastHigh dynamic range (HDR) imaging improves image contrast in difficult conditions (very bright areas together with very dark areas in the same image). All cameras supported by PRECiV Core can be used in this mode, and dedicated cameras have an available live mode. MIX ObservationPRECiV Core supports MIX observation. This technique combines directional darkfield illumination, which uses a circular LED to illuminate one or more quadrants at a given time, and brightfield illumination, fluorescence, or polarization, enabling users to highlight defects and differentiate raised surfaces from depressions that are normally difficult to see with conventional microscopes. MIX observation helps reduce a sample’s halation and is useful for visualizing a sample’s surface texture.
|
Keep Everything in Focus with Manual and Instant EFI Modes
When analyzing thick samples, PRECiV Core features instant extended focal imaging (instant EFI) technology that enables you to obtain fully in-focus images by serially acquiring multiple images at different focal planes with manual devices. Starting with a simple mouse click, simply focus through the sharpness levels of your sample from top to bottom (or vice versa), and the program takes a series of snapshots and calculates one sharp image. The result can be viewed in real time during the acquisition process. |
Basic MeasurementsPRECiV Core software enables precise, repetitive two-dimensional interactive measurements on a live or recorded image through a combination of a simple user interface and powerful functions. Supported measurements include distance, angles, rectangles, circles, ellipses, polygons, circle-to-circle distance, angle ruler, and line ruler,. Measurement results can be easily compiled in a workbook and exported to Microsoft Excel. |
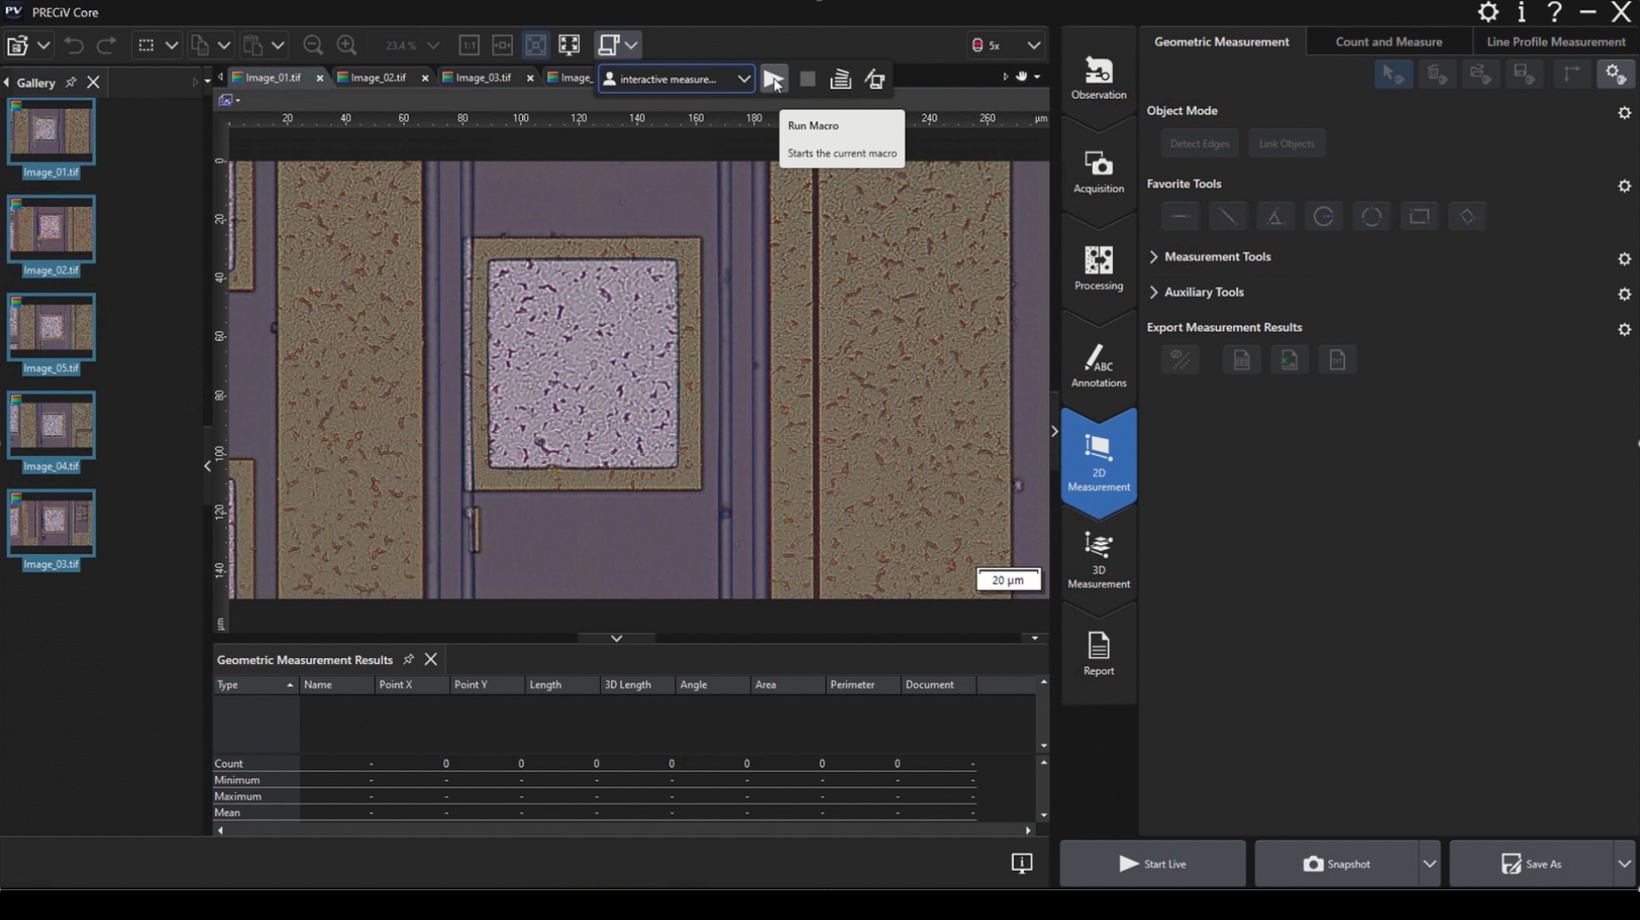
Automate Repetitive Tasks with MacrosThe PRECiV macro manager enables you to automate repetitive tasks and simplify workflows, including interactive measurements (chain measurement). Simple macros can be recorded and replayed, while an extended set of commands can also be recorded, including image processing with a neural network and create batch processing. |
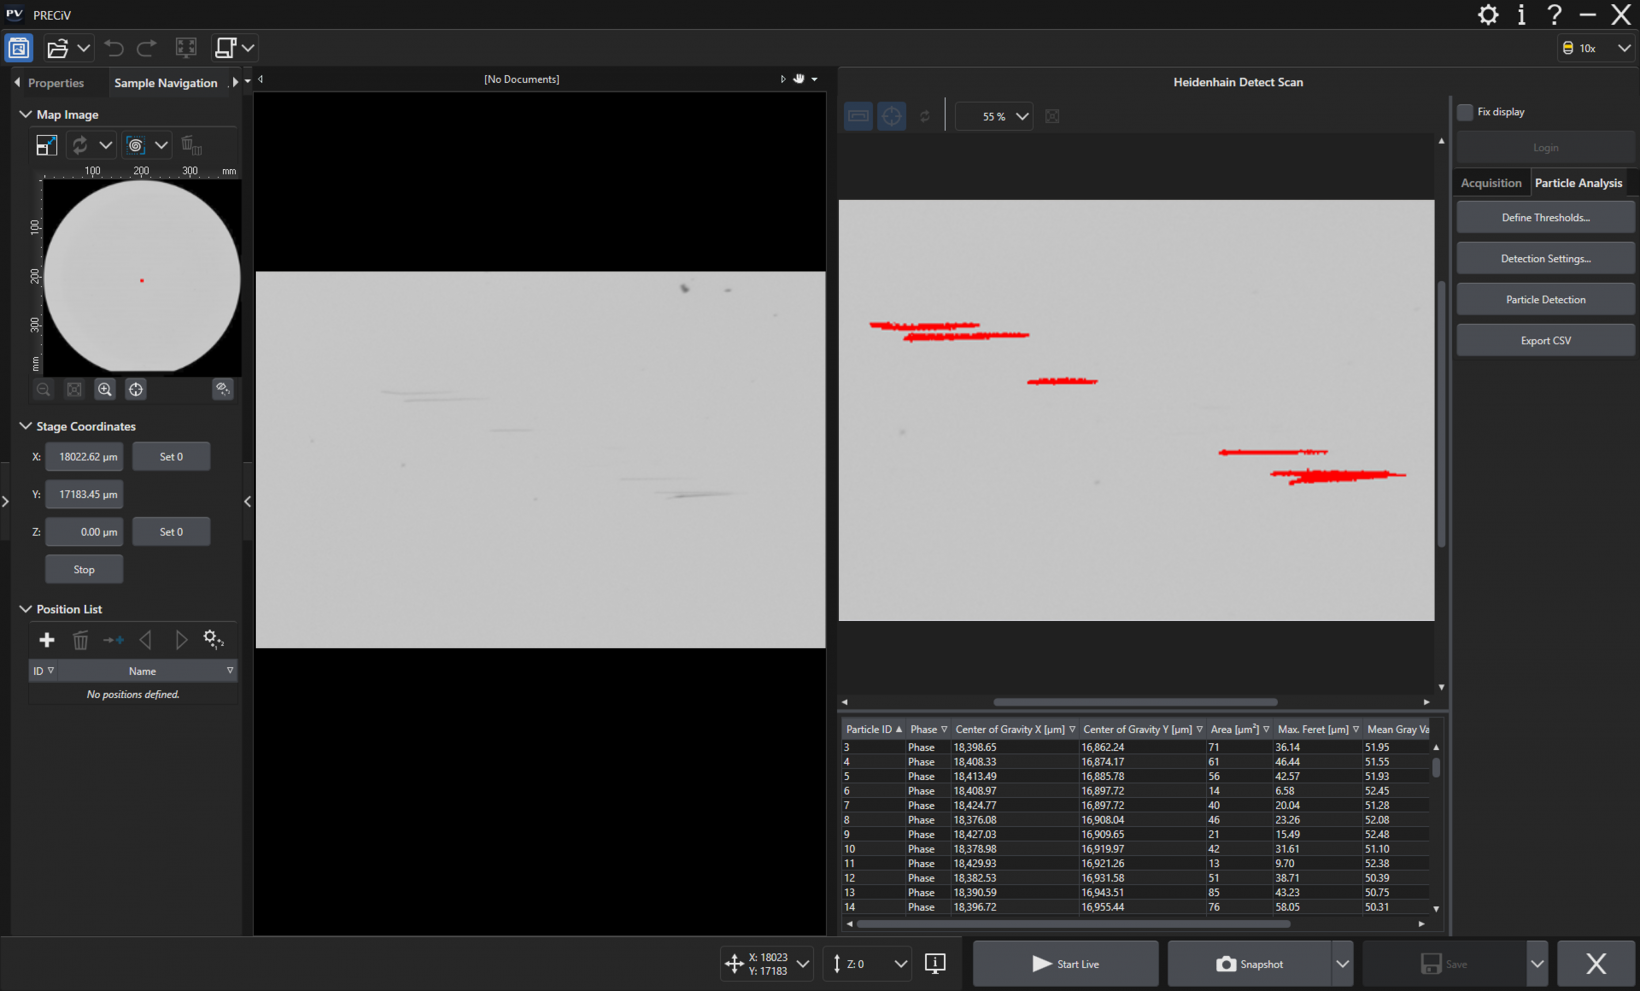
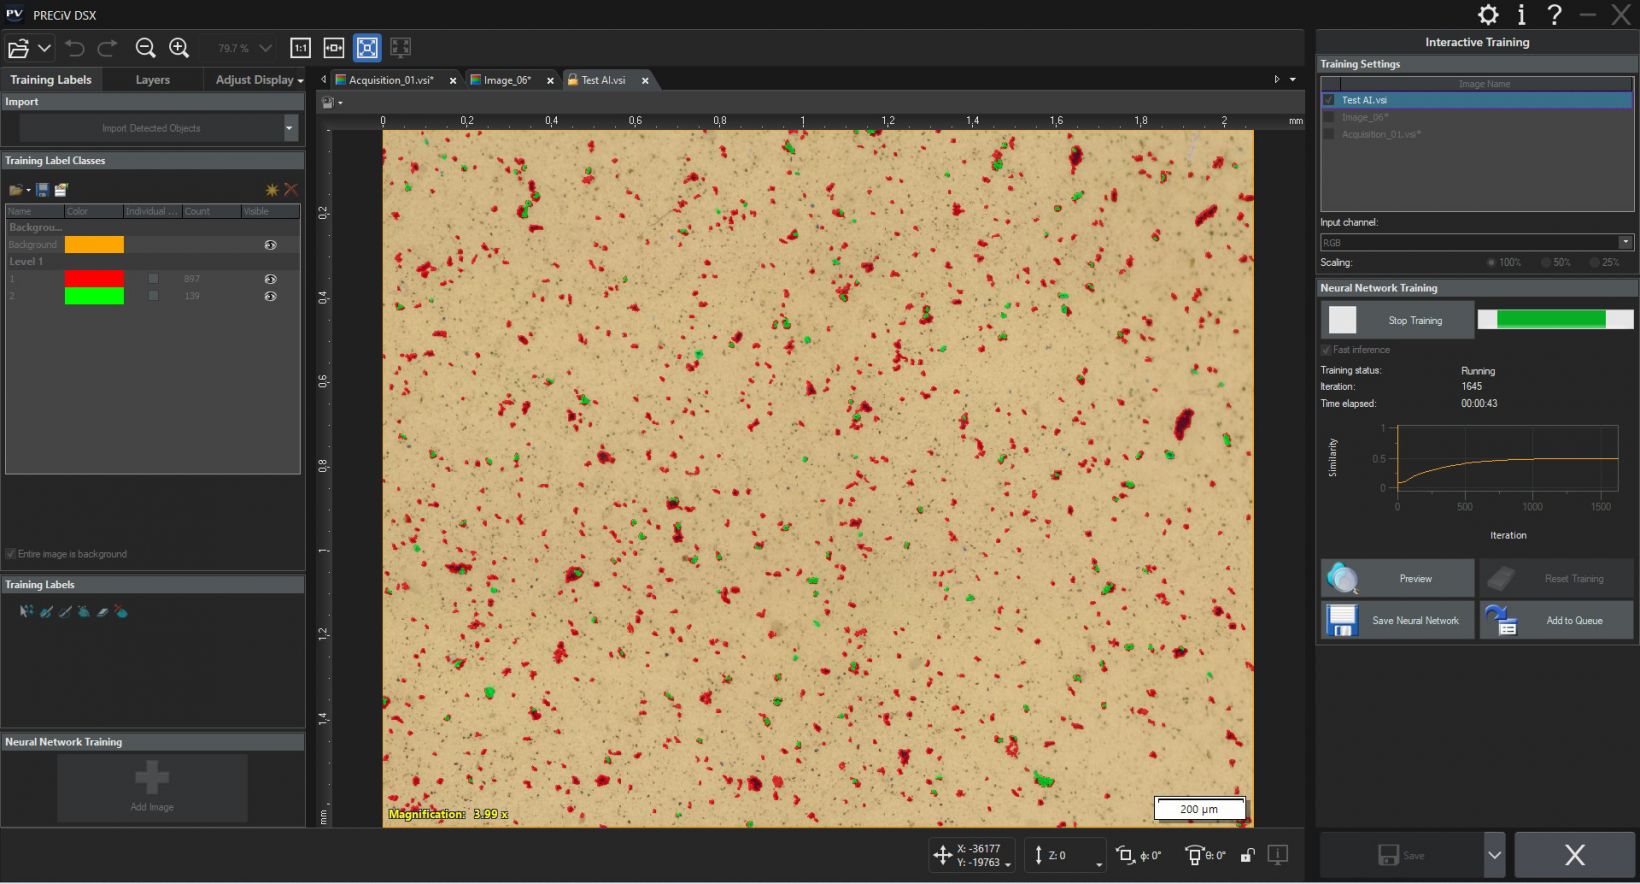
Analyze Complex Images Using AI TechnologySince image quality and contrast varies with the sample, image segmentation using classical thresholding methods lacks reproducibility and repeatability. PRECiV software with TruAI technology provides image analysis beyond classical algorithms. You can apply a trained neural network to your samples for higher reproducibility and more robust analysis. Choose between semantic or instance segmentation methods for improved neural network training, enabling you to tackle difficult applications in just one step. PRECiV TruAI™ technology also supports live AI, which uses trained neural network (inference) to detect defects in your sample on the live image.* As an option, PRECiV TruAI technology can also count the defects it identifies on the live image as well.** *Using the optional neural network training module. **Using the optional Count and Measure or dedicated Materials Solutions (phase analysis, particle distribution, porosity). |
PRECiV Core Optional Modules |
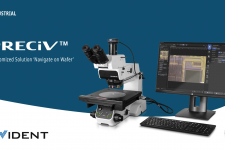
3D Acquisition—Coded and motorized Z-control with height mapping capabilities. Motorization—Control industrial and material science manual and semi-automated microscopes and motorized devices. Customized Software Solutions—Software solutions supporting X, Y, Z motorized stages (Macro to Micro, Navigate on Wafer, Measuring with stage). Neural Network Training—Train neural networks using semantic (for well separated or when object separation is irrelevant) or instance (for objects that touch, like grains) segmentation methods. 3D analysis applications—3D line profile measurements, advanced 3D measurements, and surface roughness analysis of 3D images. Count and Measure—Detecting objects and measuring size distribution are among the most important applications in digital imaging. The PRECiV Count and Measure solution uses advanced threshold methods to reliably separate objects, such as particles and scratches, from the background. Grain Sizing—Steel manufacturers use this solution for measuring and controlling grain size after cross-sectioning, polishing, or etching steel samples. Grain Sizing Intercept is based on overlaying test lines and counting the number of intercepts with grain boundaries, while Grain Sizing Planimetric reconstructs boundaries for each grain and conducts grain sizing with the area percentage of the second phase. Non-Metallic Inclusions—Steel manufacturers use this solution for measuring and controlling the shape and size of nonmetallic inclusions (oxide, alumina, sulfide, or silicate) in steel. Cast Iron—Casting manufacturers who need to measure and control the graphite nodularity and check the mechanical characteristics of their cast products use this solution. Layer Thickness—One or multiple layers of a cross-sectioned sample can be measured using the Layer Thickness solution. The shapes are defined, and the layers automatically measured. Porosity—This solution enables pores to be measured either for area fraction or the number of surface pores using regions of interest (ROIs) (circular, triangular, rectangular, and polygonal) and thresholds. Particle Distribution—This solution is used to create particle size distribution histograms and tables from multiple images or image series. Coating Thickness—This solution enables the measurement of coating thickness from top-view images using the Calotest method. Phase Analysis—This feature offers an integrated solution to perform phase analysis on a selection of various regions of interest (ROIs) including triangles, circles, rectangles, and polygons. Dendrite Arm Spacing—This solution is used to manually or automatically determine the mean dendrite arm spacing in cast aluminum. Chart Comparison on Selected Standards for Grain Sizing, Graphite Sizing, Non-Metallic Inclusion, and Hardened Metals—A live or still image can be overlaid onto standard charts for comparison. Function preview is available. |
PRECiV Pro
PRECiV™ ProRobust Measurement and ReportingPRECiV™ Pro has the complete set of features and functions, making it the most powerful and versatile version of the software. The Pro version has the tools required for customers in QA/QC, failure analysis, and anyone who needs to produce analytical reports and measurements to validate a sample or production lot. | 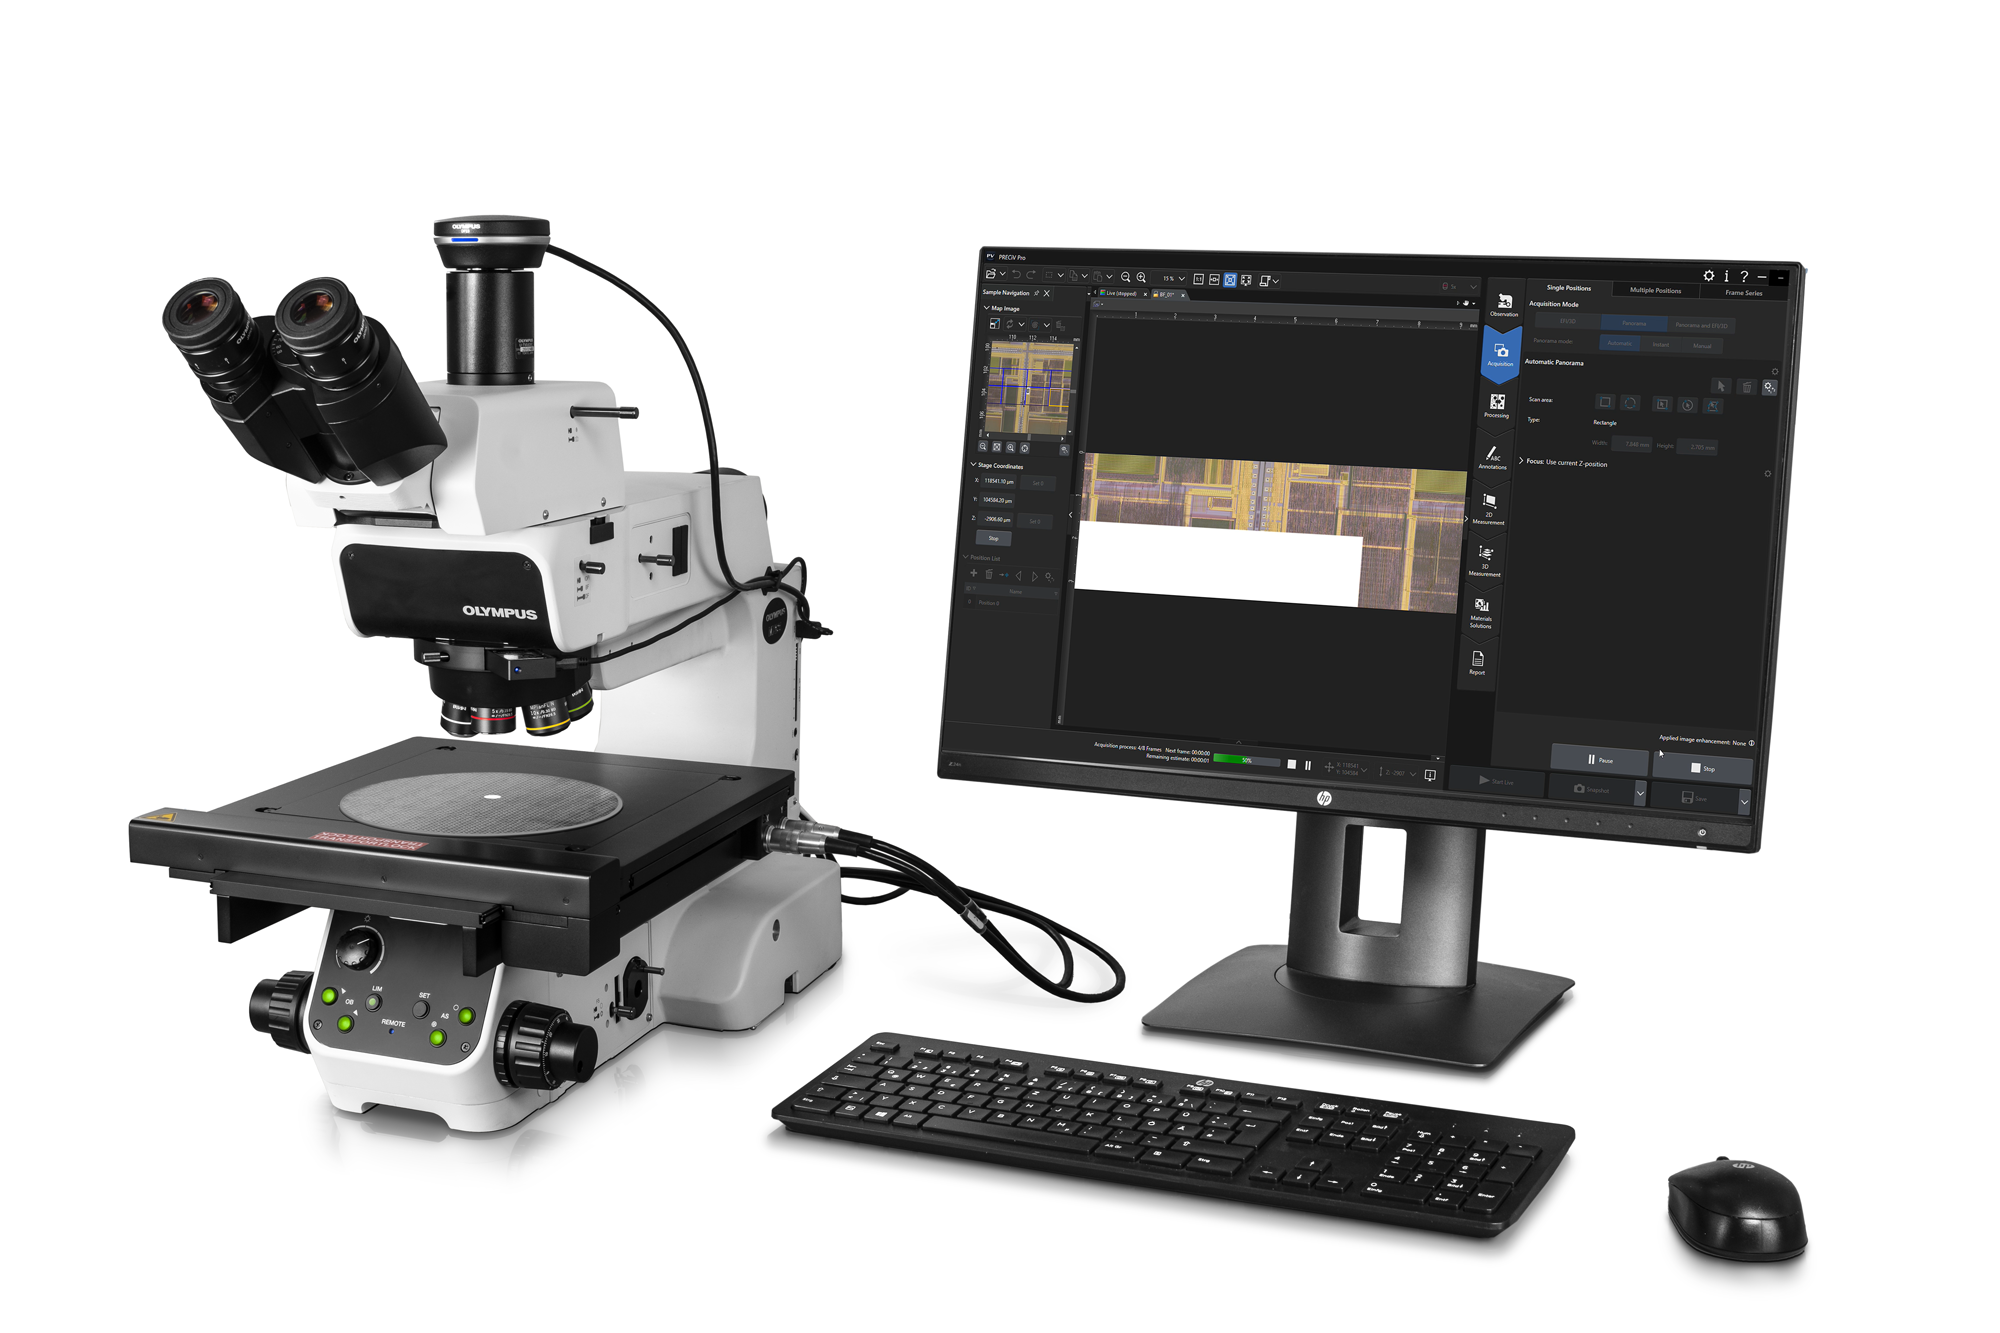 |
Designed for Conventional MicroscopyPRECiV Pro works with our manual and semi-motorized microscope systems, microscope cameras, and accessories that enable a range of imaging conditions, including brightfield, darkfield, polarization, and anti-halation. When you install PRECiV Pro and any optional modules, all the necessary drivers are also installed, making it easy to change which products you’re using. Supported Microscope FramesPRECiV Pro supports:
Supported Cameras
Supported Motorized Stages
*Virtual COM port (driver needs to be installed, supplied on the PRECiV setup disk) Customized Software Solutions for X, Y, Z Motorized Stages
| |||||||||||||||||||||||||||||||||||||||||||||||||||||||||||||||||||||||||||||||||||||||||||||||||||||||||||||||||||||||||||||||||||||||||||||||||||||||||||||||||||||||||||||||||||||||||||||||||
| Real-Time Image AcquisitionAll PRECiV packages come with digital live processing technology that enable you to, for example, zoom in on a live image to proof details or make interactive measurements. Acquiring high-quality images is easy as the software’s automatic exposure control, live histogram display, and the over-exposure indicator helps ensure that the entire dynamic range of the camera is used while minimizing blooming or glare artifacts. The focus indicator enables you to select a region of interest and bring it into focus. The digital zoom—operated with the mouse wheel—enables you to quickly check the live image window to be sure the camera has captured the desired details—all before you actually acquire and save the image. As a result, images are produced with maximum fidelity and reproducibility, independent of the user. |
Movie Recording and Time-Lapse ImagingYou can easily record movies or use the time-lapse acquisition mode to acquire and process time-lapse series. |
Powerful Imaging ToolsDuring live observation or post-acquisition image analysis, PRECiV Pro offers several image-enhancing tools that advance your inspection capabilities and increase your probability of detection. PRECiV Pro supports:
Robust color rendering and resolution provide the high-quality images required for industrial applications. PRECiV Pro also has convenient tools that enable you to optimize the live image, including live high dynamic range (HDR), anti-glare, a digital reticle, and a focus aid. Enhanced ContrastHigh dynamic range (HDR) imaging improves image contrast in difficult conditions (very bright areas together with very dark areas in the same image). All cameras supported by PRECiV Pro can be used in this mode, and dedicated cameras have an available live mode. MIX ObservationPRECiV Pro supports MIX observation. This technique combines directional darkfield illumination, which uses a circular LED to illuminate one or more quadrants at a given time, and brightfield illumination, fluorescence, or polarization, enabling users to highlight defects and differentiate raised surfaces from depressions that are normally difficult to see with conventional microscopes. MIX observation helps reduce a sample’s halation and is useful for visualizing a sample’s surface texture.
|
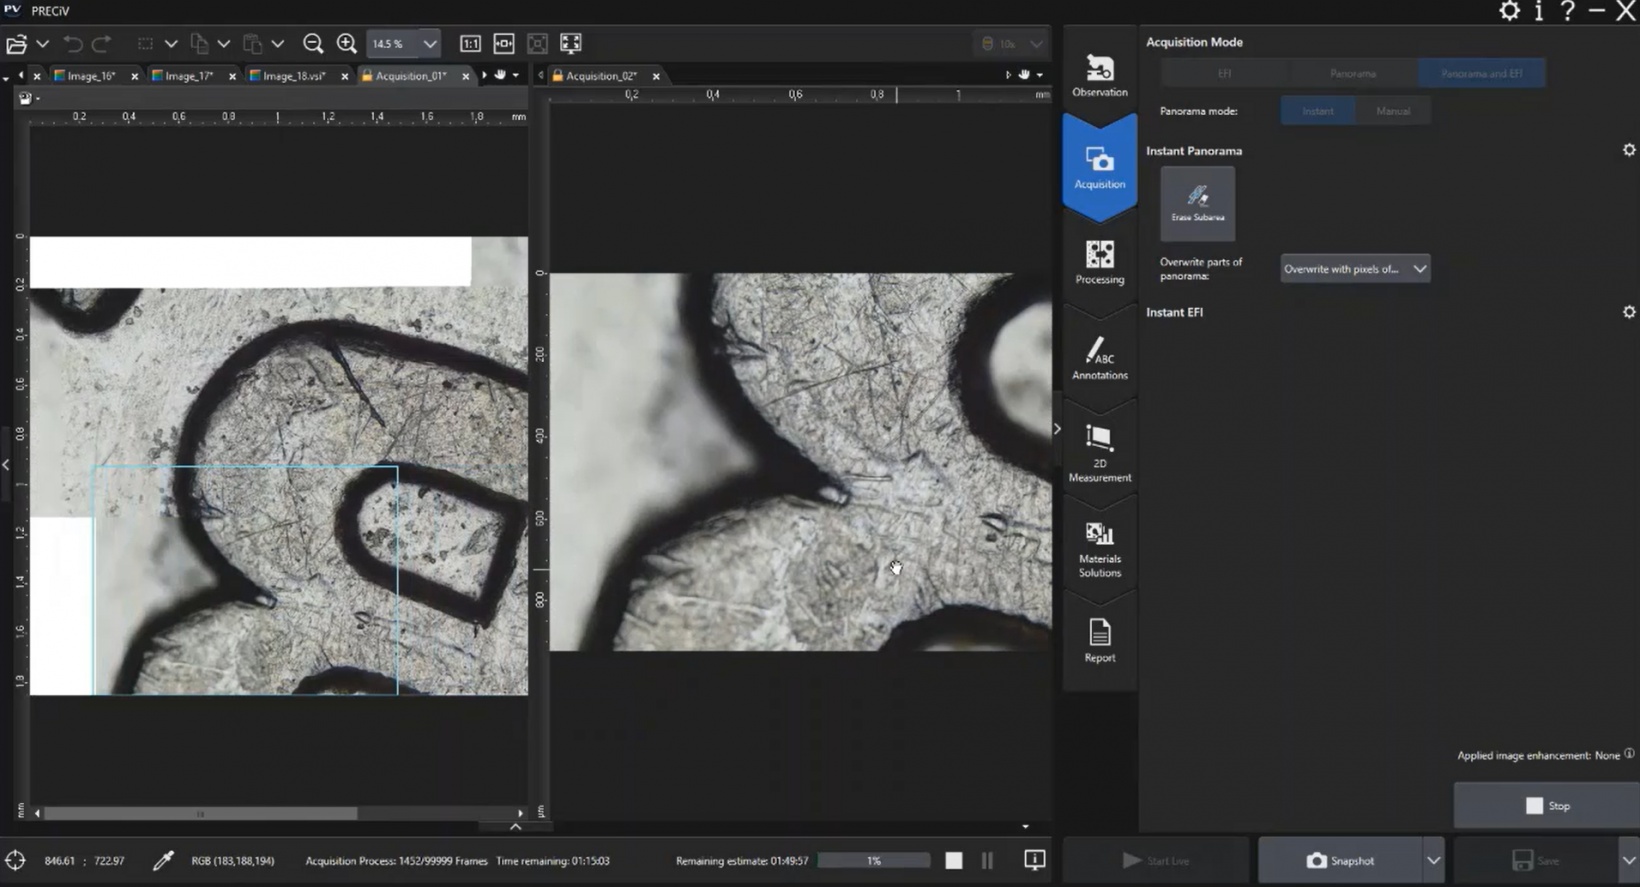
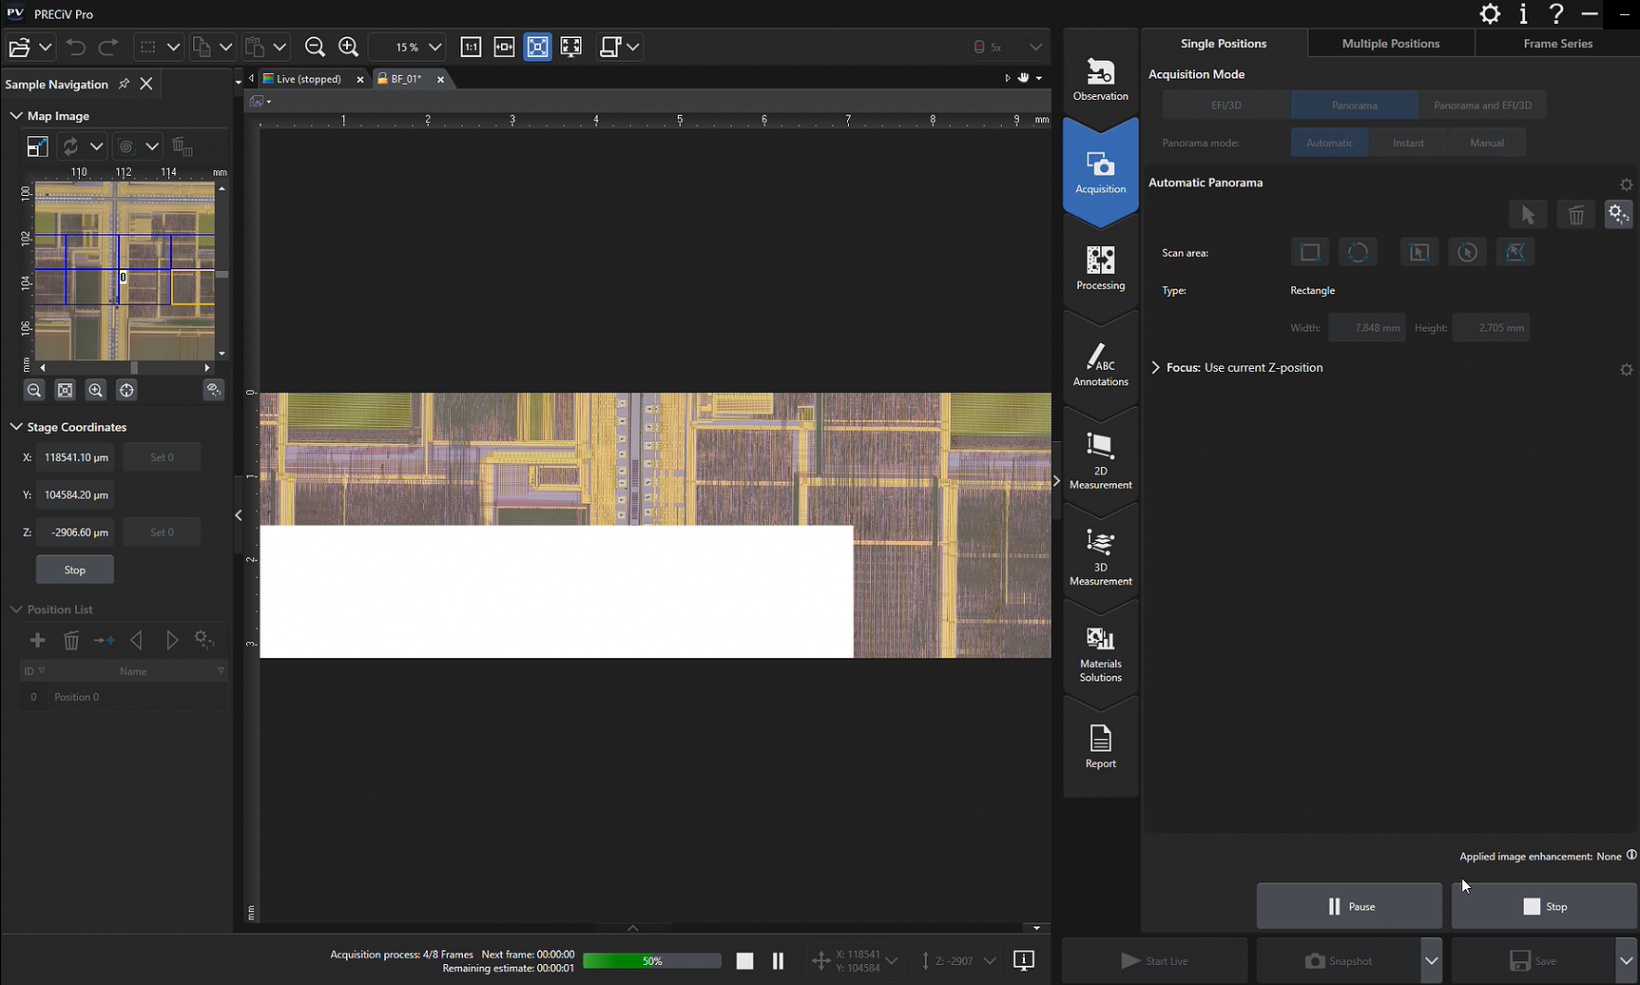
Acquire Combined Panorama and EFI ImagesThe extended focal imaging (EFI) function enables you to obtain fully in-focus images by serially acquiring multiple images at different focal planes with manual and motorized devices. In manual mode, the panorama function enables you to acquire images larger than the microscope’s field of view by moving the stage across the sample manually or using an automated stage. Using PRECiV Pro software, you can now combine the instant EFI and panorama functions—even for manual microscope stages—while keeping both hands on the microscope. A colored frame indicator shows the quality of each image being stitched together, while a split screen shows the live image and stitched image side by side. With motorized devices, the acquisition of such combined panorama and EFI images runs completely automatically*. *Requires the optional modules Motorization or 3D Acquisition
|
Advanced Interactive MeasurementsPRECiV Pro enables precise, repetitive two-dimensional measurements on a live or recorded image through a combination of a simple user interface and powerful functions like auto edge detection, which makes it easy to reliably measure the distance between points. Other helpful measurement features include:
Measurement results can be compiled in a workbook and easily exported to Excel. |
Automate Repetitive Tasks with MacrosThe PRECiV macro manager enables you to automate repetitive tasks and simplify workflows, including interactive measurements (chain measurement). Simple macros can be recorded and replayed, while an extended set of commands can also be recorded, including image processing with a neural network and create batch processing. |
Analyze Complex Images Using AI TechnologySince image quality and contrast varies with the sample, image segmentation using classical thresholding methods lacks reproducibility and repeatability. PRECiV software with TruAI technology provides image analysis beyond classical algorithms. You can apply a trained neural network to your samples for higher reproducibility and more robust analysis. Choose between semantic or instance segmentation methods for improved neural network training, enabling you to tackle difficult applications in just one step. PRECiV TruAI™ technology also supports live AI, which uses trained neural network (inference) to detect defects in your sample on the live image.* As an option, PRECiV TruAI technology can also count the defects it identifies on the live image as well.** *Using the optional neural network training module. **Using the optional Count and Measure or dedicated Materials Solutions (phase analysis, particle distribution, porosity). |
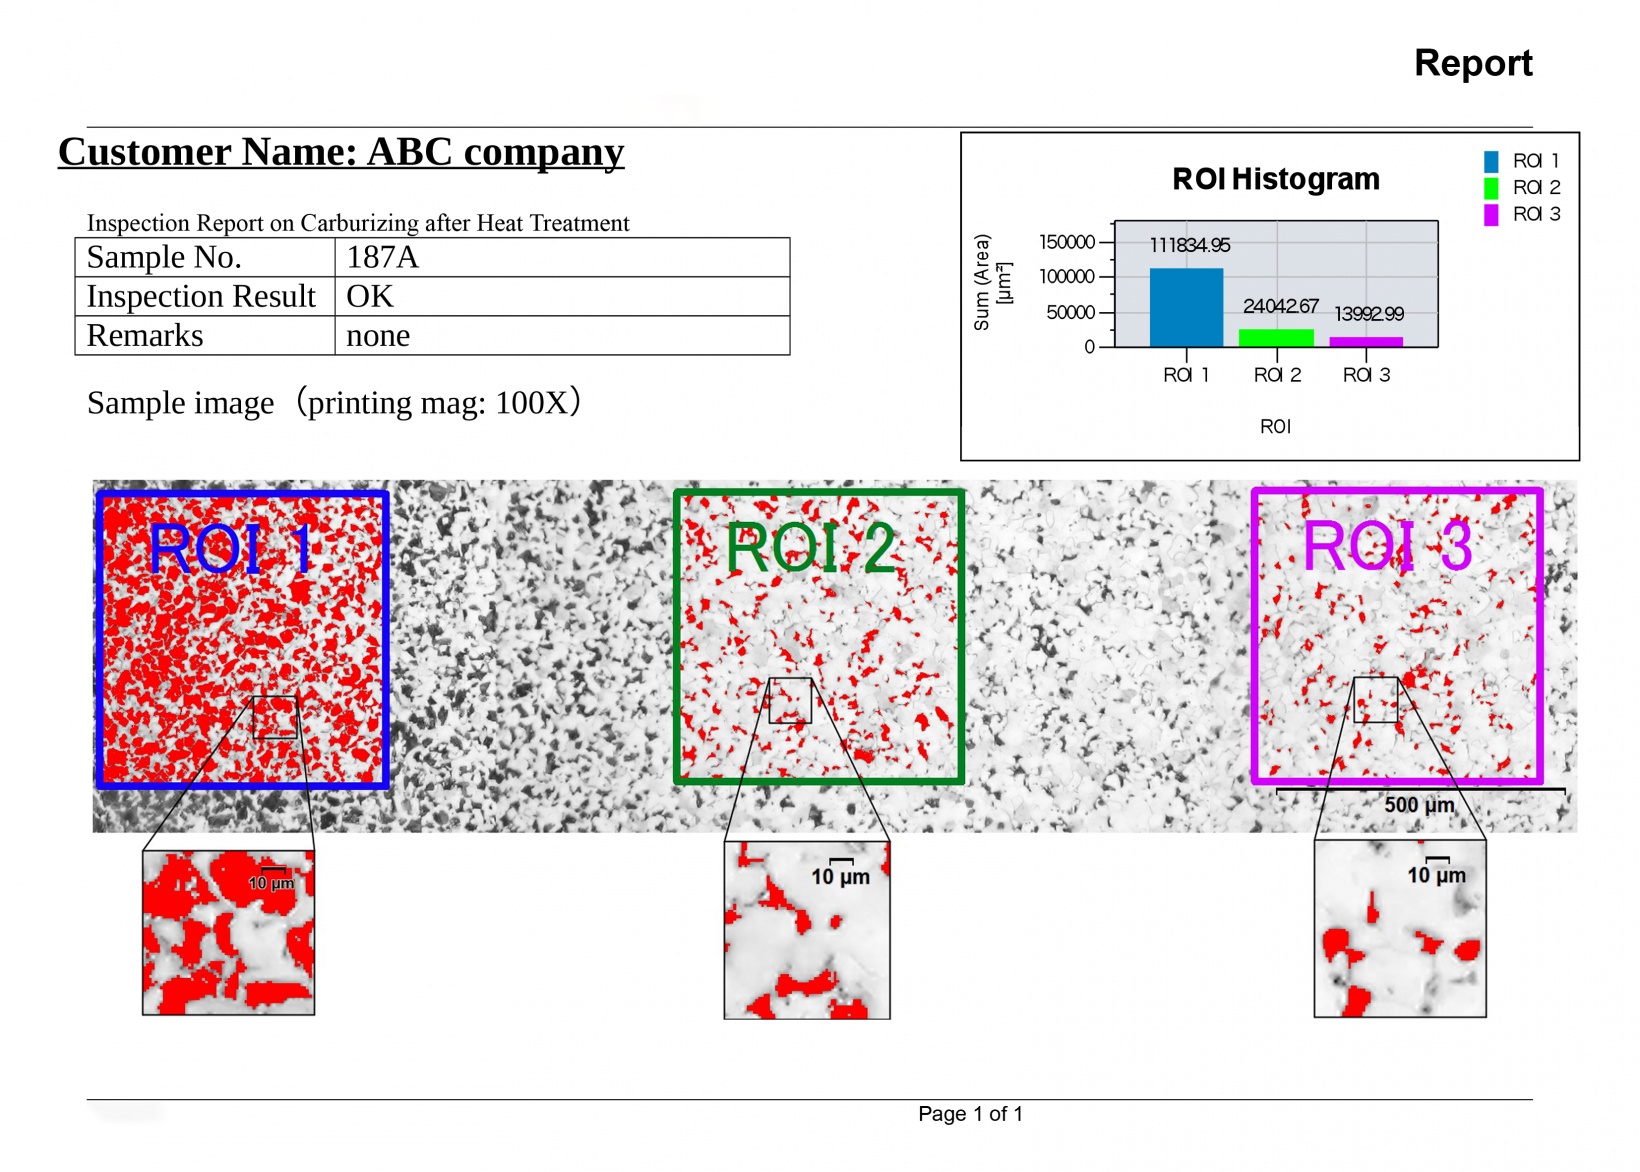
Efficient Report CreationCreating a report often takes longer than capturing the image and taking the measurements. PRECiV Pro provides intuitive report creation to repeatedly produce smart and sophisticated reports based on predefined and customized templates. Editing is simple, and reports can be exported to Microsoft Word, Excel, or PowerPoint. | Professional report that summarizes particle count data, including image details using digital zooming |
PRECiV Pro Optional Modules |
3D Acquisition—Coded and motorized Z-control with height mapping capabilities. Motorization—Control industrial and material science manual and semi-automated microscopes and motorized devices. Customized Software Solutions—Software solutions supporting X, Y, Z motorized stages (Macro to Micro, Navigate on Wafer, Measuring with stage). Neural Network Training—Train neural networks using semantic (for well separated or when object separation is irrelevant) or instance (for objects that touch, like grains) segmentation methods. 3D analysis applications—3D line profile measurements, advanced 3D measurements, and surface roughness analysis of 3D images. Count and Measure—Detecting objects and measuring size distribution are among the most important applications in digital imaging. The PRECiV Count and Measure solution uses advanced threshold methods to reliably separate objects, such as particles and scratches, from the background. Grain Sizing—Steel manufacturers use this solution for measuring and controlling grain size after cross-sectioning, polishing, or etching steel samples. Grain Sizing Intercept is based on overlaying test lines and counting the number of intercepts with grain boundaries, while Grain Sizing Planimetric reconstructs boundaries for each grain and conducts grain sizing with the area percentage of the second phase. Non-Metallic Inclusions—Steel manufacturers use this solution for measuring and controlling the shape and size of nonmetallic inclusions (oxide, alumina, sulfide, or silicate) in steel. Cast Iron—Casting manufacturers who need to measure and control the graphite nodularity and check the mechanical characteristics of their cast products use this solution. Layer Thickness—One or multiple layers of a cross-sectioned sample can be measured using the Layer Thickness solution. The shapes are defined, and the layers automatically measured. Porosity—This solution enables pores to be measured either for area fraction or the number of surface pores using regions of interest (ROIs) (circular, triangular, rectangular, and polygonal) and thresholds. Particle Distribution—This solution is used to create particle size distribution histograms and tables from multiple images or image series. Coating Thickness—This solution enables the measurement of coating thickness from top-view images using the Calotest method. Phase Analysis—This feature offers an integrated solution to perform phase analysis on a selection of various regions of interest (ROIs) including triangles, circles, rectangles, and polygons. Dendrite Arm Spacing—This solution is used to manually or automatically determine the mean dendrite arm spacing in cast aluminum. Chart Comparison on Selected Standards for Grain Sizing, Graphite Sizing, Non-Metallic Inclusion, and Hardened Metals—A live or still image can be overlaid onto standard charts for comparison. Function preview is available. |
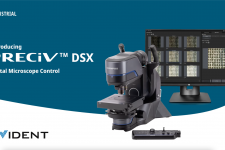
PRECiV DSX
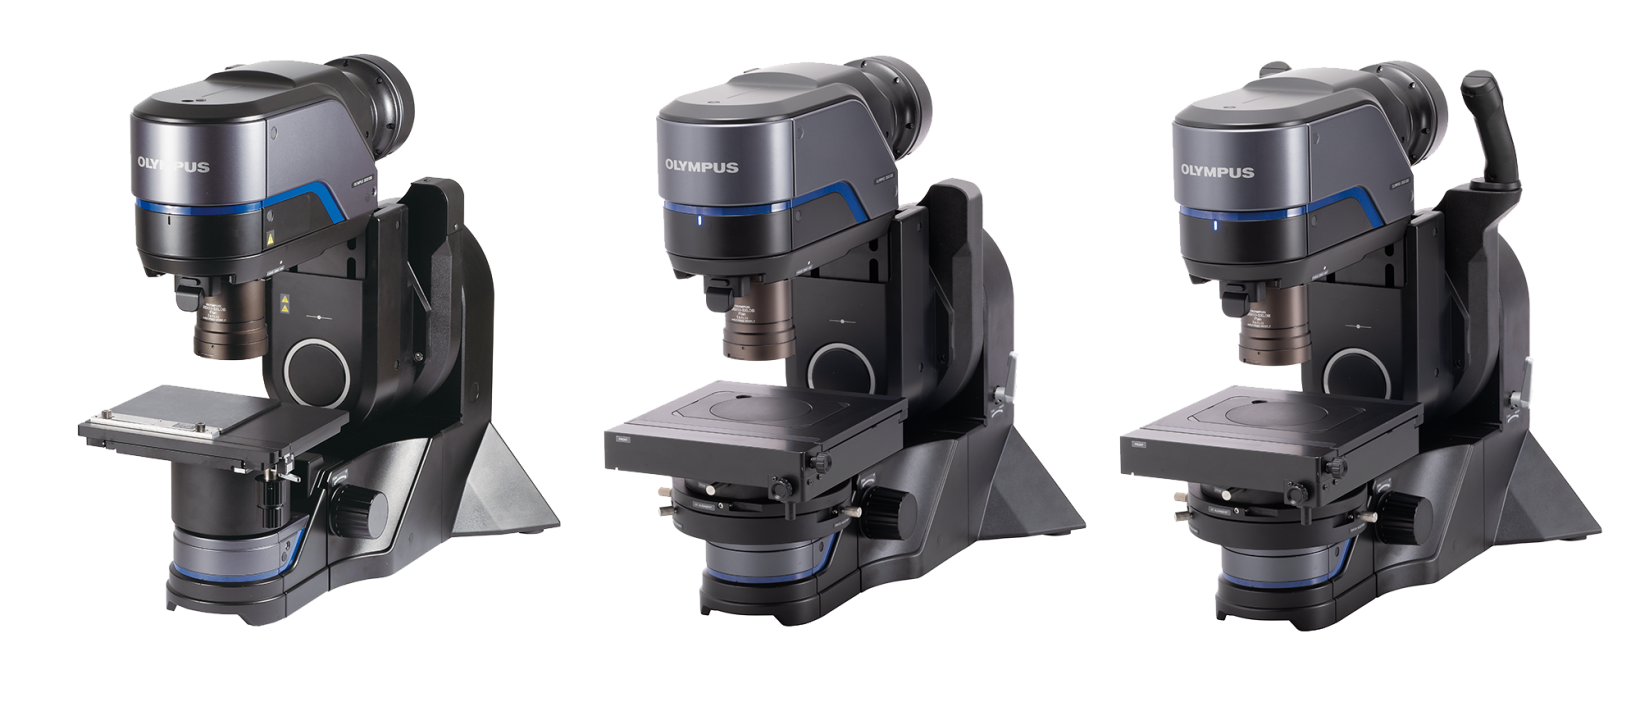
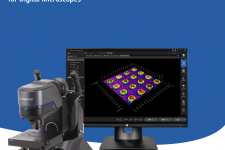
PRECiV™ DSX for Digital MicroscopesPRECiV™ DSX is used to control our DSX1000 series digital microscopes and their accessories. It includes additional features for imaging and 2D/3D measurements. | 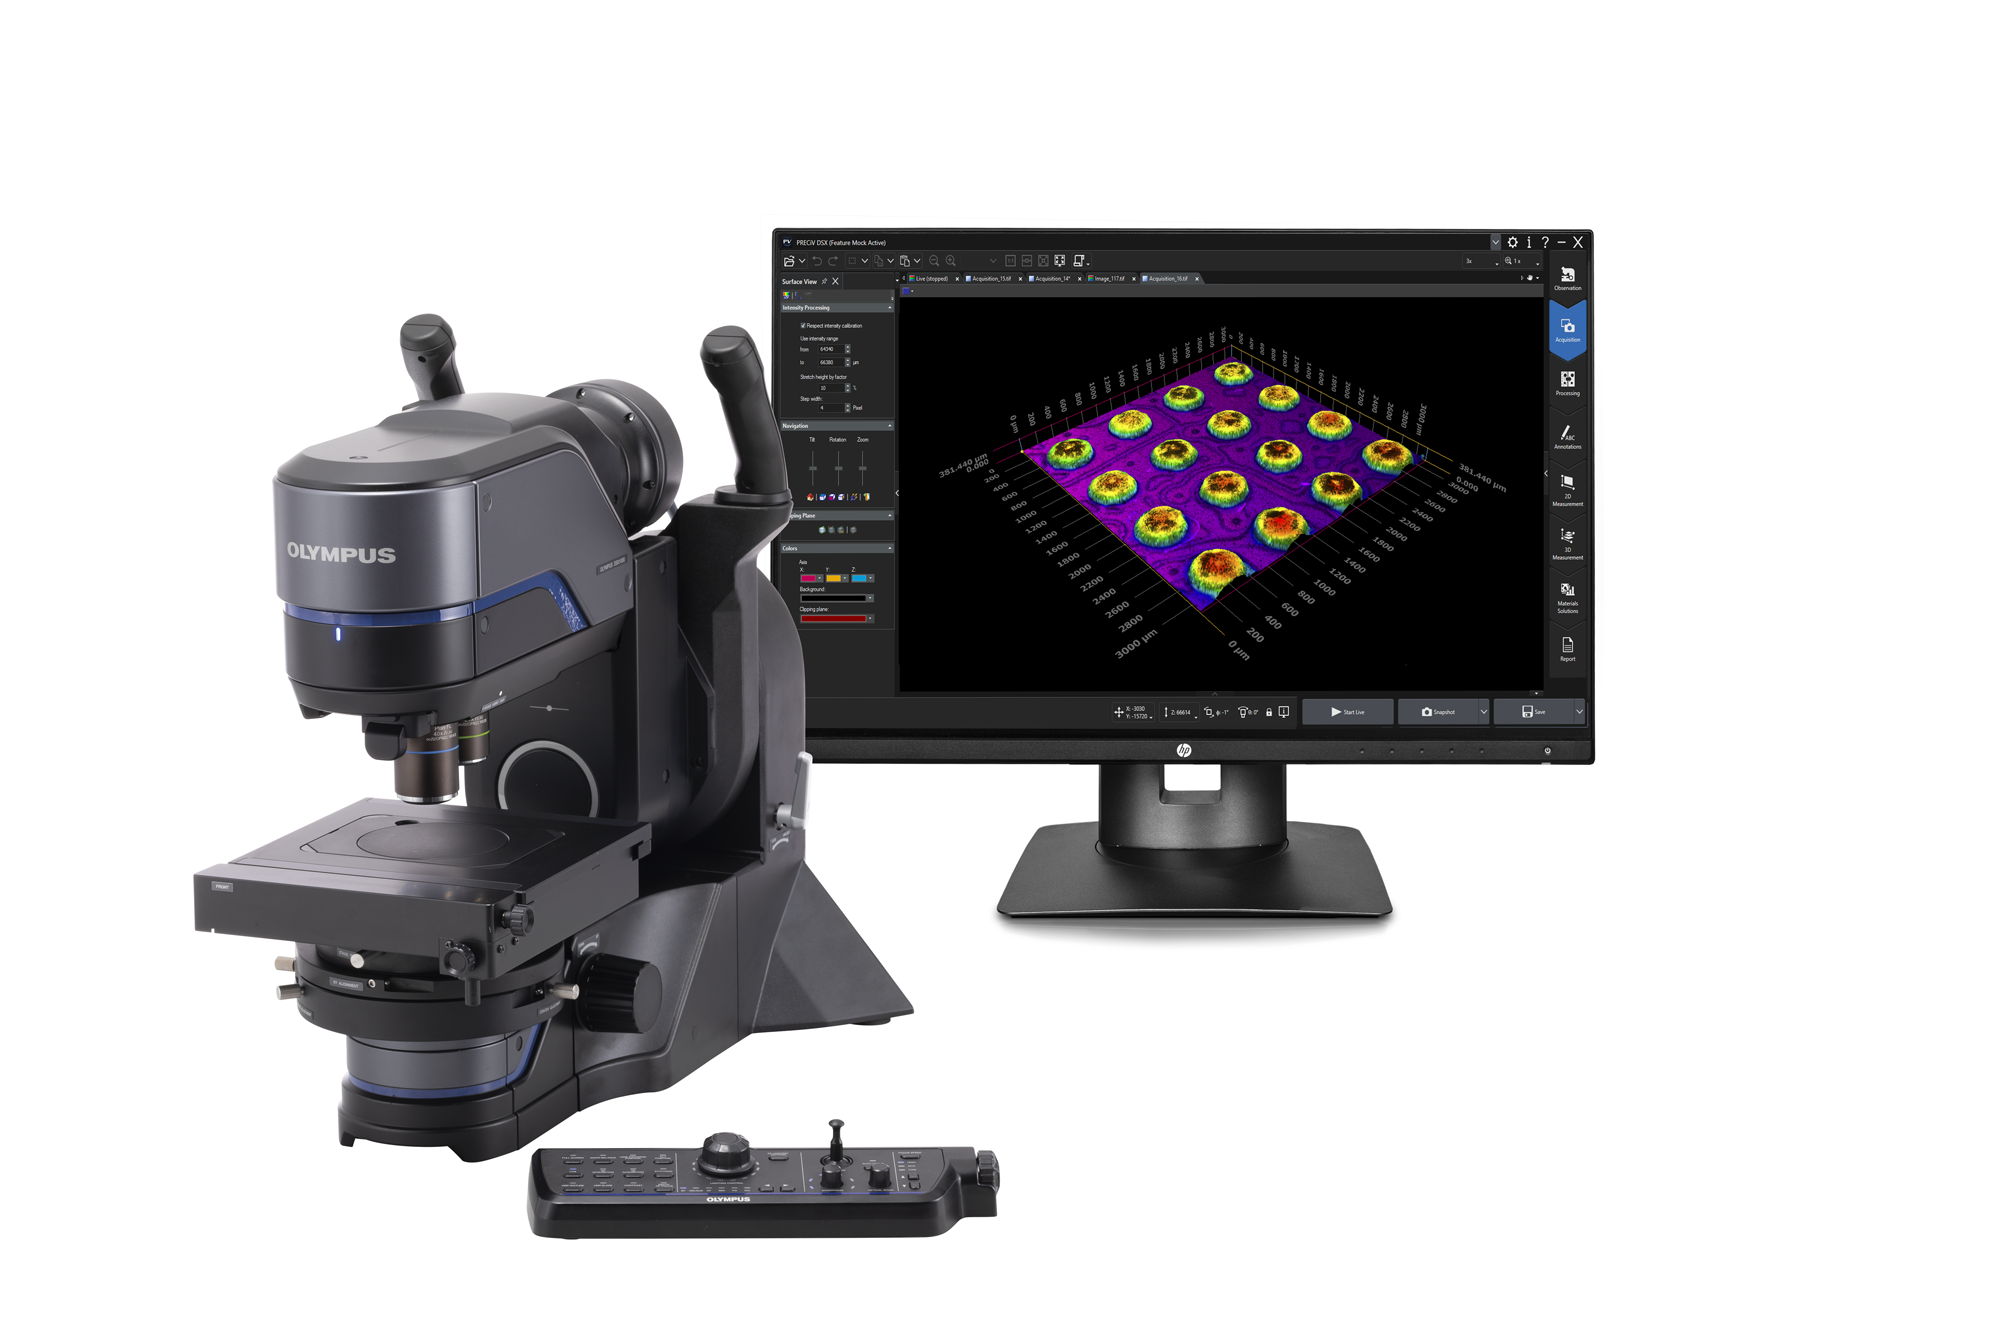 |
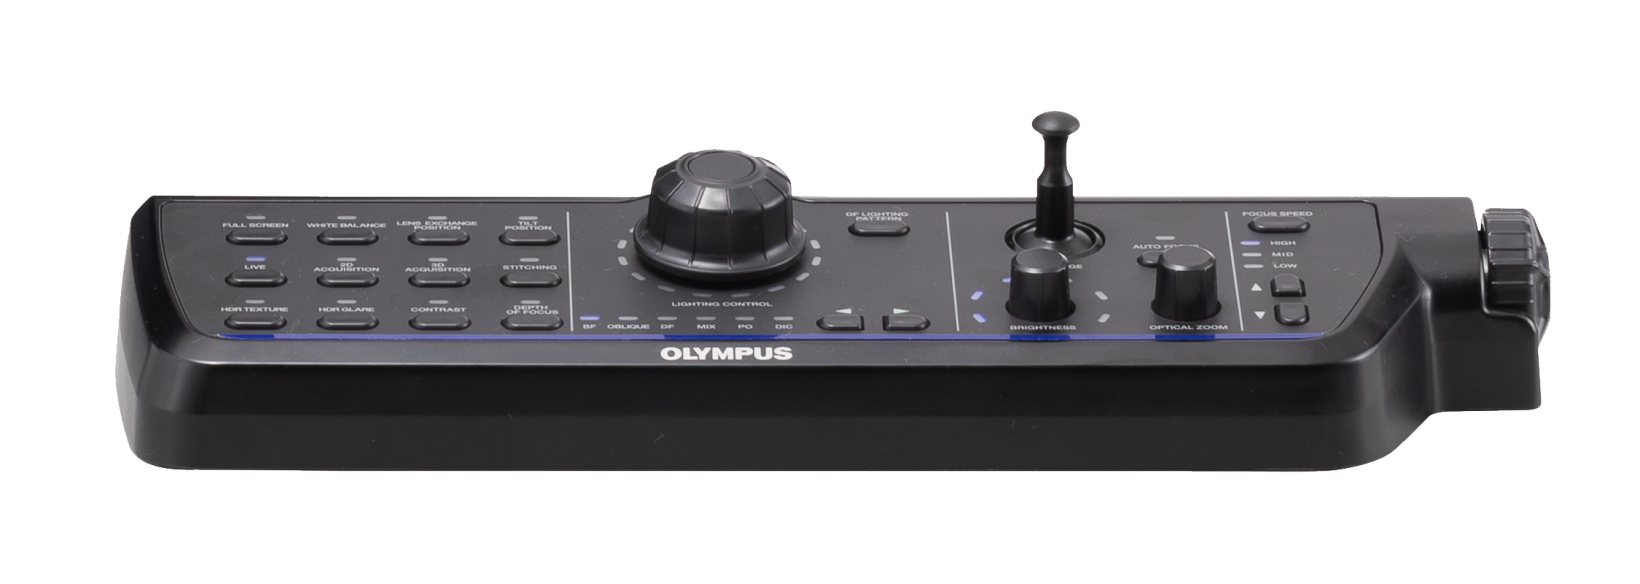
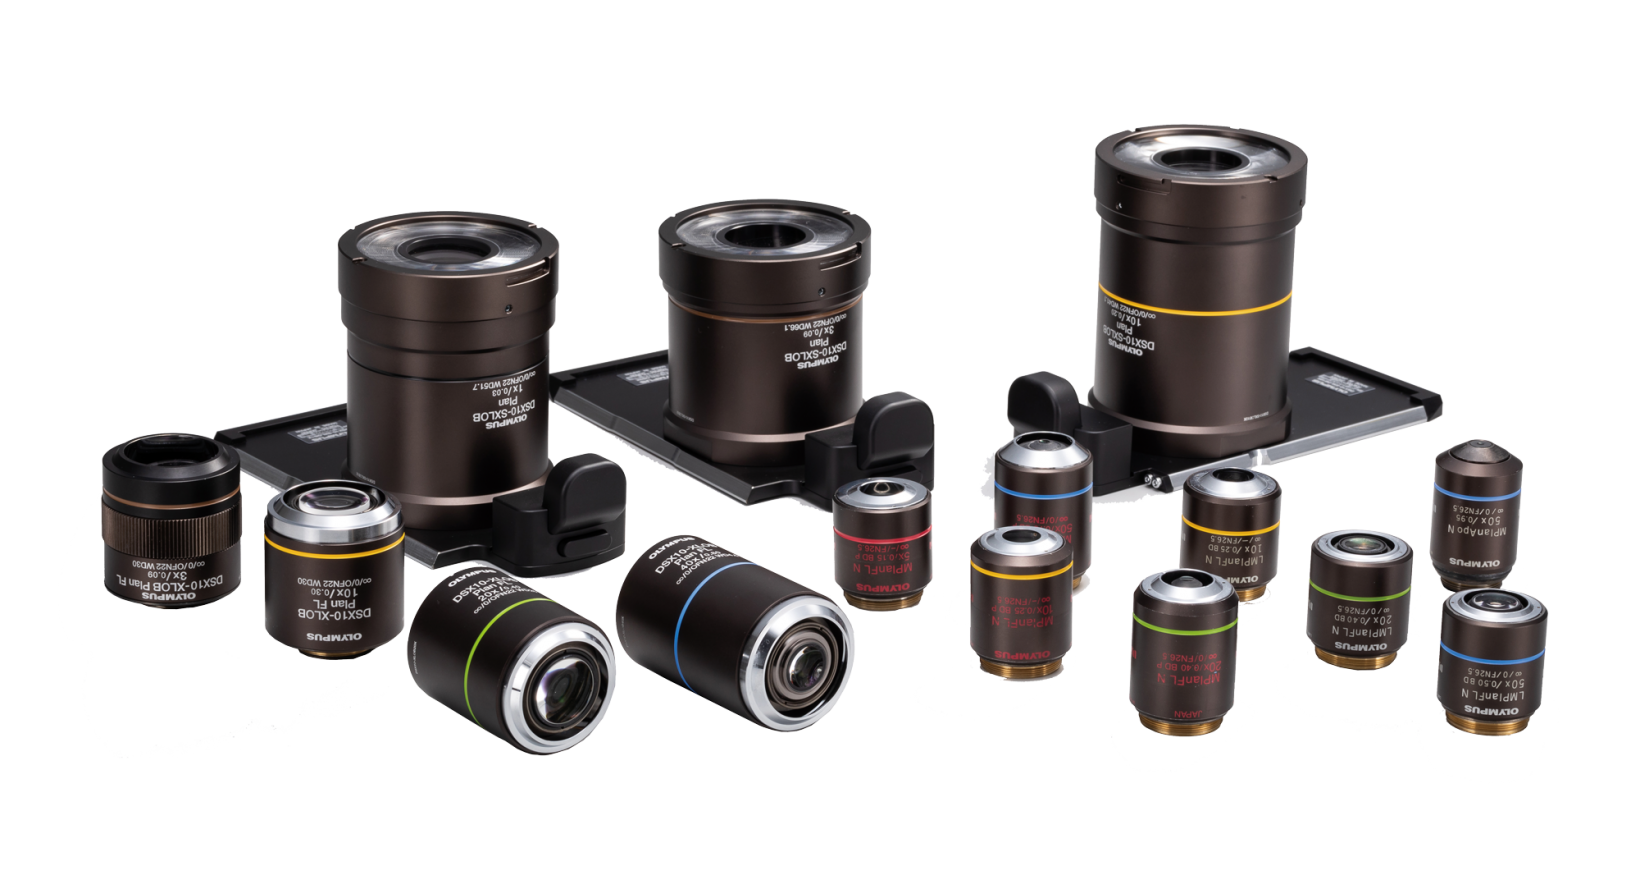
ModularPRECiV DSX supports all DSX1000 models and associated accessories. Supported HardwarePRECiV DSX supports both the tilting frame (DSX10-TF) and upright frame (DSX10-UF) versions, the universal and standard zoom heads, the DSX console, and manual, motorized, and rotatable motorized stages.
|
Advanced Interactive MeasurementsPRECiV DSX enables precise, repetitive two-dimensional measurements on a live or recorded image through a combination of a simple user interface and powerful functions like auto edge detection, which makes it easy to reliably measure the distance between points. Other helpful measurement features include:
|
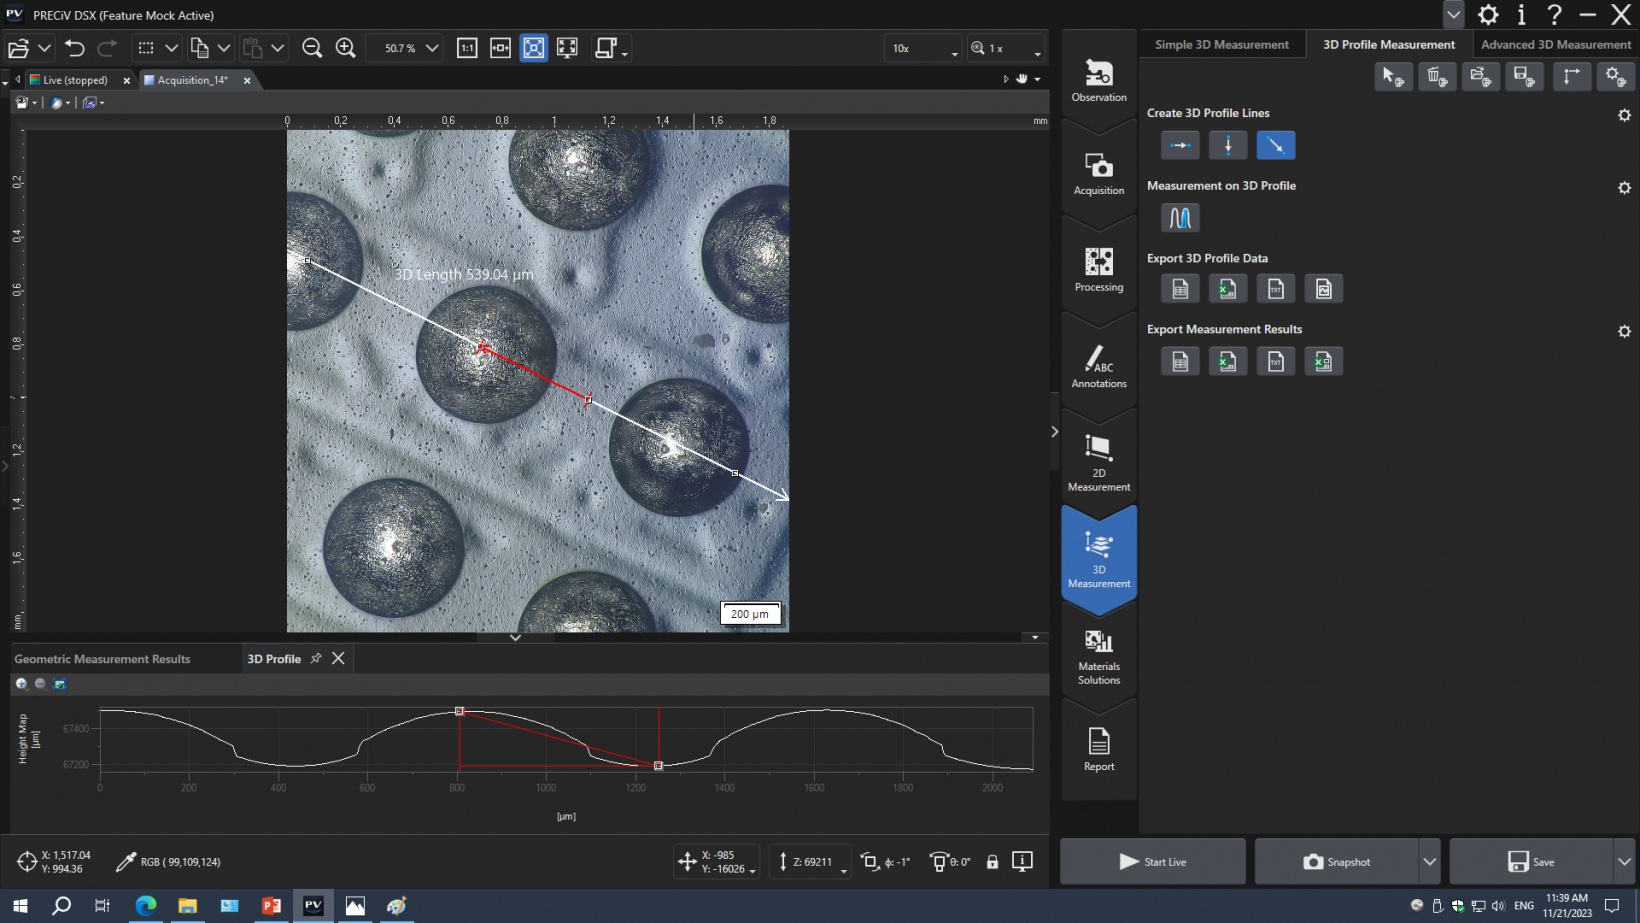
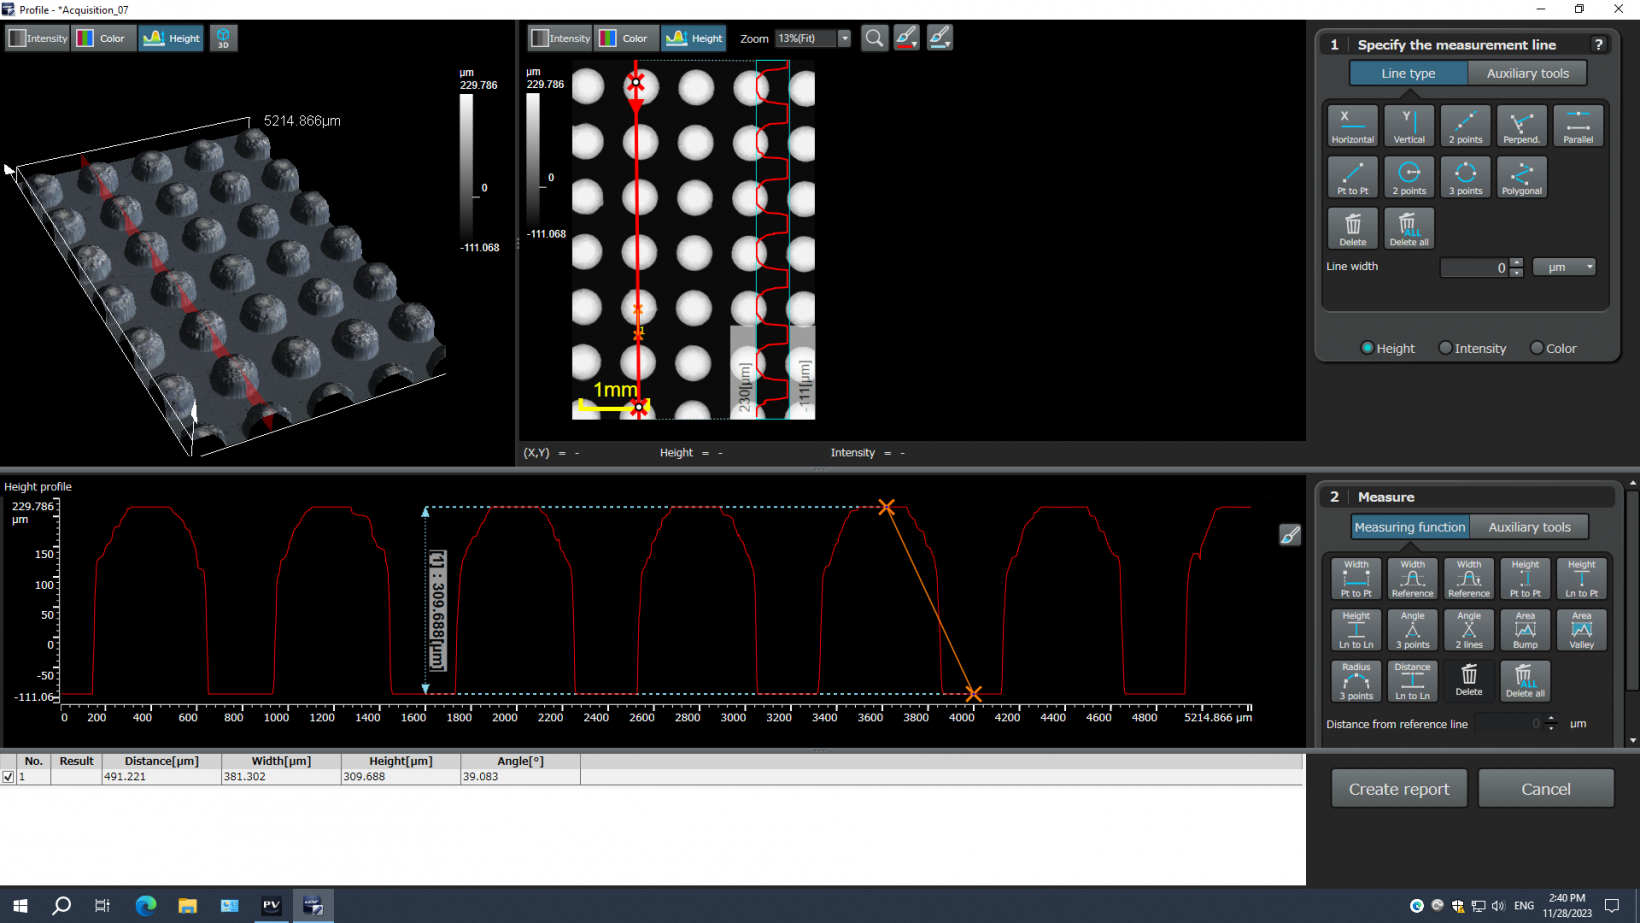
Simple and Advanced 3D measurementsSimple 3D measurements (line profile) are available in PRECiV DSX on all images with height information. For advanced measurements (surface roughness, volume measurement), PRECiV DSX can export images directly to the 3D Analysis Application for further processing and analysis.
|
Acquire Combined Panorama and EFI ImagesThe extended focal imaging (EFI) function enables you to obtain fully in-focus images by serially acquiring multiple images at different focal planes with manual and motorized devices. The panorama function enables you to acquire images larger than the microscope’s field of view. With PRECiV DSX you can calculate extended focal imaging (EFI) and panorama images offline based on previously acquired images. |
Analyze Complex Images Using AI TechnologySince image quality and contrast varies with the sample, image segmentation using classical thresholding methods lacks reproducibility and repeatability. PRECiV software with TruAI technology provides image analysis beyond classical algorithms. You can apply a trained neural network to your samples for higher reproducibility and more robust analysis. Choose between semantic or instance segmentation methods for improved neural network training, enabling you to tackle difficult applications in just one step. PRECiV TruAI™ technology also supports live AI, which uses trained neural network (inference) to detect defects in your sample on the live image.* As an option, PRECiV TruAI technology can also count the defects it identifies on the live image as well.** *Using the optional neural network training module. **Using the optional Count and Measure or dedicated Materials Solutions (phase analysis, particle distribution, porosity). |
PRECiV DSX Optional Modules |
Neural Network Training—Train neural networks using semantic (for well separated or when object separation is irrelevant) or instance (for objects that touch, like grains) segmentation methods. 3D analysis applications—3D line profile measurements, advanced 3D measurements, and surface roughness analysis of 3D images. Count and Measure—Detecting objects and measuring size distribution are among the most important applications in digital imaging. The PRECiV Count and Measure solution uses advanced threshold methods to reliably separate objects, such as particles and scratches, from the background. Grain Sizing—Steel manufacturers use this solution for measuring and controlling grain size after cross-sectioning, polishing, or etching steel samples. Grain Sizing Intercept is based on overlaying test lines and counting the number of intercepts with grain boundaries, while Grain Sizing Planimetric reconstructs boundaries for each grain and conducts grain sizing with the area percentage of the second phase. Non-Metallic Inclusions—Steel manufacturers use this solution for measuring and controlling the shape and size of nonmetallic inclusions (oxide, alumina, sulfide, or silicate) in steel. Cast Iron—Casting manufacturers who need to measure and control the graphite nodularity and check the mechanical characteristics of their cast products use this solution. Layer Thickness—One or multiple layers of a cross-sectioned sample can be measured using the Layer Thickness solution. The shapes are defined, and the layers automatically measured. Porosity—This solution enables pores to be measured either for area fraction or the number of surface pores using regions of interest (ROIs) (circular, triangular, rectangular, and polygonal) and thresholds. Particle Distribution—This solution is used to create particle size distribution histograms and tables from multiple images or image series. Coating Thickness—This solution enables the measurement of coating thickness from top-view images using the Calotest method. Phase Analysis—This feature offers an integrated solution to perform phase analysis on a selection of various regions of interest (ROIs) including triangles, circles, rectangles, and polygons. Dendrite Arm Spacing—This solution is used to manually or automatically determine the mean dendrite arm spacing in cast aluminum. Chart Comparison on Selected Standards for Grain Sizing, Graphite Sizing, Non-Metallic Inclusion, and Hardened Metals—A live or still image can be overlaid onto standard charts for comparison. Function preview is available. |
PRECiV Desktop
PRECiV™ DesktopRobust Measurement and ReportingPRECiV™ Desktop software is made for customers who want to post-process their data independent from the microscope with all the available measurement and analysis capabilities, but without the camera and image capture controls. | 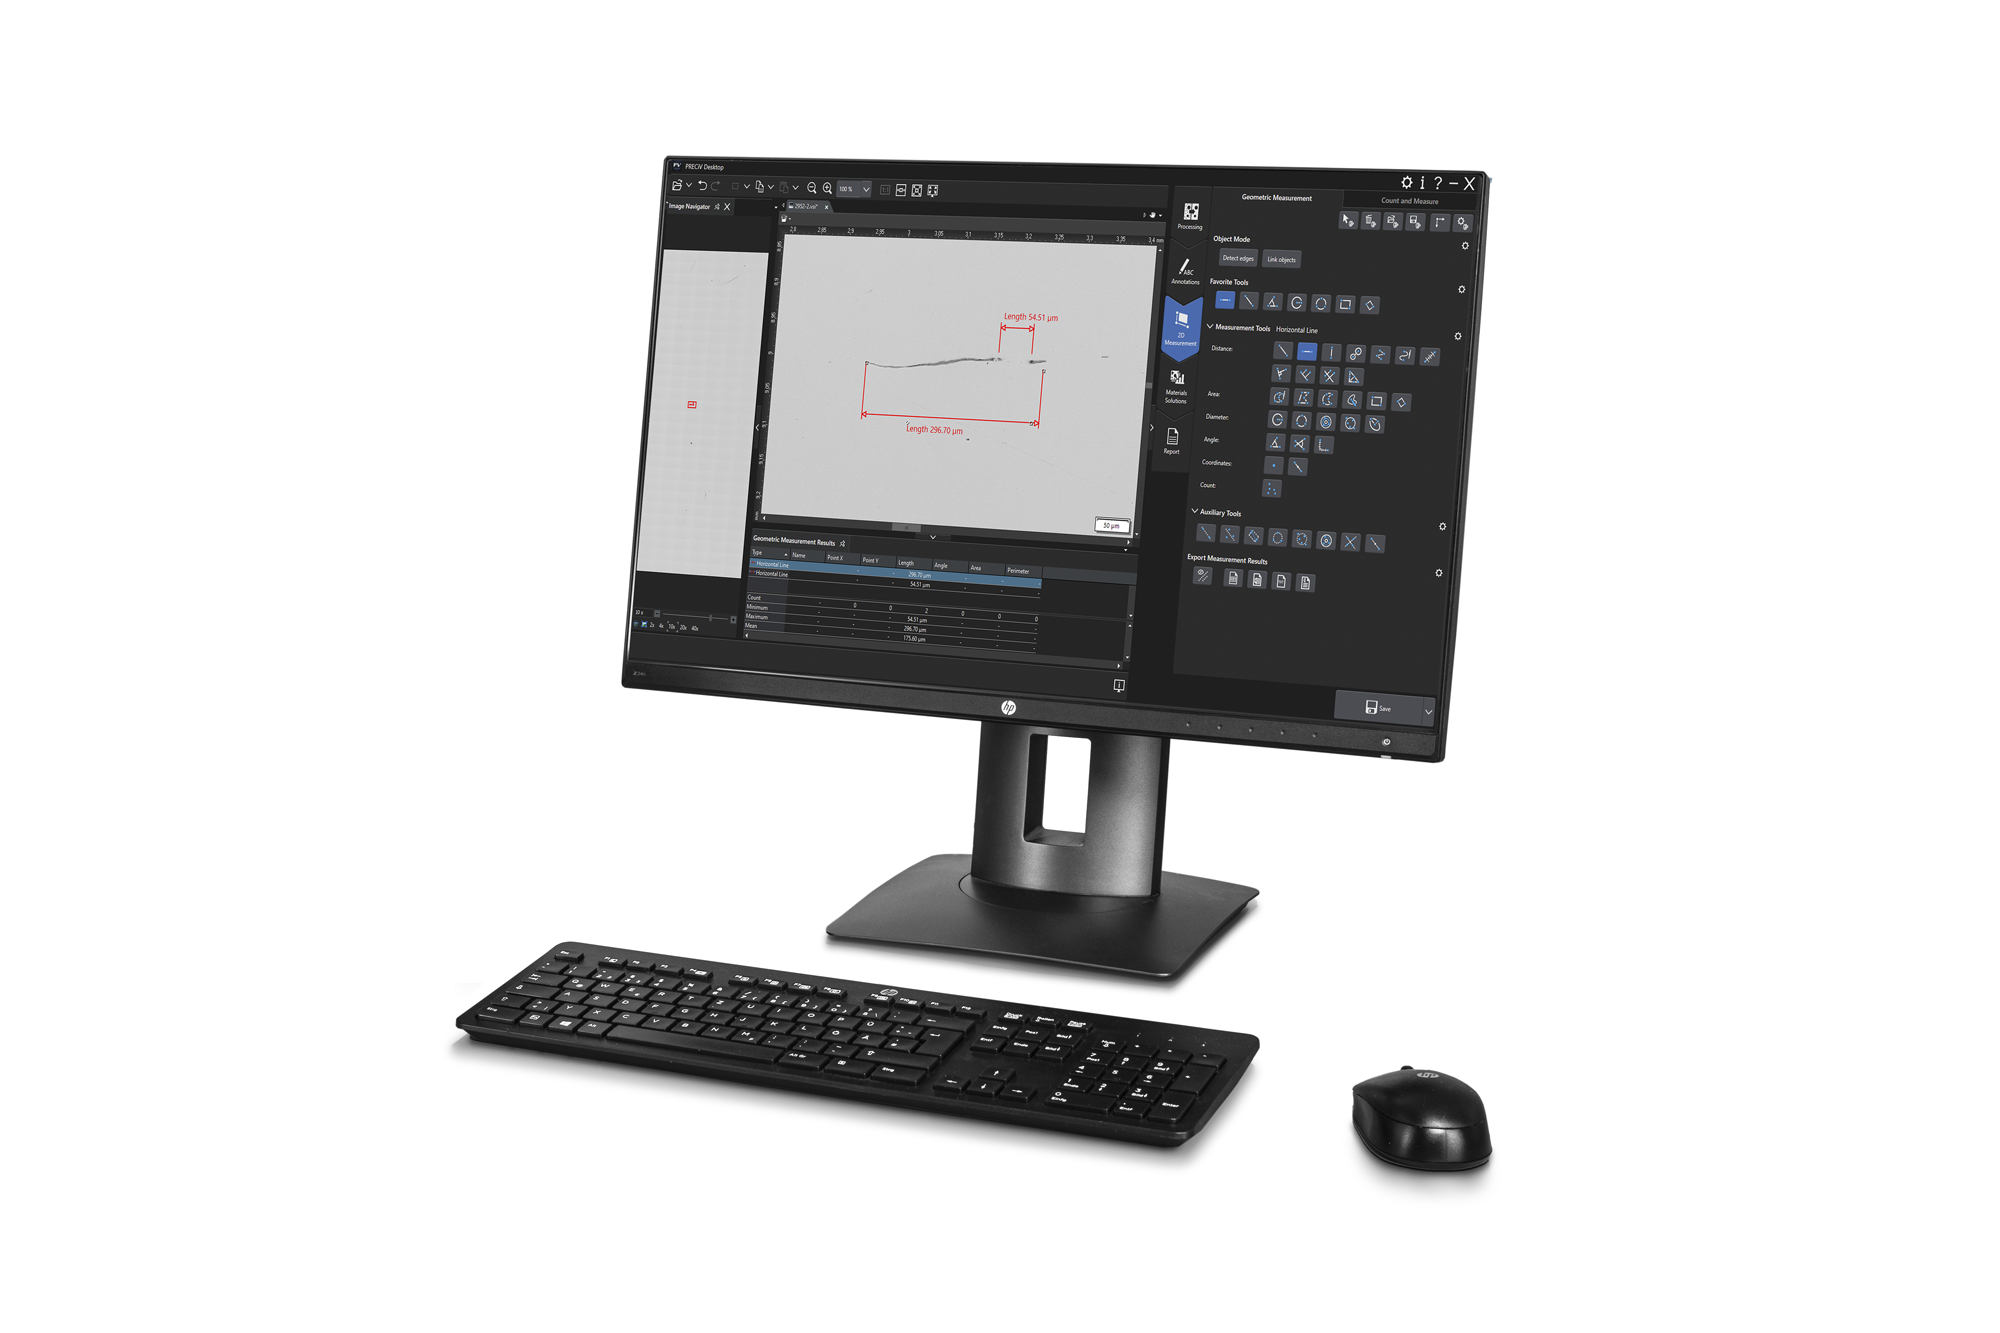 |
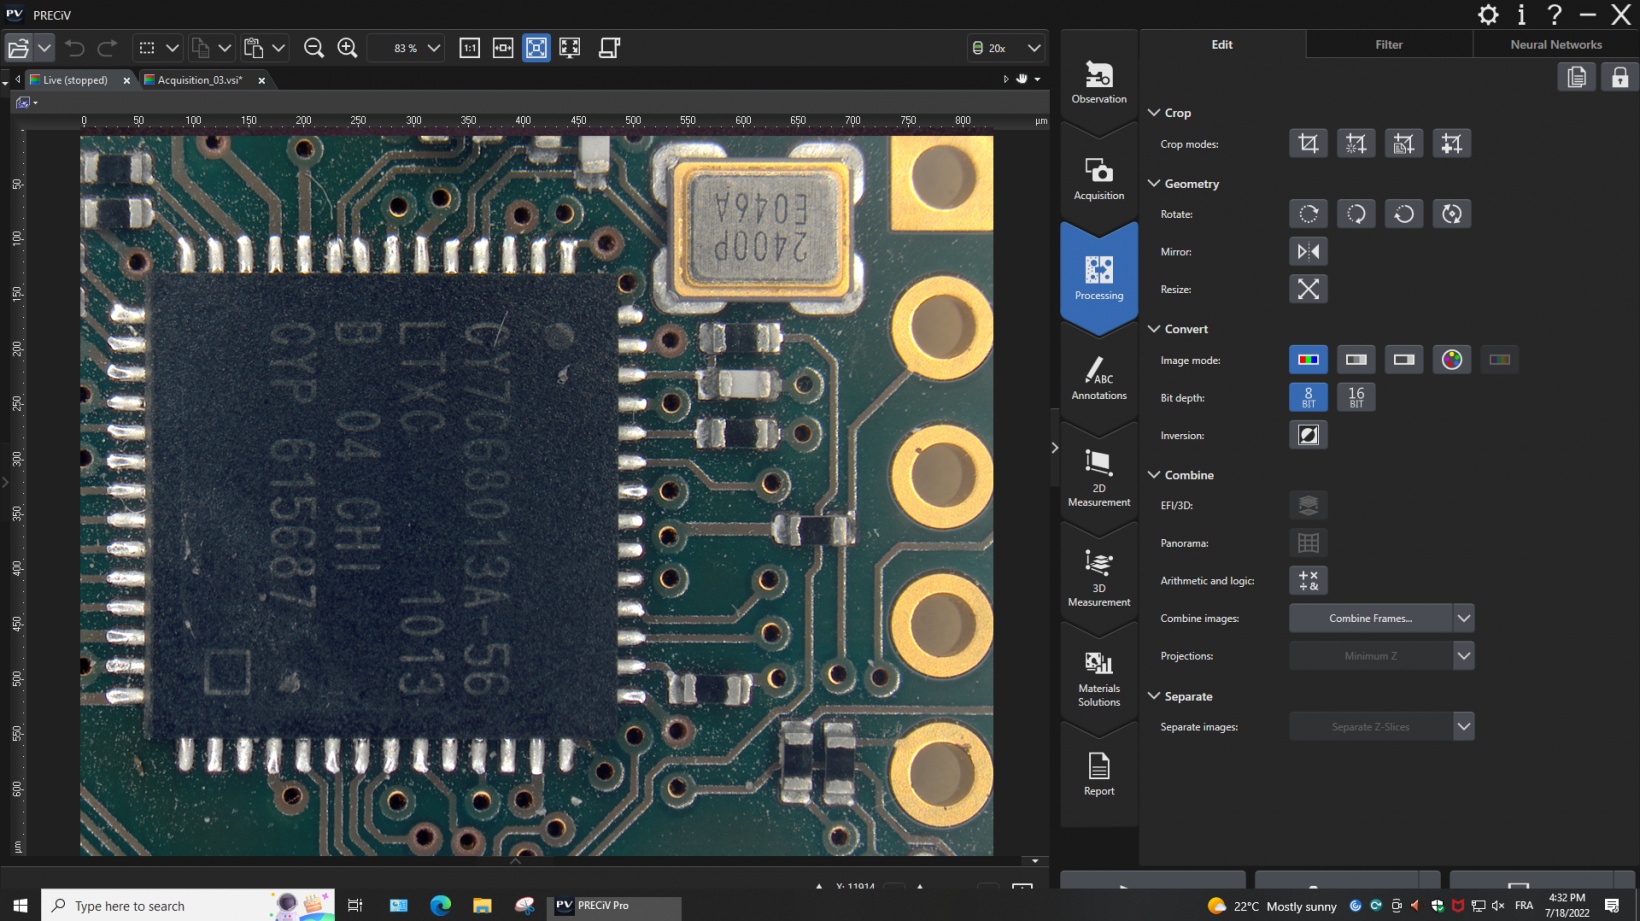
Image Processing (Matrix Filters and Color and Contrast Adjustments)If you need to process your images, PRECiV Desktop offers many tools such as edge detection filters, smoothing filters, and sharpening filters as well as intensity and contrast adjustments, shading correction and background subtraction, dynamic contrast enhancement, and morphological filters. |
Advanced Interactive MeasurementsPRECiV Desktop enables precise, repetitive two-dimensional measurements on recorded images through a combination of a simple user interface and powerful functions like auto edge detection, which makes it easy to reliably measure the distance between points. Other helpful measurement features include:
Measurement results can be compiled in a workbook and easily exported to Excel. |
Automate Repetitive Tasks with MacrosThe PRECiV macro manager enables you to automate repetitive tasks and simplify workflows, including interactive measurements (chain measurement). Simple macros can be recorded and replayed, while an extended set of commands can also be recorded, including image processing with a neural network and create batch processing. |
3D Line Profile Measurements and Simple 3D MeasurementsPRECiV Desktop supports 3D line profile measurements, advanced 3D measurements, and surface roughness analysis of 3D images acquired with the DSX1000 using the 3D Analysis Application. The image is automatically transferred from PRECiV Desktop to the 3D Analysis Application
|
Analyze Complex Images Using AI TechnologySince image quality and contrast varies with the sample, image segmentation using classical thresholding methods lacks reproducibility and repeatability. PRECiV software with TruAI technology provides image analysis beyond classical algorithms. You can apply a trained neural network to your samples for higher reproducibility and more robust analysis. Choose between semantic or instance segmentation methods for improved neural network training, enabling you to tackle difficult applications in just one step. PRECiV TruAI™ technology also supports live AI, which uses trained neural network (inference) to detect defects in your sample on the live image.* As an option, PRECiV TruAI technology can also count the defects it identifies on the live image as well.** *Using the optional neural network training module. **Using the optional Count and Measure or dedicated Materials Solutions (phase analysis, particle distribution, porosity). |
Professional report that summarizes particle count data, including image details using digital zooming | Efficient Report CreationCreating a report often takes longer than capturing the image and taking the measurements. PRECiV Desktop provides intuitive report creation to repeatedly produce smart and sophisticated reports based on predefined and customized templates. Editing is simple, and reports can be exported to Microsoft Word, Excel, or PowerPoint. |
PRECiV Desktop Optional Modules |
Neural Network Training—Train neural networks using semantic (for well separated or when object separation is irrelevant) or instance (for objects that touch, like grains) segmentation methods. 3D analysis applications—3D line profile measurements, advanced 3D measurements, and surface roughness analysis of 3D images. Count and Measure—Detecting objects and measuring size distribution are among the most important applications in digital imaging. The PRECiV Count and Measure solution uses advanced threshold methods to reliably separate objects, such as particles and scratches, from the background. Grain Sizing—Steel manufacturers use this solution for measuring and controlling grain size after cross-sectioning, polishing, or etching steel samples. Grain Sizing Intercept is based on overlaying test lines and counting the number of intercepts with grain boundaries, while Grain Sizing Planimetric reconstructs boundaries for each grain and conducts grain sizing with the area percentage of the second phase. Non-Metallic Inclusions—Steel manufacturers use this solution for measuring and controlling the shape and size of nonmetallic inclusions (oxide, alumina, sulfide, or silicate) in steel. Cast Iron—Casting manufacturers who need to measure and control the graphite nodularity and check the mechanical characteristics of their cast products use this solution. Layer Thickness—One or multiple layers of a cross-sectioned sample can be measured using the Layer Thickness solution. The shapes are defined, and the layers automatically measured. Porosity—This solution enables pores to be measured either for area fraction or the number of surface pores using regions of interest (ROIs) (circular, triangular, rectangular, and polygonal) and thresholds. Particle Distribution—This solution is used to create particle size distribution histograms and tables from multiple images or image series. Coating Thickness—This solution enables the measurement of coating thickness from top-view images using the Calotest method. Phase Analysis—This feature offers an integrated solution to perform phase analysis on a selection of various regions of interest (ROIs) including triangles, circles, rectangles, and polygons. Dendrite Arm Spacing—This solution is used to manually or automatically determine the mean dendrite arm spacing in cast aluminum. Chart Comparison on Selected Standards for Grain Sizing, Graphite Sizing, Non-Metallic Inclusion, and Hardened Metals—A live or still image can be overlaid onto standard charts for comparison. Function preview is available. |
Specifications
PRECiV™ Version 2.1.1 Specifications• : Standard Feature; ◦ : Optional Feature; — Not available |
| Capture | Core | Pro | DSX | Desktop | |
| Image Acquisition | |||||
|---|---|---|---|---|---|
| Basic image acquisition from Evident cameras, including auto calibration | • | • | • | — | — |
| Extended image acquisition, including HDR, Live HDR (with the DP74 and DP75) and position navigator | • | • | • | — | — |
| Halation removal using the MIX slider (microscope) or LED ring light (stereo microscope) | — | • | • | — | — |
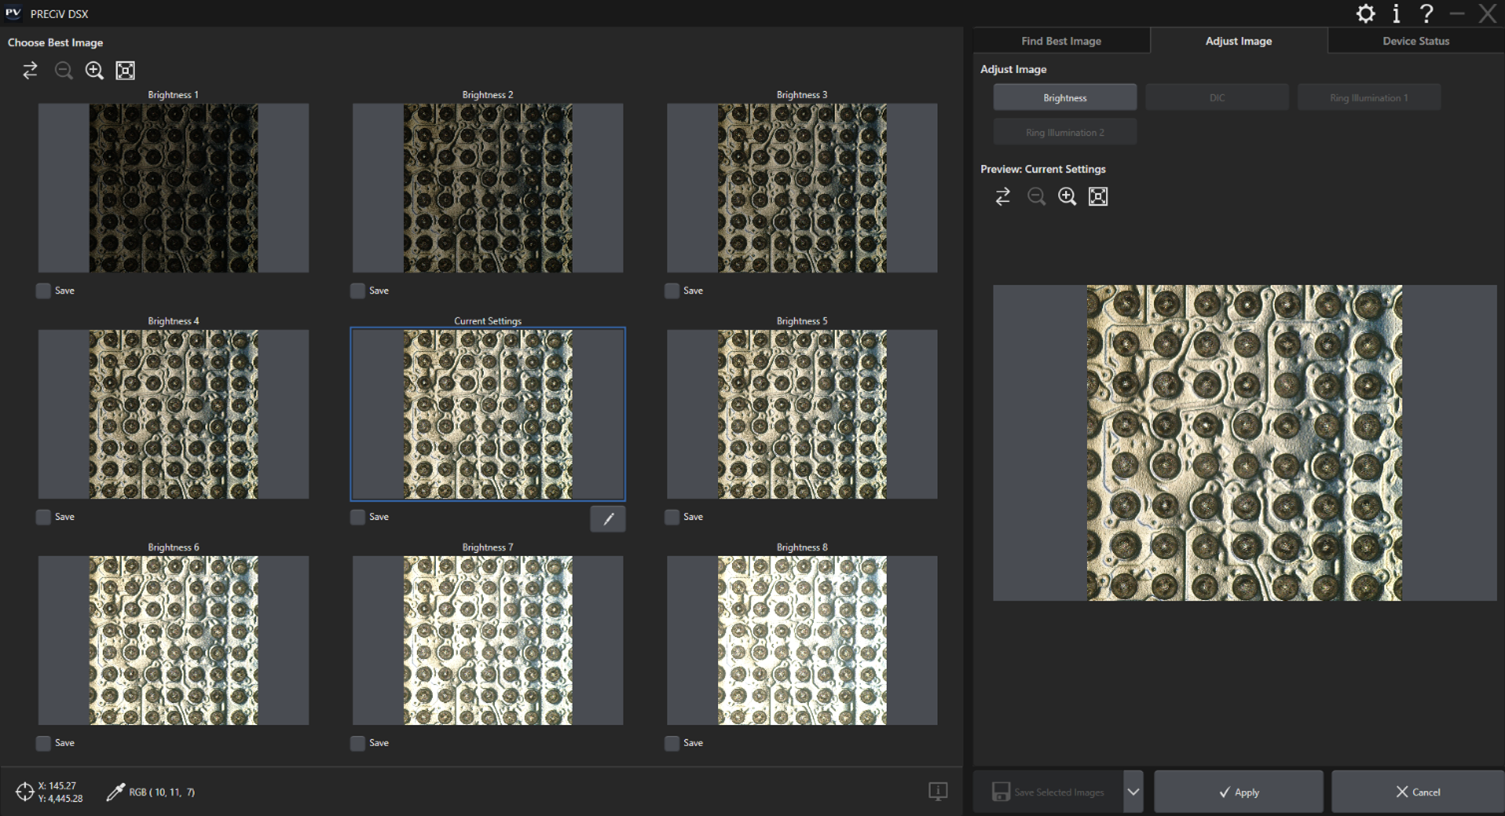
| Best Image Function (all modes, shadow contrast, BF, OBQ, DF, MIX, PO, DIC) | — | — | — | • | — |
| Movie Recording | • | • | • | • | — |
| Time-Lapse Acquisition | — | ◦ | • | • | — |
| Extended Focal Image (EFI) using manual or instant mode | — | • | • | • | — |
| Large-size image acquisition (panorama) using manual or instant mode | — | ◦ | • | • | — |
| Combined EFI and panorama using manual mode | — | ◦ | • | • | — |
| Automatic EFI using motorized devices, including quick scan mode | — | ◦ | ◦ | • | — |
| Automatic Panorama using motorized devices | — | ◦ | ◦ | • | — |
| Sample navigation and position list management using motorized devices | — | ◦ | ◦ | • | — |
| Combination of automatic EFI and panorama using motorized devices | — | ◦ | ◦ | • | — |
| Image and customization tools | |||||
| User interface with functions grouped by purpose | • | • | • | • | • |
| Overlay information layer (scale bar, cross hair, digital reticle) | • | • | • | • | • |
| On-screen magnification | • | • | • | • | — |
| Macro Manager | — | • | • | • | • |
| Static annotations | • | • | • | • | • |
| Live zoom | • | • | • | • | — |
| Measurements / Image Analysis | |||||
| Basic interactive measurements (horizontal line, vertical line, arbitrary line, polyline, 3-point circle, rectangle, rotated rectangle, 3-point angle, 4-point angle, perpendicular line, parallel line distance, polygon area, XY distance, distance between two crosslines, circle-to-circle distance, linear ruler, point coordinates) | • | • | • | • | • |
| 3D Line profile measurement and simple 3D measurements | — | ◦ | ◦ | • | • |
| 3D analysis applications like 3D line profile measurements, advanced 3D measurements, and surface roughness analysis of 3D images | — | ◦ | ◦ | ◦ | ◦ |
| 2D Line profile measurements | — | ◦ | • | • | • |
| Advanced interactive measurement, including auto-edge detection and auxiliary lines (angle ruler, 2-point circle, rotated ellipse, closed polygon, magic wand, interpolated polygon, multiple perpendicular lines, asymmetry lines, throat thickness) | — | ◦ | • | • | • |
| Neural Network Labelling | — | • | • | • | • |
| Live AI | — | • | • | • | • |
| Offline EFI, Offline Panorama | — | ◦ | ◦ | • | • |
| Image enhancement filters (edge detection filters, smoothing filters, and sharpening filters), intensity and contrast adjustment, shading correction and background subtraction, dynamic contrast enhancement, morphological filters | — | • | • | • | • |
| Reporting | |||||
| Data export to an Evident workbook | • | • | • | • | • |
| Data export to Microsoft Excel | — | • | • | • | • |
| Report and presentation creation in Microsoft 365, Office 2019, and Office 2021 | — | ◦ | • | • | • |
| Device Support*1 | |||||
| Evident microscopes*2 and Evident cameras*3 | • | • | • | — | — |
| Third-party X,Y motorized stages (LUDL, PRIOR, MAERZHAEUSER, CHUOSEIKI) | — | ◦ | ◦ | — | — |
| Third-party X,Y motorized focus drive (LUDL, PRIOR, MAERZHAEUSER, CHUOSEIKI) | — | ◦ | ◦ | — | — |
| Third-party SWIR camera | — | ◦ | ◦ | — | — |
| DSX1000 system and console | — | — | — | • | — |
| Optional Add-Ons | |||||
| Motorization | — | ◦ | ◦ | • | — |
| 3D Acquisition | — | ◦ | ◦ | • | — |
| Count and Measure | — | ◦ | ◦ | ◦ | ◦ |
| Grain Sizing | — | ◦ | ◦ | ◦ | ◦ |
| Non-Metallic Inclusions | — | ◦ | ◦ | ◦ | ◦ |
| Cast Iron | — | ◦ | ◦ | ◦ | ◦ |
| Layer Thickness | — | ◦ | ◦ | ◦ | ◦ |
| Porosity | — | ◦ | ◦ | ◦ | ◦ |
| Particle Distribution | — | ◦ | ◦ | ◦ | ◦ |
| Coating Thickness | — | ◦ | ◦ | ◦ | ◦ |
| Phase Analysis | — | ◦ | ◦ | ◦ | ◦ |
| Neural Network Training | — | ◦ | ◦ | ◦ | ◦ |
| Dendrite Arm Spacing | — | ◦ | ◦ | ◦ | ◦ |
| Chart comparison on select standards for grain size, graphite sizing, non-metallic inclusions, and hardened metals | — | ◦ | ◦ | ◦ | ◦ |
| Customized software solutions | — | ◦ | ◦ | ◦ | ◦ |
1 Please contact Evident for supported device information.
|
PC Requirements for PRECiV Capture/Core/Pro/Desktop v2.1.1 |
| CPU | Intel® Core i5, Intel® Core i7, Intel® Xeon |
|---|---|
| HDD |
10 GB hard disk space for installation
Min. 50 GB for saving images and data |
| RAM |
16 GB RAM (2 x 8 GB RAM)
Special requirements to the memory for certain functionality: Training of neural networks: 32 GB RAM 3D Analysis Application: 32 GB RAM |
| Operating System | Windows 10 (64-bit), Windows 11 (64-bit); Editions: Pro, Pro for Workstations, Enterprise |
| .Net Framework | Version 4.6.2 or higher |
| Optimized resolution | 1920 × 1080 |
| License activation | Using an Internet connection or code-based |
| One-time migration from OLYMPUS Stream | Migration from former OLYMPUS Stream original licenses to selected PRECiV license |
| Graphics card |
64 bit Graphics board with 2GB RAM
Special requirements to the graphics board for certain functionality |
PC Requirements for PRECiV DSX v2.1.1 |
| CPU | Intel® Core i5, Intel® Core i7, Intel® Xeon |
|---|---|
| HDD |
10 GB hard disk space for installation
Min. 50 GB for saving images and data |
| RAM |
32 GB RAM (2 x 16 GB RAM)
Special requirements to the memory for certain functionality: Training of neural networks: 32 GB RAM 3D Analysis Application: 32 GB RAM |
| Operating System | Windows 10 (64-bit), Windows 11 (64-bit); Editions: Pro, Pro for Workstations, Enterprise |
| .Net Framework | Version 4.6.2 or higher |
| Optimized resolution | 1920 × 1080 |
| License activation | Using an Internet connection or code-based |
| One-time migration from OLYMPUS Stream | Migration from DSX-BSW-V1 and DSX-BSW-V2 to PRECiV DSX |
| Graphics card |
64 bit Graphics board equivalent to NVIDIA Quadro P620 / T600 / T400 with 4GB RAM
Special requirements to the graphics board for certain functionality: Training of neural networks: NVIDIA graphics board compatible with CUDA 11, 6GB RAM |
