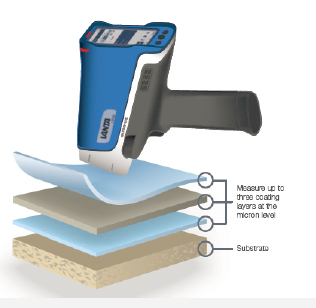
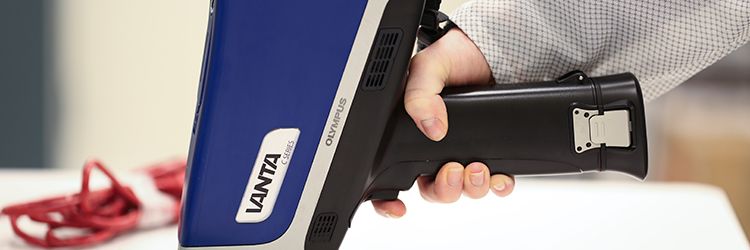
Did you know that you can use a Vanta™ XRF analyzer to accurately measure the thickness of a coating? If this is something you do regularly, setting up a coating model can help save you time. Creating the model is easy.
Select the
In the coating layer menu, write the name of the new model in the ‘name’ box. In this case, we’re calling it AgonCu5um. Below, there’s a drop-down menu that contains a list of elements from the alloy method beam 1 element suite. Select the appropriate element. In this case, we’re selecting silver on copper.
If your sample has multiple layers, select the ‘+’ icon to add another layer (you can create up to 3 layers). To remove a layer, simply double touch the trash icon.
It’s important

Now we’re ready to conduct an optional one point calibration to help tune the analyzer to your sample. Press the ‘pencil’ icon. The default factor is set to 1, and the units are set to microns. Enter the target thickness for the standard of interest, and then select the ‘target’ icon to calibrate the instrument. The default time for the calibration is 10 seconds. Selecting a longer time will give you better precision. Select the ‘play’ icon to take the test.
Taking the test will recalculate the factor that has been set for the instrument and output the calculated thickness.
Without moving the sample, navigate to the live test screen and take a 10-second test. Notice that the coating name you selected appears at the top of the screen. The reported thickness will also show.
And that’s all there is to it!
Related Content
Through Thick and Thin: Using XRF to Measure Coating Thickness
Vanta Coating Mode Infographic
