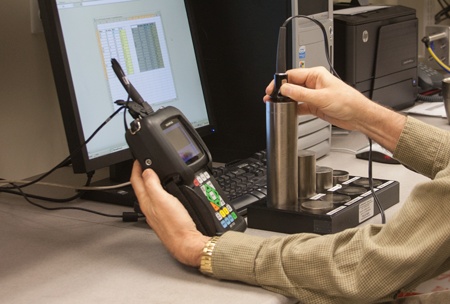
What is Ultrasonic Thickness gauge calibration?
An ultrasonic gauge reads the thickness of a test piece by very precisely timing echoes. To turn these time measurements into thickness measurements, the gauge must be programmed with the speed of sound in the test material and any necessary zero offset required by the instrument, transducer type, or echo shape. This process is commonly called gauge calibration. The accuracy of any ultrasonic measurement is only as good as the accuracy and care taken during calibration. Incorrect calibration will result in inaccurate thickness readings. The good news is that calibration is usually a simple process.
Many different calibrations for various materials and transducers can be stored in the gauge and quickly recalled. It is important to remember to perform a new calibration or recall an appropriately programmed calibration when the test material or transducer is changed, or if the temperature of the test material changes significantly. Also, we recommend performing periodic checks with samples of known thickness to verify that the gauge is operating properly, especially in critical applications.
Ultrasonic Thickness Gauge Calibration Chart
When using ultrasonic thickness gauges, the speed of the sound energy used to take thickness measurements depends on the test material. View the table below to see the sound velocity of different materials:
| Material | Velocity (m/s) |
|---|---|
| Lead | 1160–1320 |
| Aluminum | 3040–6420 |
| Concrete | 3200–3700 |
| Wood | 3300–5000 |
| Copper | 3560–3900 |
| Brick | 3600–4200 |
| Iron | 3850–5130 |
| Glass | 3950–5000 |
| Steel | 4880–5050 |
You can use this information to establish a pulse transit time to provide and maintain accurate thickness values.
