Tape lift sampling is a fast and simple technique used to remove particles from a surface to determine the surface cleanliness level. A pressure-sensitive adhesive tape is applied to the test surface, leading to the direct transfer of particles on the surface to the tape. The tape with the attached particles is then mounted on a special tape lift holder for inspection using a light microscope.
Tape lift sampling is an important method used to check that the surfaces of components manufactured for industries such as aerospace, space technology, electronics, and solar panels are free from contaminants that can impact product performance and reliability.
This post will cover how tape lift sampling works in detail, including the standard practices, workflow, and accessories used in technical cleanliness inspections.
Considerations for Tape Lift Sampling in Technical Cleanliness Inspections
For this method, a technician selects a suitable tape to avoid transfer of the adhesive to the surface being tested. Most commercially available tapes used for technical cleanliness are transparent and have homogenous adhesion. The 3M No. 480 polyethylene tape with an acrylic pressure-sensitive backing is recommended by the American Society for Testing and Materials (ASTM).
Note that the tape lift method is intended for use on surfaces that will not be damaged by applying tape. In general, metals, metal coatings, and oxide coatings are not damaged. Application to painted, evaporated, and optical coatings should be evaluated prior to performing this test.
The sampling area size and location are determined statistically to make a proper estimation of the surface cleanliness level of large areas. The technician defines the sampling plan by considering the surface geometry and surface orientation to gas flow, gravity, and obstruction under the relevant standard instructions, such as ASTM E1216-11 (the standard practice for sampling for particulate contamination by tape lift). These factors can affect the particle fallout and entrapment of particles on the surface.
For more key considerations, refer to the ASTM E1216-11 standard practice.
How to Collect the Tape Lift Sample for a Technical Cleanliness Inspection
For the ASTM E1216-11 standard practice, the typical workflow for tape lift sampling includes the following steps:
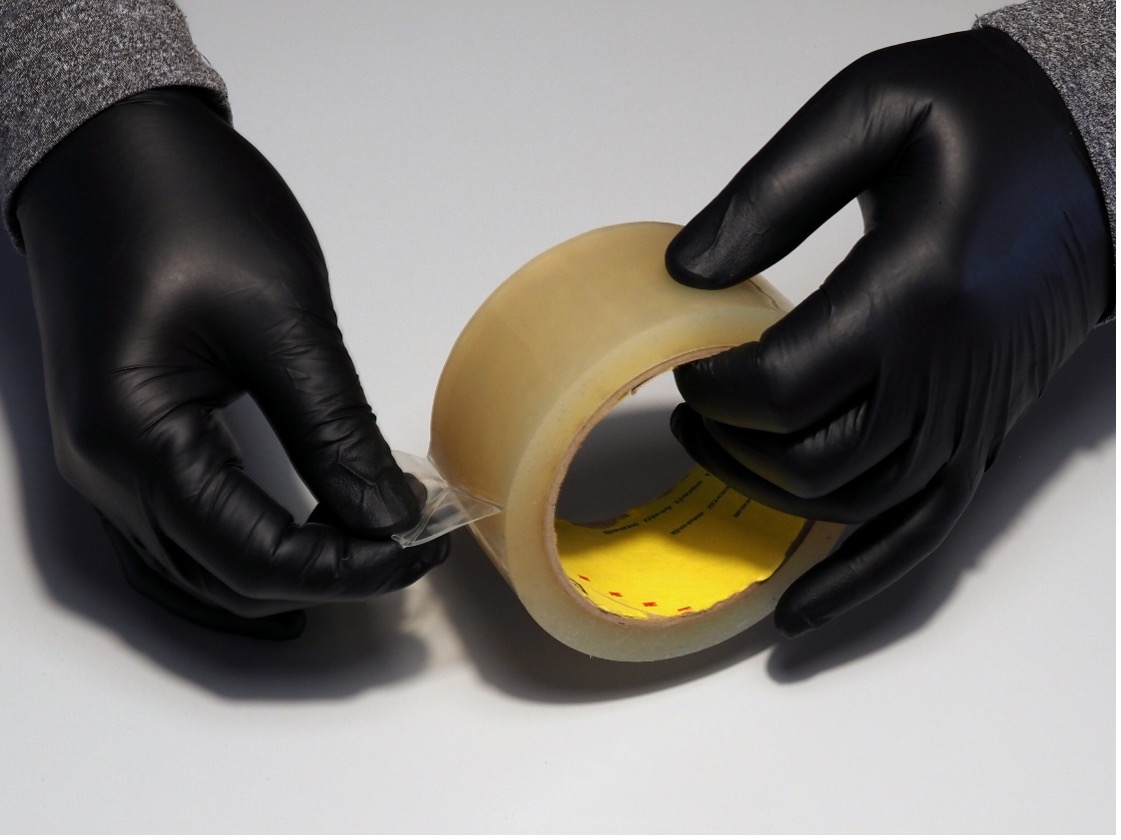
- Wear lint-free nitrile gloves during tape handling and sampling to protect the tape from contamination. Double the tape and make a flap. Fold a piece of the ribbon to make it into a handle. This allows for easier handling of the tape.
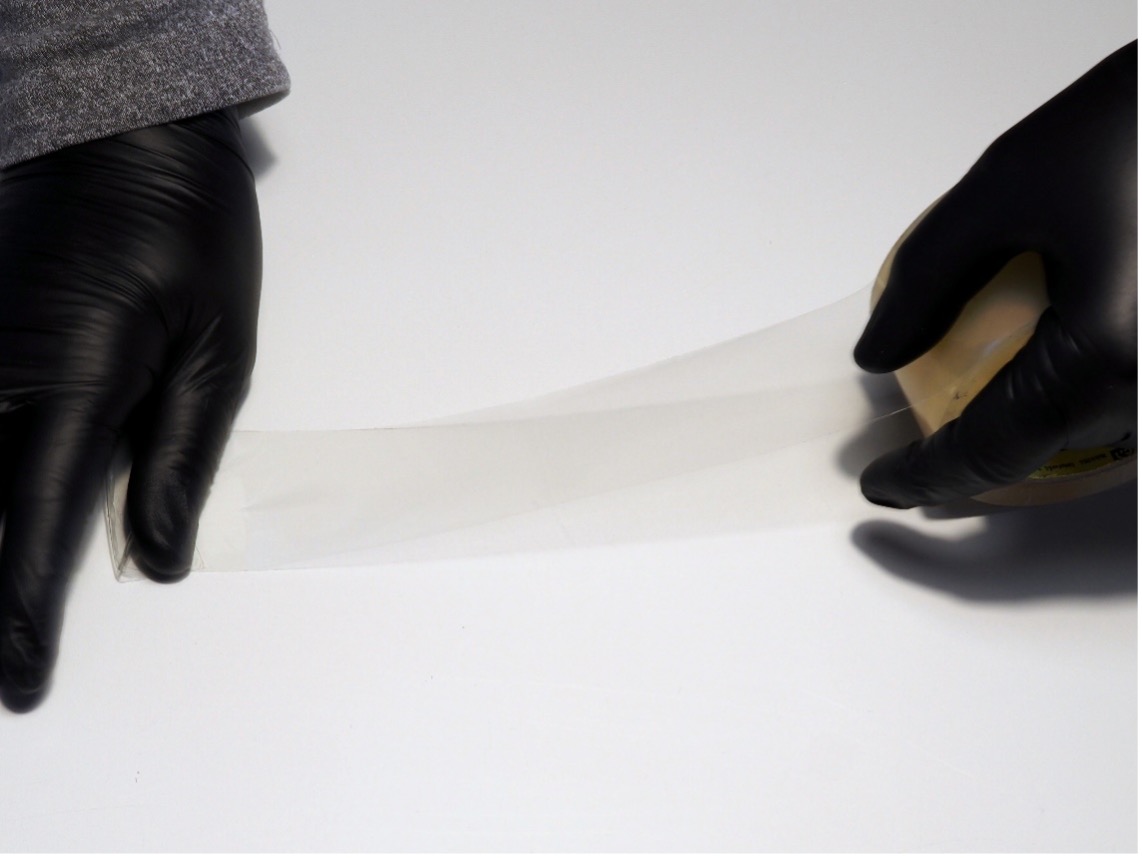
- Attach one side of the tape and unroll it. Press the tape onto the area to be examined, making sure the tape is long enough to be stretched over the frame of the tape lift holder with an overhang to hold the tape. The ASTM standard recommends using a minimum length of 12 cm.
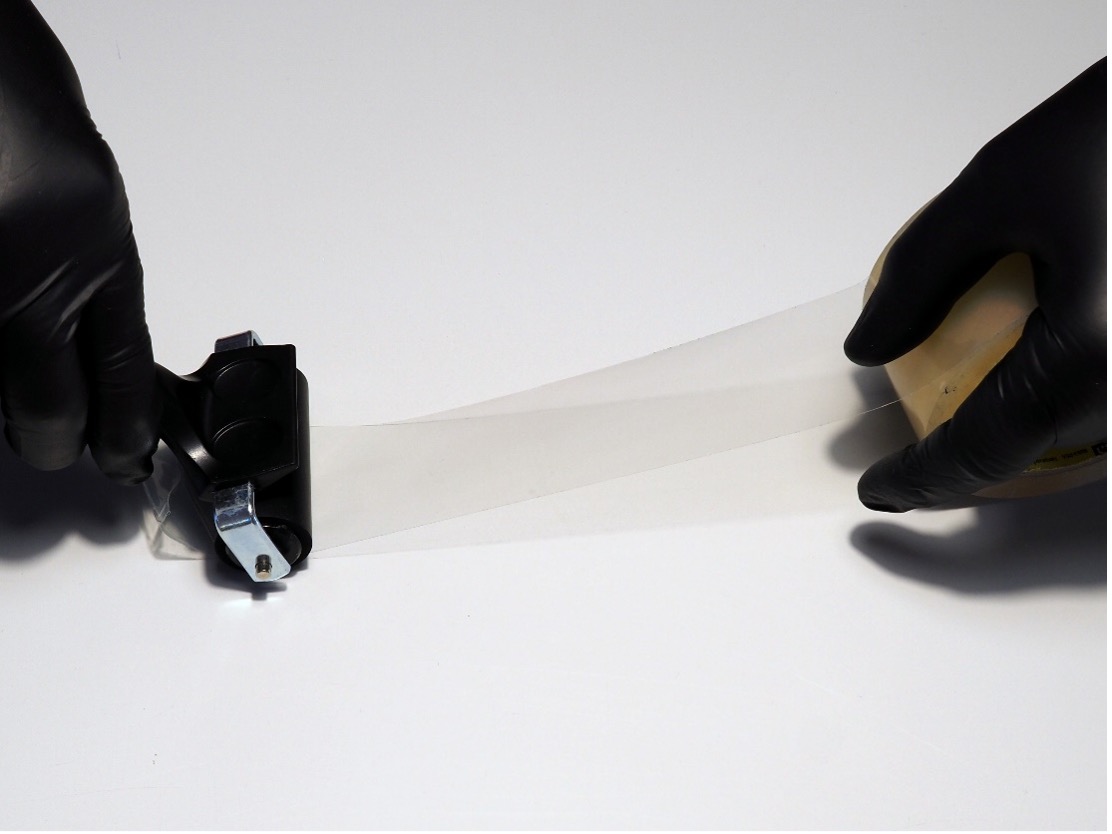
- Use even pressure from a rubber roller or the edge of your hand to press the tape onto the surface. Using a rubber roller is recommended as it provides more even pressure. Do not use excessive force, as it can crush the particles.
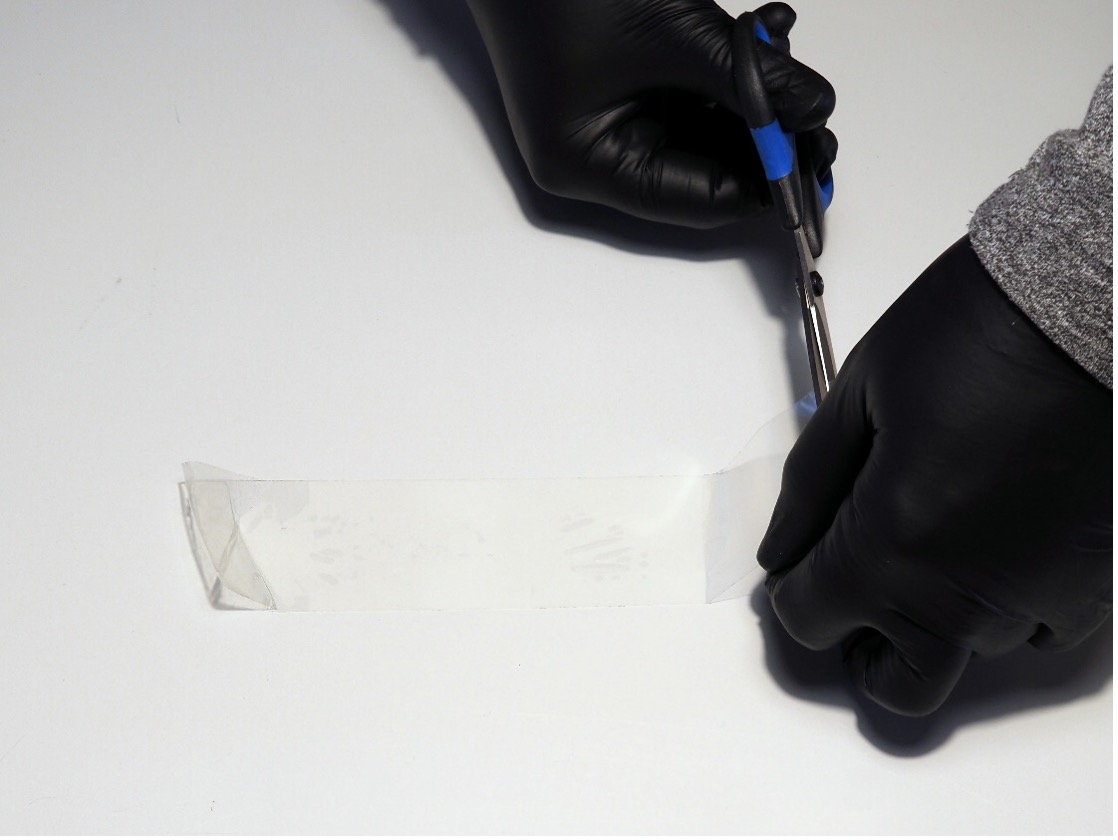
- Once the tape has been pressed to the required length, cut it off the roll using scissors. Make sure that the free end does not lie directly on the surface and stick, because then it may be difficult to detach.
How to Mount the Tape Lift Sample for Microscope Analysis
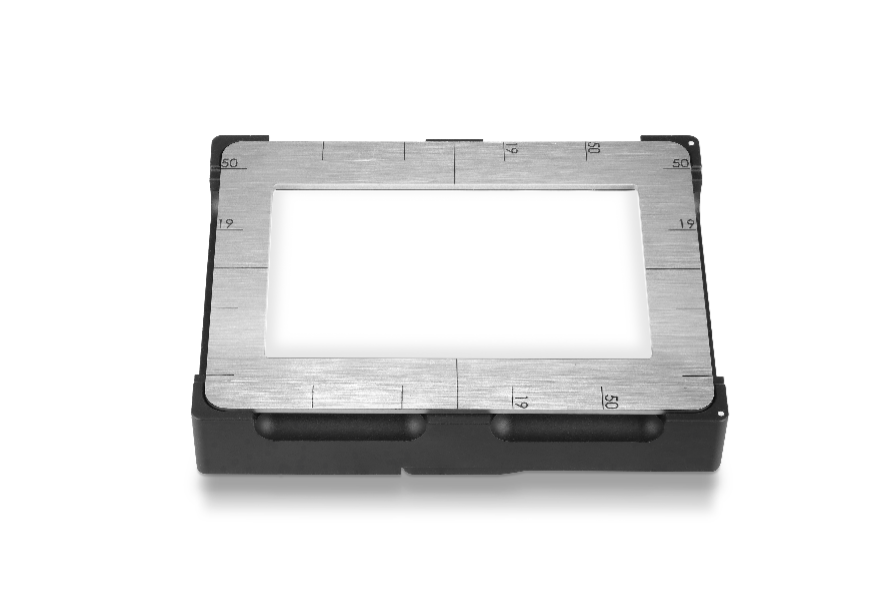
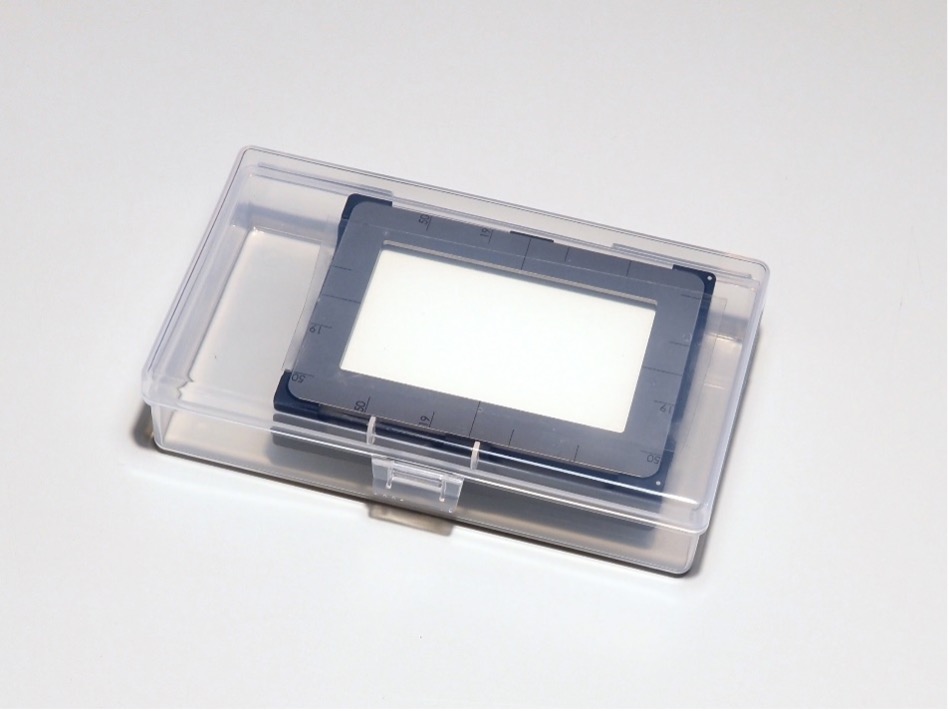
Sample holder used to mount tape lift samples on the CIX100 technical cleanliness inspection system
After sampling, the tape is mounted onto the proper holder for tape lift samples to prepare it for a microscope analysis. At Evident, we provide a dedicated sample holder for adhesive tape that works with our OLYMPUS CIX100 technical cleanliness inspection system. The holder comes with a transport box to prevent unwanted contamination during transport.
To learn more about the holder, watch the video below:
Here are the steps to mount the tape sample:
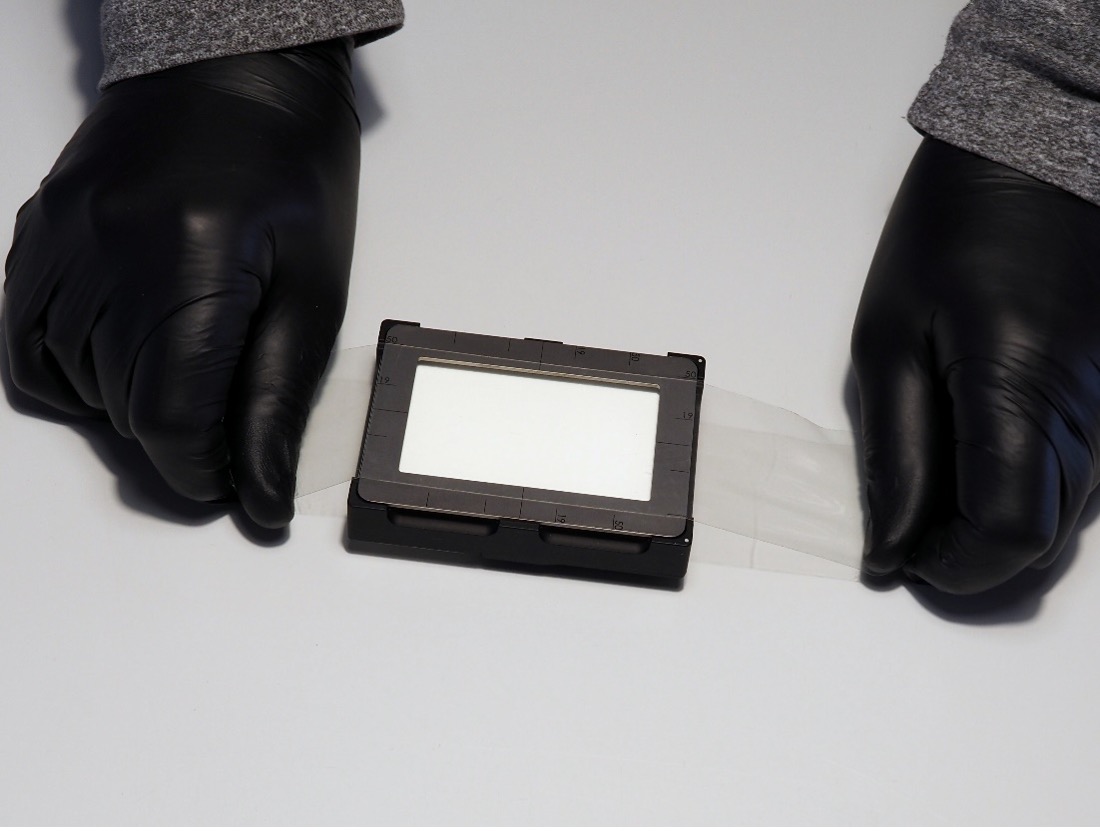
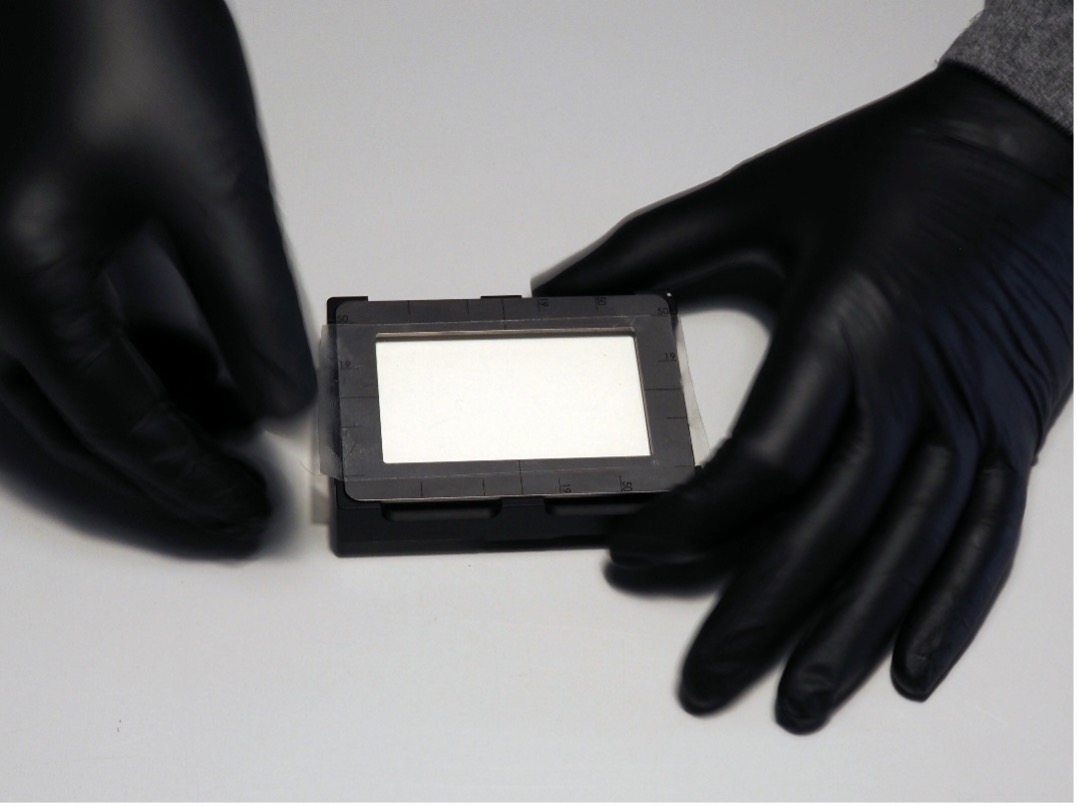
- Remove the tape immediately after application to the surface being tested with a slow and steady force. Now smooth the tape onto the frame. Pay attention to the markings to stick the tape centrally.
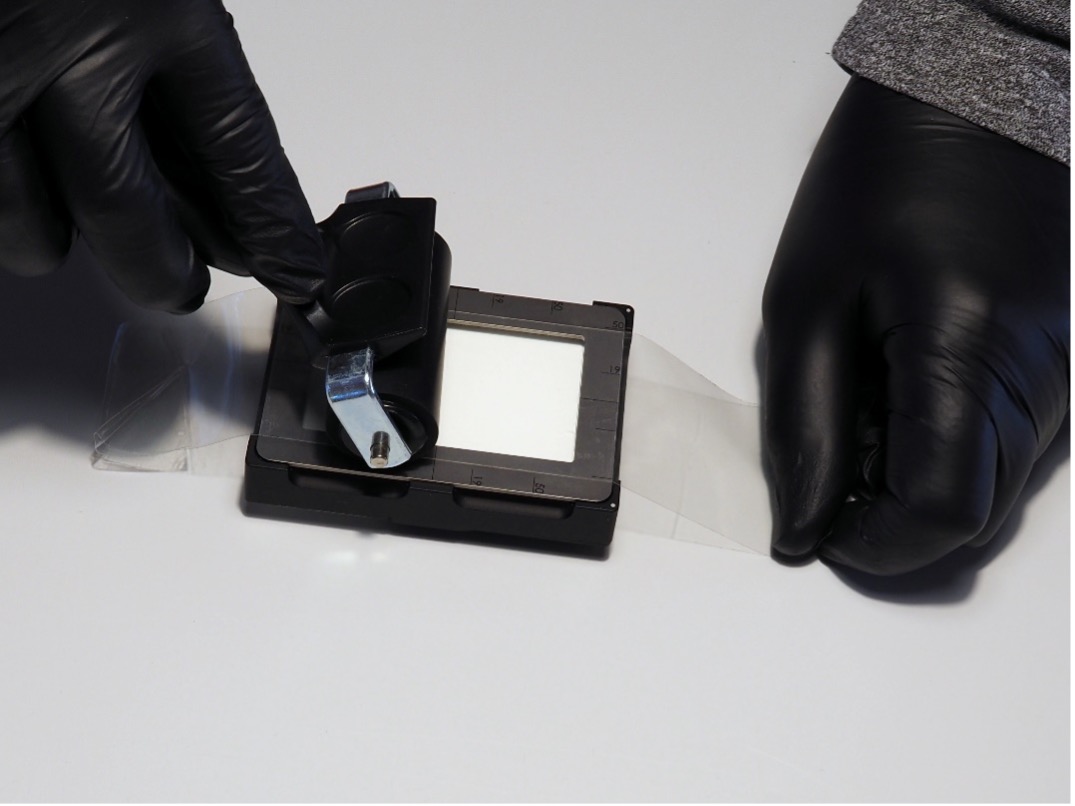
- For an even and tension-free attachment to the metal frame, press the tape onto the frame with the rubber roller.
- Cut the edges of the adhesive tape on both sides. Leave a small piece for easier handling of the tape later.
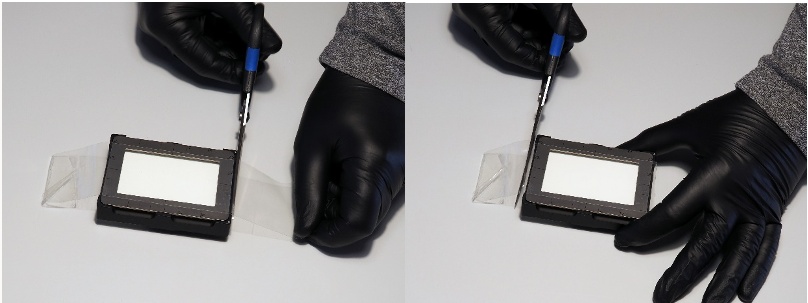
- Adjust the tape if needed (for example, if strong creases are visible). Make sure the adhesive tape is as close as possible to the markings so it is centered. Note that the center of the tape is the inspection area with a safe margin from the edges (usually around 6 mm).
- Put the tape lift holder into its transport box, with the adhesive surface facing down during transport so the numbers are visible on the metal frame.
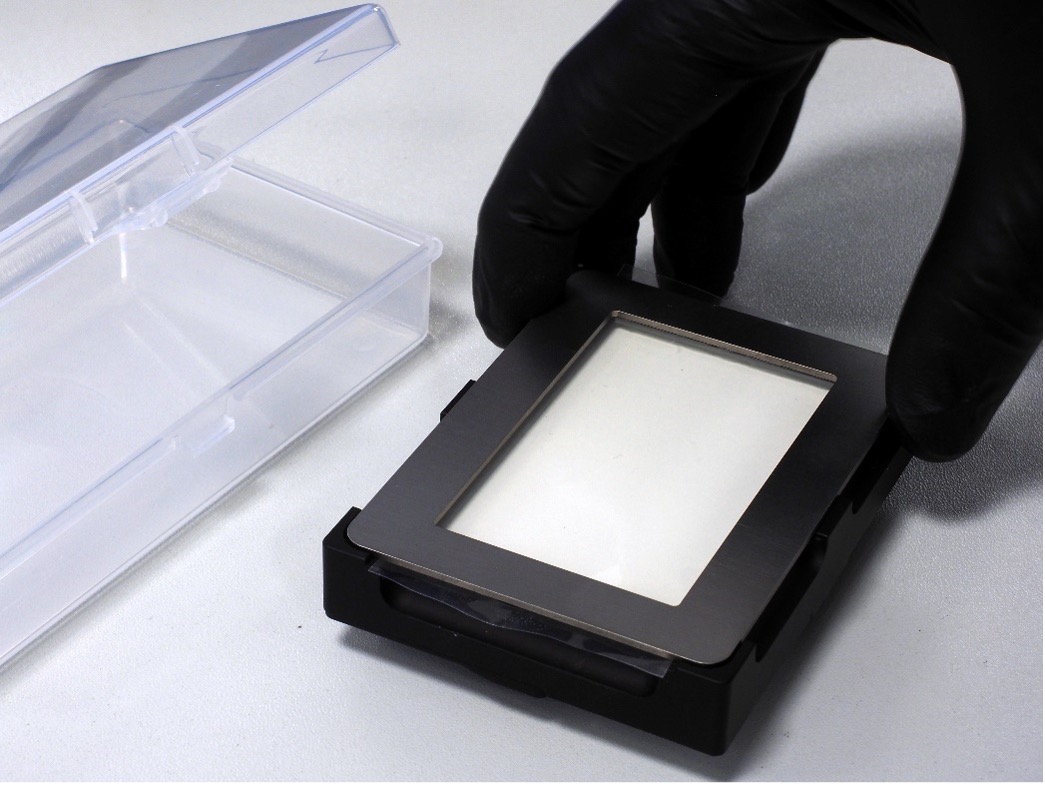
- Bring the transport box from the sampling location to the lab where the CIX100 system is installed. Doing so prevents unwanted contamination from collecting on the tape lift sample during transport.
- Remove the tape lift holder from the transport box when you are ready to begin the inspection. Turn over the metal frame so that the adhesive side of the tape faces up toward the microscope objectives and the numbers on the frame are no longer visible.
- Place the tape lift holder in the stage insert on the CIX100 system so that the dots on the holder point toward the microscope stand (away from the operator). During the visual analysis, the particles trapped on the tape will reflect the light from the microscope.
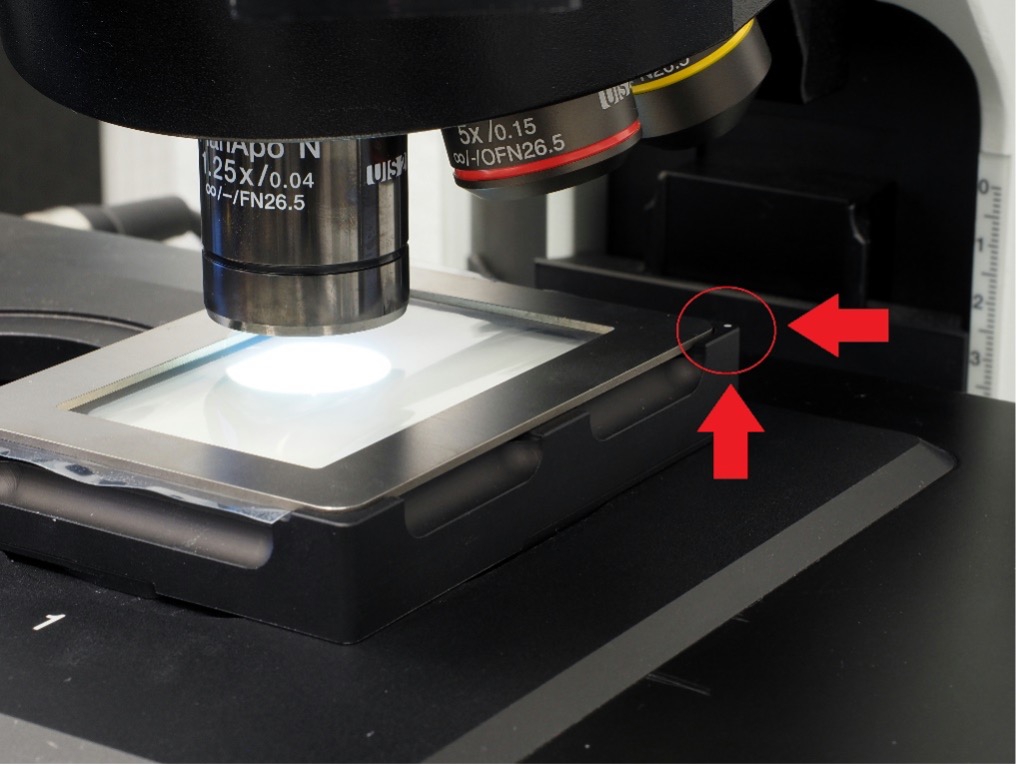
Note: it is important that the total number of trapped particles on the tape is large enough to provide statistical reliability.
Microscope Analysis of Particle Contamination from a Tape Lift Sample
Our CIX™ software for the CIX100 cleanliness inspection system supports the most commonly used standards for sampling and analysis of particulate contamination by tape lift, such as ASTM E1216-11. Running an analysis for a tape lift sample is simple on the CIX100 system. Once you mount the tape lift holder on the microscope, follow the guided workflow in the software for the desired inspection area and standard.
The preconfigured and precalibrated system automatically performs the cleanliness analysis and provides the results for revision. CIX software version 1.5.2 supports rectangular inspection areas, increasing the versatility of the system for various cleanliness standards.
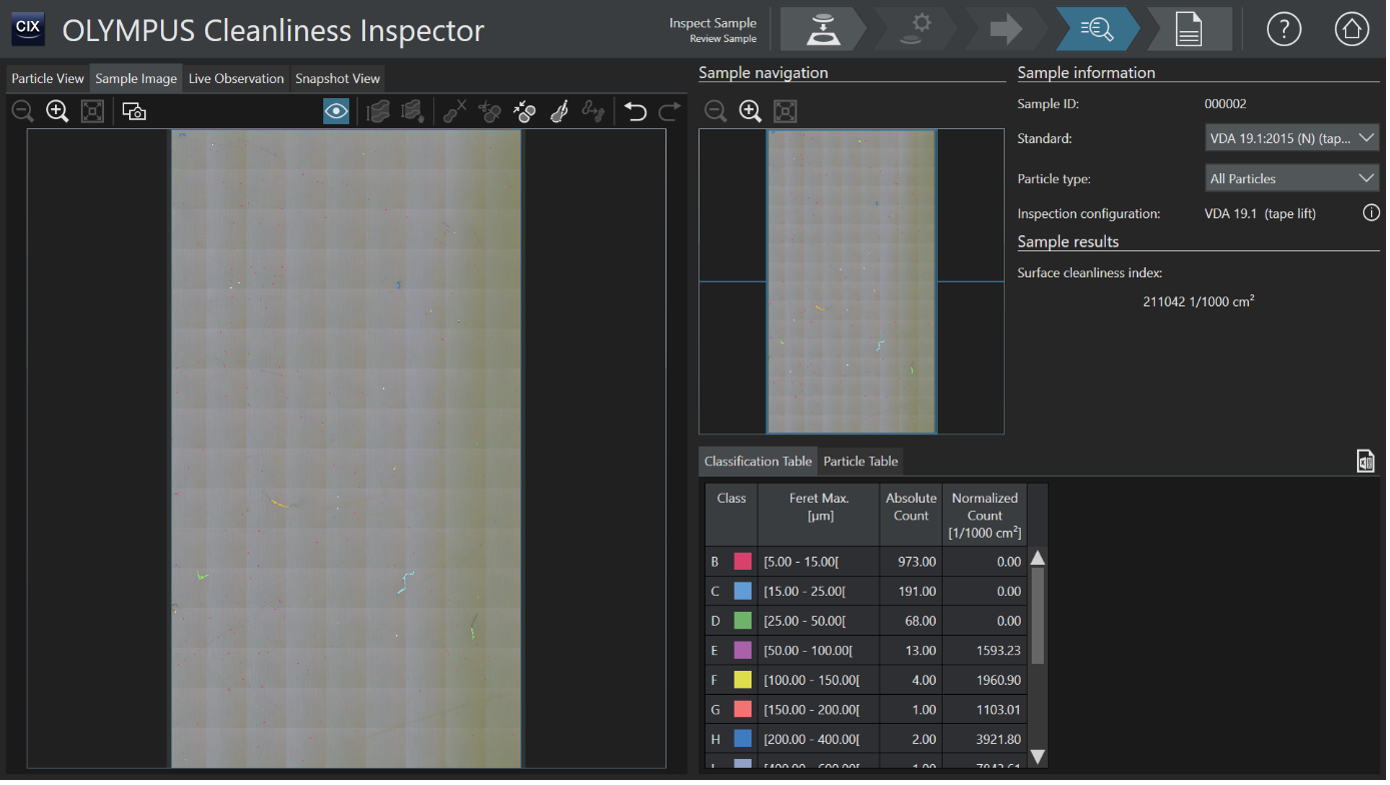
CIX software performs a rectangular inspection of a tape lift sample.
The software can distinguish between four different types of particles: regular particles, metallic particles, regular fibers, and metallic fibers. All detected particles are classified according to the selected standard and its contamination classes. For the ASTM E1216-11 standard, the software calculates the Surface Cleanliness Index (SCI).
Other Sampling Techniques in Technical Cleanliness Inspections
To learn about other popular sampling techniques used for technical cleanliness inspections, make sure to read our posts on the washing method and direct liquid filtration. If you have any questions about the equipment used for these sampling methods, reach out to us today for expert assistance.
Related Content
Common Sampling Techniques for Technical Cleanliness Inspections
A Picture Is Worth a Thousand Words in Component Cleanliness Inspections
Perform an Efficient Cleanliness Analysis with 3 Added Capabilities