Inspecting Welds and Stress Corrosion Cracking (SCC) with Eddy Current
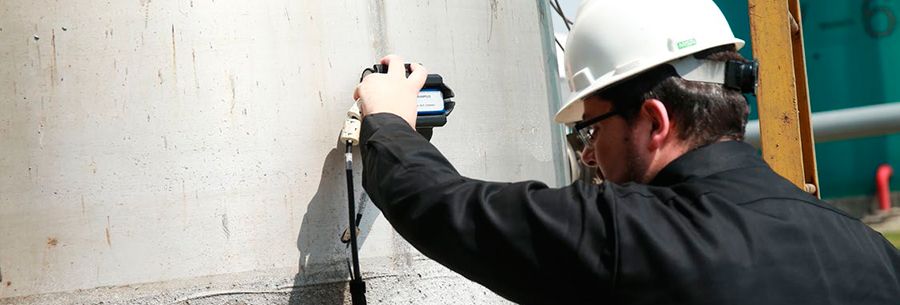
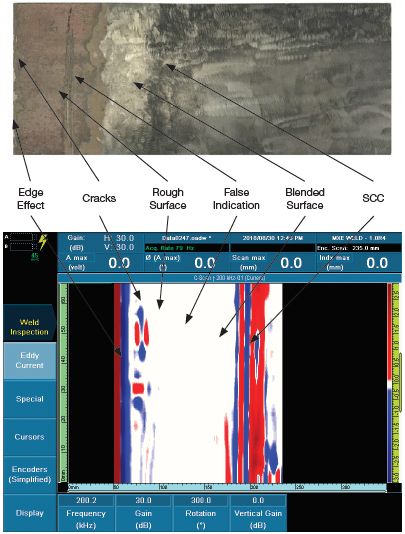
For decades, penetrant testing was a common method used to inspect the surface of stainless steel pressure vessels. Today, eddy current array (ECA) technology makes these inspections faster and more reliable. However, inspecting the surface of stainless steel pressure vessels has many challenges, such as the geometric shape of the weld crown, the presence of paint and its thickness, and the presence of crests and crowns. The Olympus MagnaFORM™ ECA inspection system overcomes these challenges.
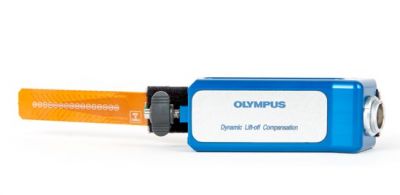
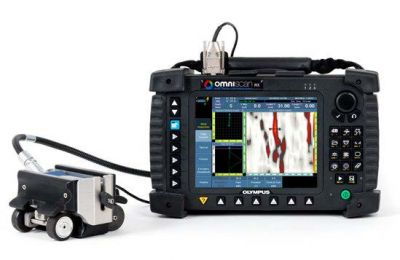
Lift-Off Compensation TechnologyTo increase the inspection’s speed and reliability, Olympus developed an orthogonal ECA probe based on flexible printed circuit board (PCB) technology that conforms to the shape of the weld to help ensure flaw detection. With the addition of dynamic lift-off compensation and the OmniScan® MX ECA flaw detector, this solution makes it easier to detect surface cracks and offers a viable replacement for penetrant testing. |
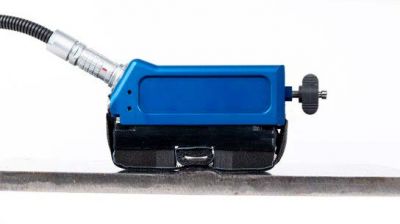
Durable on Rough SurfacesInspecting rough surfaces can quickly shorten the life of some probes, but the MagnaFORM probe has a protective surface to prolong its life. In testing, the probe can be used on approximately 22 km (13.7 mi) of rough surfaces before needing to be replaced. |
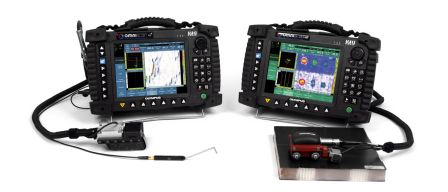
Ready-to-Use SolutionThe MagnaFORM solution includes a flexible probe with liftoff compensation, a 5-meter (16-foot) cable, a buggy made for Olympus scanners, and lift-off compensation software for your OmniScan flaw detection. |
Detect Small Defects
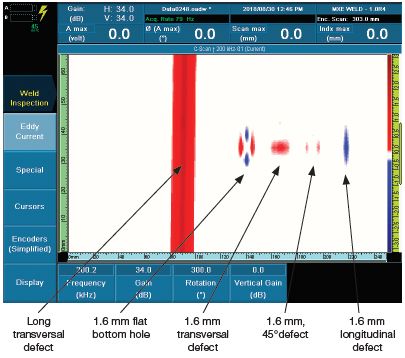
Detect defects as small as 1.6 mm (0.06 in.) long with up to 3 mm (0.12 in.) of lift-off.
Stop Removing Paint
The system’s ability to detect flaws is stable if the lift-off varies between 0 mm to 3 mm. This enables the system to deliver reliable results if the paint on the vessel has an uneven thickness or if the probe cannot maintain good contact with the part.
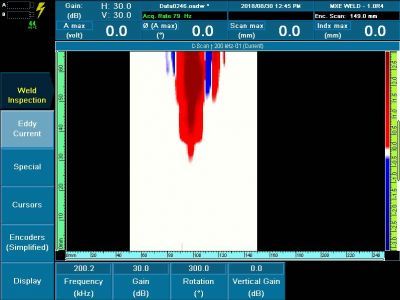 C-scan of 304 stainless steel with 0 mm of lift-off | 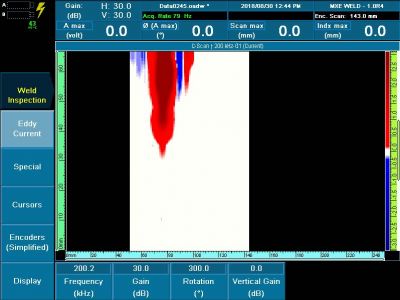 C-scan of 304 stainless steel with 3 mm of lift off |
High Signal-to-Noise Ratio (SNR)
The system’s high signal-to-noise ratio maximizes the probability of detection.
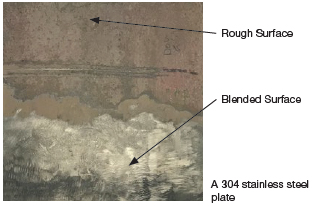
One Setup to Inspect 304 and 316 Stainless SteelA single preloaded setup is all you need to inspect both 304 and 316 stainless steel. This setup can be used on smooth surfaces, rough surfaces, the weld crown, or cold worked surfaces without any nulling or adjustments. |
 |
